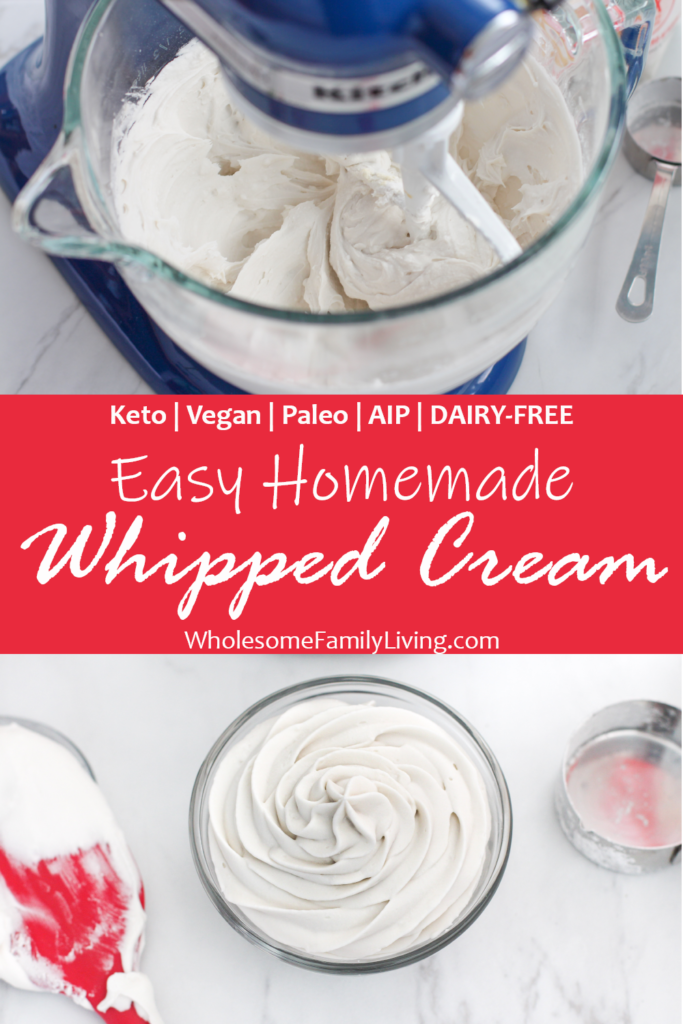
With just 3-ingredients and 5 minutes, you can avoid buying the overly processed whipped cream at the store and enjoy fresh, easy, homemade whipped cream!
Honestly, it’s so simple to make, I’m not sure why anyone buys the fake, chemical laden, cool whip from the store.
I mean have you seen the ingredient list?
If not, let me share:
Water, corn syrup, high fructose corn syrup, hydrogenated vegetable oil (coconut and palm oil), skim milk and then it contains less than 2% of a bunch of added, artificial things (check out the ingredient label yourself!).
YIKES!
So why feed that to your family when you can have homemade whipped cream in 5 minutes??
How to Make Dairy-Free Homemade Whipped Cream
So most homemade whipped cream recipes call for heavy whipping cream.
But say you are someone like me who is trying to cut down on their dairy intake.
How can you make homemade whipped cream without heavy whipping cream?
I don’t think you are prepared for how easy this substitution is…
Are you ready?
Instead of heavy cream, just use the cream from two refrigerated cans of coconut milk!
I know, right?
SO SIMPLE!
Why refrigerated cans?
It just helps separate the coconut cream from the milk part, which results in more of the thick creamy white part.
Too much of the runny, milky part and this recipe will not whip up correctly.
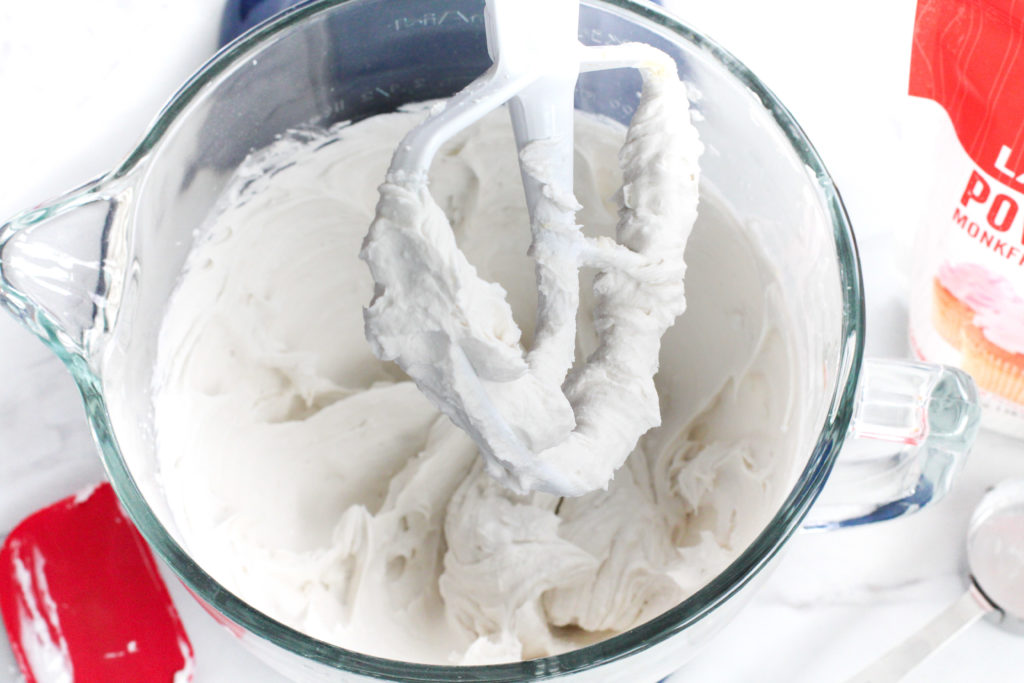
Since the coconut milk is refrigerated, the cream might be a little stiff to beat at first, and it could result in some chunks if you try to beat the cold coconut cream right away.
In my opinion, those lumps are no big deal if I’m making this just for my family.
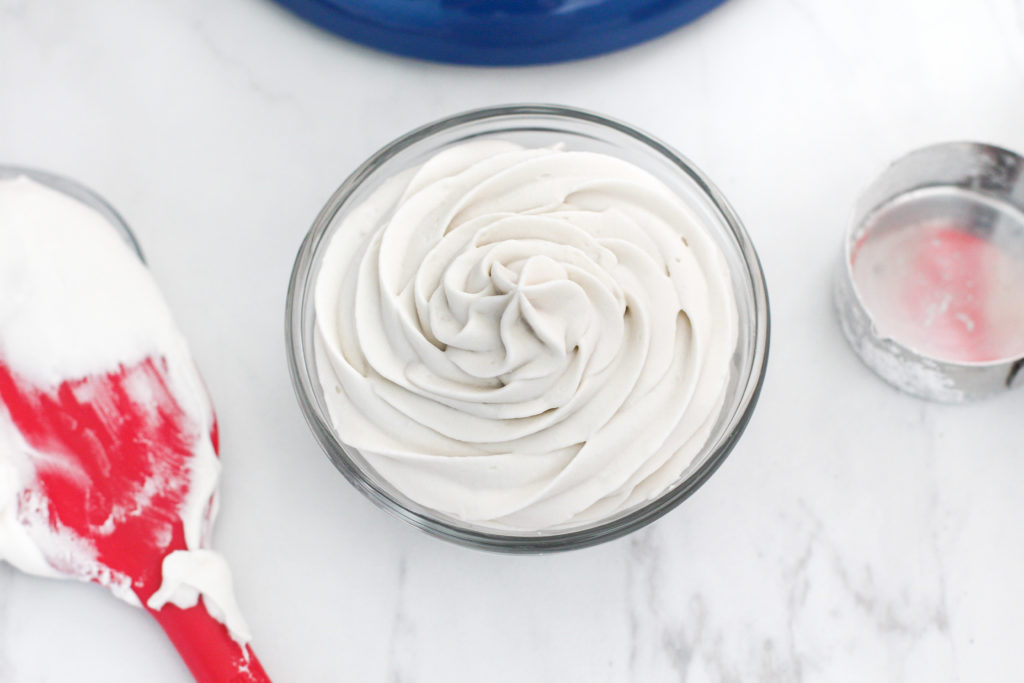
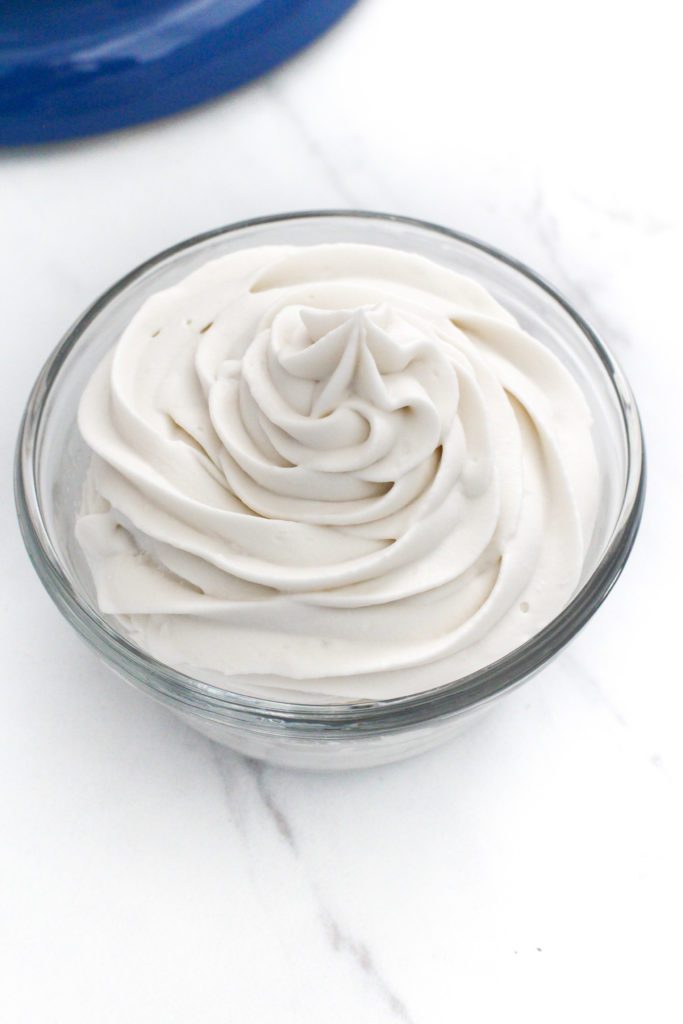
You can see from the picture here, the lumps aren’t super noticeable after some beating!
The Secret to Making SMOOTH Whipped Cream
But say you want this for a dessert topping for a party and you want that smooth, creamy look.
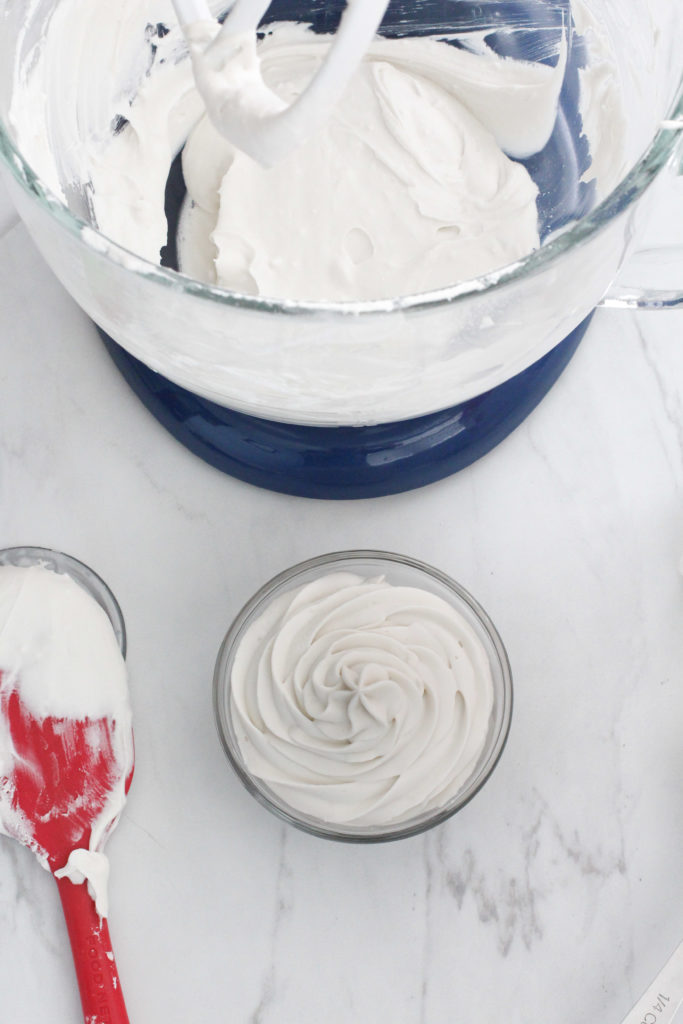
What I like to do is separate out the cream a few hours before I want to make the whipped cream.
So I pull out the two cans of coconut milk, scrape the cream off the top of the can, and put the cream in a bowl.
Then a few hours later, when I go to whip it up, the cream has softened and doesn’t result in such a lumpy texture.
Alternatively, you can also just beat the coconut milk for a longer time to let the mixer add the heat to the coconut cream to help it soften.
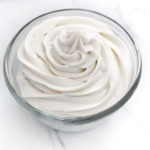
I mean, look at the beautiful swirls you can get with just a little wait time!
How to Make AIP Whipped Cream
I won’t lie, the easiest AIP approved whipped cream would be to just whip up the coconut cream and not add any other ingredients.
Coconut cream is already naturally sweet, so for SUPER SIMPLE recipe, just leave out the sweetener and the vanilla.
However, if you have the honey and the vanilla powder on hand, they will add a little bit more flavor to the cream to dress it up!
The reason why I say to use the vanilla powder instead of the extract for the AIP version is because this will not be baked to the alcohol will not cook off.
What To Do If the Whipped Cream Starts To Melt?
Coconut cream is susceptible to becoming pretty liquidy at warm temperatures.
I forgot this once and went to put beautiful, big swirls of whipped cream on a warm pumpkin pie.
About 15 minutes later, I realized that was a BAD idea as the swirls started to melt before my eyes.
To save the pie, I quick scooped the whipped cream back off the pie and put it in the fridge to cool down.
This did the trick!
The best way to avoid this issue is to let the dessert you want to serve this on cool completely before adding the whipped cream.
Alternatively, you could also just serve the whipped cream on the side if you want to offer it with a warm dessert (say, on top of that warm pumpkin pie).
I would suggest just pulling it out the fridge right before you want to serve it.
I have also noticed that if I’ve done a lot of baking and the kitchen is pretty hot, it will cause the whipped cream to be a little more runny.
This can make it hard to decorate with, and no one wants melty swirls on top of their dessert!
Again, just put the whipped cream in the fridge and let it cool until it’s the consistency you want to work with.
If you are in a rush, you can put it in the freezer to firm up, but make sure you check on it frequently and stir it to make sure it doesn’t lump up on you.
How to Use Easy Homemade Whipped Cream
Whipped cream is such a versatile dessert ingredient.
I mean, this recipe is so good plain, sometimes my daughter just eats it straight from the bowl!
Or another simple use would be to mix it with berries and maybe add a dash of cinnamon.
For a chocolaty option, whip up some chocolate pudding and put a good sized dollop of this homemade whipped cream on top!
Oooo OR, why not break out some Vividly Vanilla Ice Cream. Okay, now, melt some sugar-free chocolate chips with a pat of butter in a small saucepan to make a chocolate sauce. Drizzle the chocolate sauce on the ice cream. Take a big spoonful of whipped cream to put on top, and maybe sprinkle on some cacao powder or drizzle more chocolate on top. Now devour! Mmmmm…
Or top your mini Pumpkin Pie Puddings with whipped cream like I did!
Even crazier, grab your trifle bowl and make this beauty, Pumpkin Pie Trifle!
The list goes on!
So throw out that chemical laden cool whip and instead, whip up some fresh whipped cream to top your next dessert!
Easy Homemade Whipped Cream {keto, paleo, AIP, vegan}
- Total Time: 5 minutes
- Yield: 8 servings 1x
Description
With just 3-ingredients and 5 minutes, you can avoid buying the overly processed whipped cream at the store and enjoy fresh, easy, homemade whipped cream!
Ingredients
- 2 cans of coconut milk, refrigerated
- ½ teaspoon liquid stevia or 1/4 cup powdered Lakanto sugar or 1 teaspoon honey (AIP)
- ½ teaspoon vanilla or 1/4 teaspoon vanilla powder for AIP (or more to taste)
Instructions
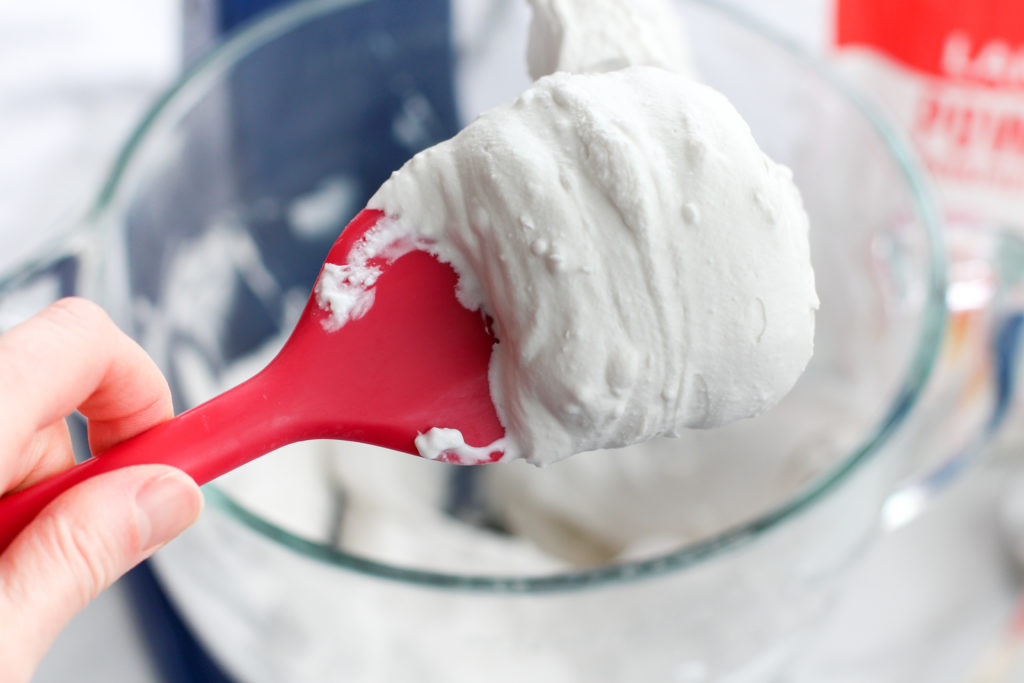
- Remove coconut milk cans from the fridge, open them, and carefully use a spoon to remove the thick cream from the top of the can. Save the milk for a different purpose (I like to use it to make smoothies!)
- For best results and for the smoothest texture, let the coconut cream sit out on the counter for several hours so it can warm to room temperature. If you don’t mind a few lumps in your whipped cream, proceed to the next step.
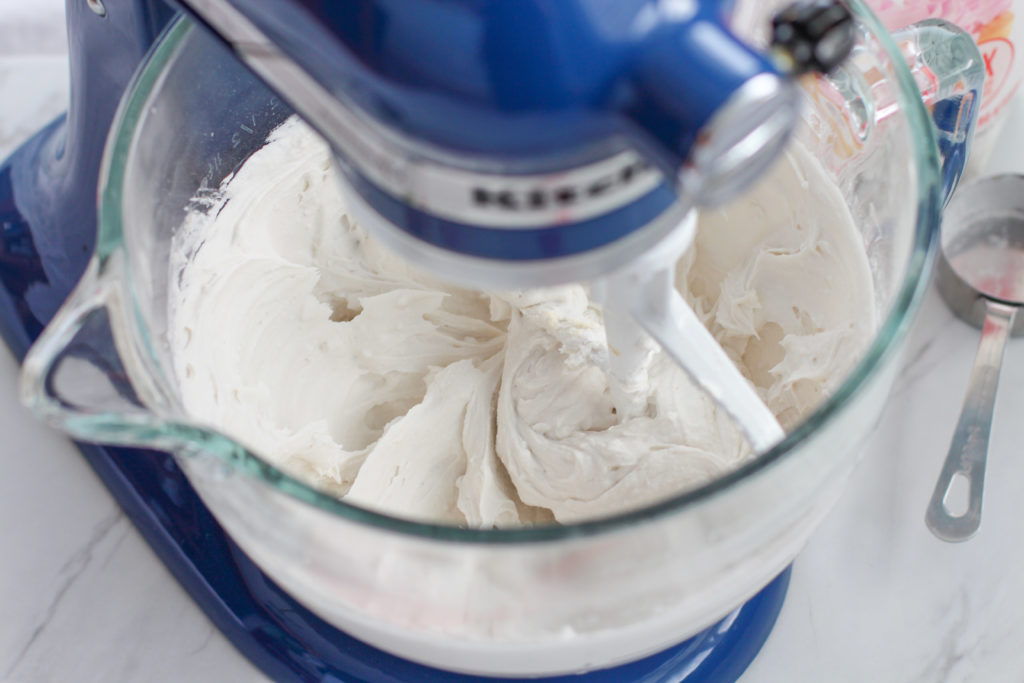
- Add the coconut cream to a dry, large mixing bowl. Using a medium speed (4 or 6 on a KitchenAid mixer), beat the coconut cream until it starts to smooth out.
- Add your sweetener of choice and vanilla and continue beating until it reaches a thick, smooth consistency.
- Enjoy on top of your favorite dessert or as part of another recipe!
Notes
Storage: Store homemade whipped cream in an air-tight container for up to 7 days.
- Prep Time: 5 minutes


Jess
February 28, 2020 at 11:57 pmLove this recipe! Way more delicious than the store bought stuff, my husband and I eat this by the spoonful!
Monster Cookie • Post Author •
February 29, 2020 at 1:23 amThanks Jess! I’m so glad you like it!
elizabeth
April 6, 2024 at 12:10 amthis was an amazing recipe it came out really well but instead of honey i recommend you use syrup to make it lighter and fluffier. otherwise it turned out really good.
Monster Cookie • Post Author •
August 15, 2024 at 10:18 pmI’m glad you liked the recipe Elizabeth!