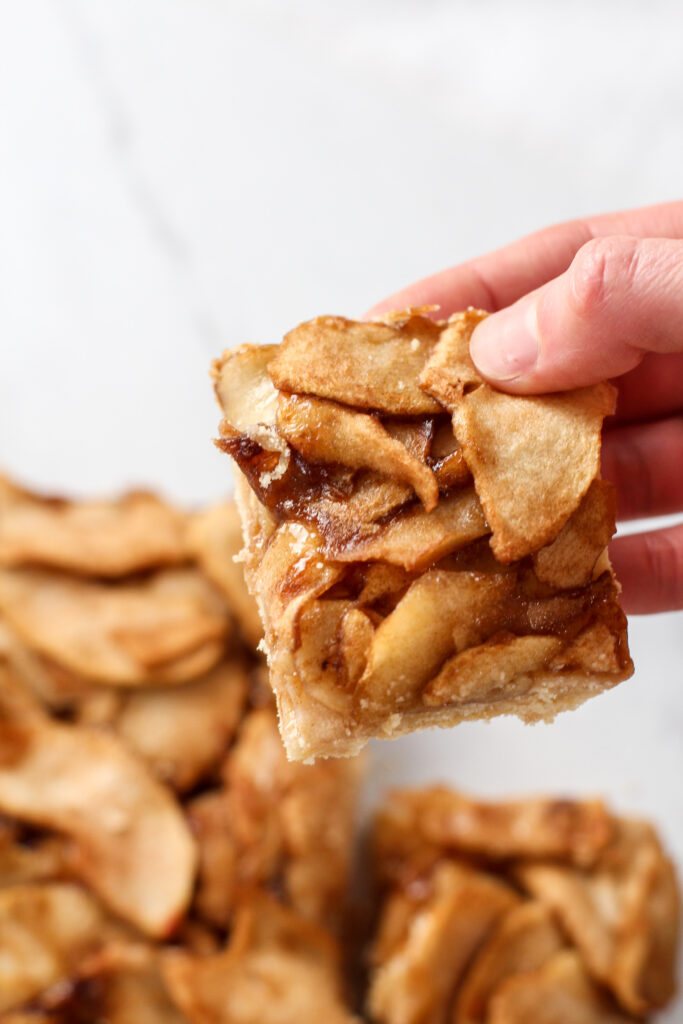
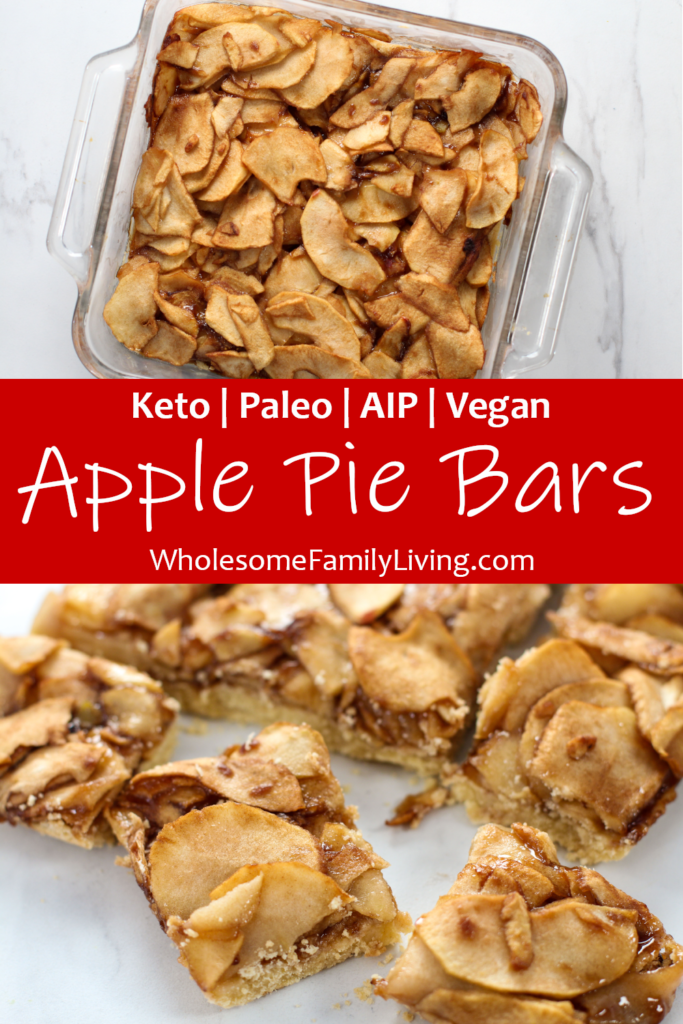
There’s no better start to fall than with these apple pie bars!
These sugar-free, gluten-free apple pie bars are a fun twist on a classic apple pie.
And for those of you who aren’t a big fan of the crust, these bars also give you more filling-to-crust ratio!
Take advantage of apples being on sale at the store right now, or find a local orchard to pick the apples yourself!
One of my favorite childhood memories is going to a local apple orchard every year and picking apples.
We would go to an orchard where they would let you climb the trees, so my sister and I would always have a competition to see who could climb the highest.
And we would pick bushels and bushels of apples!!
Once we got home, the fun turned into making homemade applesauce and enjoying apple pies all through the fall!
Inspired by those warm and delicious apple pie flavors, these bars were created to be a great dish to share with friends and family this fall!
Enjoy with a scoop of homemade vanilla ice cream on top of warm bars!
Mmmmmmm!
How to Make Easy Apple Pie Bars
With a toddler underfoot, I really appreciate desserts that are quick to whip up, so I tried to keep this recipe simple!
I prefer to use my food processor to both make the crust and to slice the apples (more on that below!).
If you don’t have a food processor, then using a mixer or even a whisk will work fine as well.
How to Make the Apple Pie Bar Crust
First turn on the oven to 350 degrees.
Next, take a small bit of palm shortening (butter or any other type of shortening will work fine too) and generously rub it along the bottom of a 9×9 baking dish.
Tip: If you like REALLY thin crust, I have found that making these bars in a 7×11 baking dish makes a really nice thin crust! Just make 1.5 times the apple pie filling to keep a nice thick layer of apples!
Then add all of the crust ingredients into a food processor (or whatever bowl you are using to mix the crust).
Pulse the food processor until a dough has formed.
Use a rubber scraper to get all of the dough into the baking dish.
Spread the dough into an even layer in the bottom of the greased baking dish.
Bake the crust in the oven for 10 minutes.
Remove the crust and set it aside while you prepare the apple pie filling.
How to Make the Apple Pie Bar Filling
This is where I like to just change the blade in my food processor to the slicing blade and get double use out of my food processor (see below for more details!).
To prepare the apple pie filling, peel, core, and slice the apples either by hand or with your food processor.
Then, mix the apples with the other filling ingredients in a bowl.
Putting It All Together
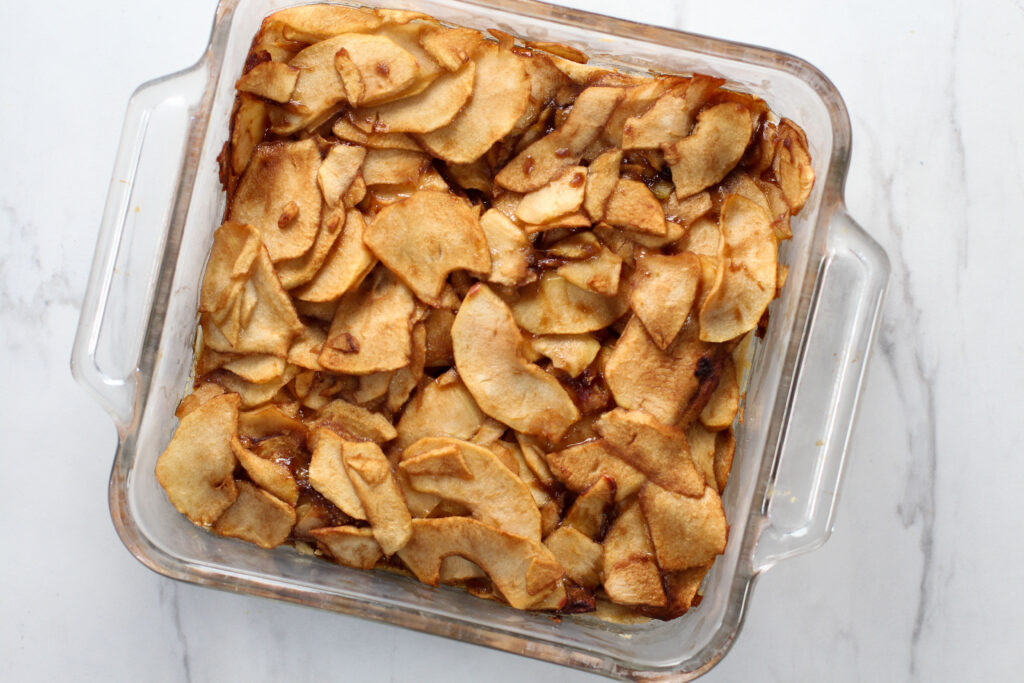
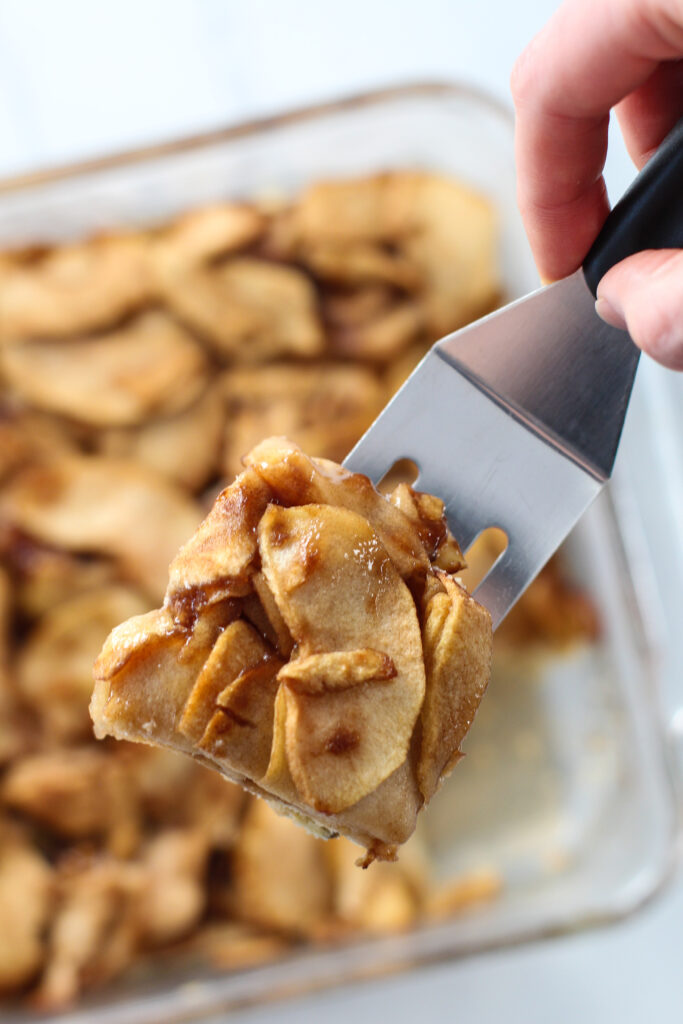
Evenly layer the apple pie mixture on top of the crust.
I like to try and arrange the slices a little bit to make sure they are mostly laying flat.
You can even get fancy and make the slices on the top layer into a pattern or have them all layer in the same direction.
As you can see from the pictures, it’s totally fine to just let them lay in any direction too (more of a Picasso style!).
Bake at 350 degrees uncovered for 10 minutes and then cover the top with aluminum foil.
The foil on top ensures that the top apples don’t dry out!
Bake for another 20-30 minutes or until the apples are to your desired level of softness.
I prefer my apples to be pretty soft, so I tend to land more on the 30 minute side.
But if you want them with a little more texture, poke them with a fork after 20 minutes and see if they are done enough.
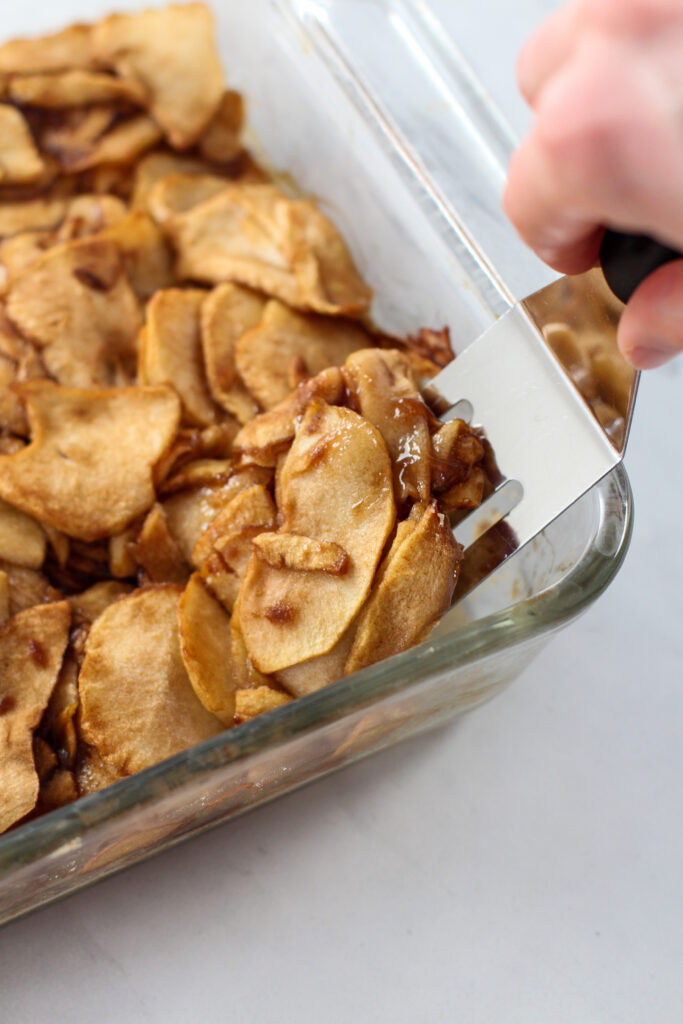
Let the bars cool for at least 10 minutes before serving.
How to Freeze Apple Pie Bars
What’s great about these bars is that they can also be frozen!
I know, I know.
Who can resist eating them all in order to have any left over to freeze?
Well, let’s just say that Thanksgiving or a large family gathering is coming up and you want to have dessert already made and out of the way.
These would be a perfect make ahead dessert!
Option 1: Freeze the whole pan
You can freeze the whole pan of apple pie bars with either baked or unbaked apples.
To freeze the bars with baked apples, follow the recipe all the way through and then freeze the bars once they have cooled completely.
To freeze the bars with unbaked apples, pre-bake the crust, layer on the apple pie filling, but then instead of baking the apples, you can freeze the pan of bars at that point.
Either way, make sure the top of the pan is covered well.
The best way to do this is to put on a layer of plastic wrap and then a layer of aluminum foil.
You could also just use two layers of aluminum foil.
The best way to either reheat or to finish baking the apple pie bars is to remove them from the freezer, let them sit on the counter for about an hour to thaw a little bit, and then warm or bake them.
If you let them thaw completely in the fridge, the crust could get soggy, but if you don’t like the idea of heating frozen glass, feel free to let them thaw in the fridge before baking!
Option 2: Freeze individual bars
Another option is to freeze individual apple pie bars.
This makes it very easy to pull out individual servings to enjoy if you just need one or two servings at a time.
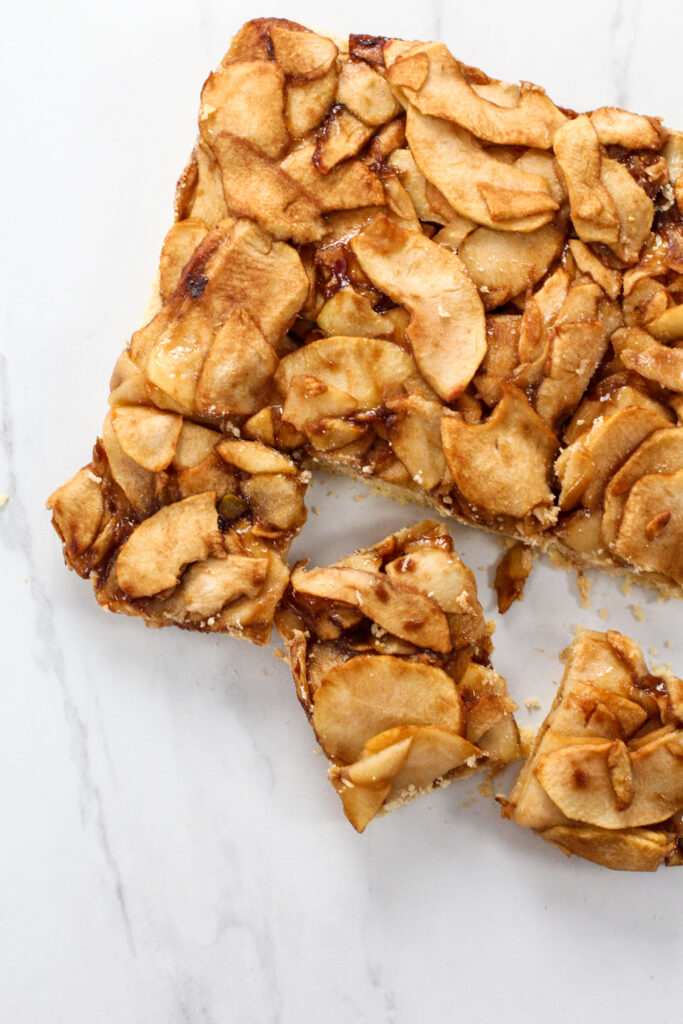
To freeze individual bars, go ahead and bake the bars and let them cool completely.
Then slice the bars into the portion sizes you want.
Place them on a baking sheet that has parchment paper on it.
Space the bars out and let them freeze on the baking sheet for 2 hours.
Then individually wrap the bars or place them in a freezer bag or container.
When you are ready to eat them, pull the apple pie bars out of the freezer and place them in a small baking dish.
Reheat the bars in the oven until they are completely warm!
How to Quickly Slice Apples for Any Dessert
Do you want to know my secret for quickly slicing up cups and cups of apples for desserts?
My food processor!
I don’t know why it took me so long to figure this out!
I always think of using my food processor to shred things, but I rarely use it to slice things.
That is, until now!
A food processor makes quick work of turning apple chunks into slices.
And an added bonus is that they come out thinly sliced and all the same width!
Now, I’m not saying that you can’t cut your apple slices by hand.
If you don’t have a food processor, then by all means, slice your apples by hand with a knife!
However, if you have a food processor, this recipe is a one-two punch!
First, you can whip up the crust with the food processor and then just switch out the blade to the slicer plate and slice the apples.
No need to even clean the bowl!
I LOVE less dishes to clean!!
So how do I use my food processor to slice the apples?
First, I peel the apples and quarter them.
Then I can run about 2 quarters at a time in the slot, long side down.
Don’t worry if your apples flip around or one gets caught short side down – sliced apples are sliced apples!
I just try to get the long side down, that way the food processor slices them like I would if I were doing it by hand.
This is the fastest way to slice up apples for any apple dish you are trying to make that needs apple slices!

What Apples to Use for Apple Pie Bars
I personally prefer a mix of green and red apples.
Some people are hardcore fans of all green, or all red, but I stand totally in the middle on this debate!
I love the tartness of a green apple, but I also love my desserts sweet!
Since this recipe doesn’t use real sugar and uses very little sweetener, I like to have a few sweet apples in the mix.
So when I make this recipe, it normally takes me about 3 green apples and 3 red apples (if they are small – use 2 each to start if they are large).
But you can make this recipe with whatever color apples you have on hand!
Apple Pie Bars
- Total Time: 1 hour 10 minutes
- Yield: 9 servings 1x
Description
These sugar-free, gluten-free apple pie bars are a fun twist on a classic apple pie.
Ingredients
Crust Ingredients:
- 1/4 cup melted butter or coconut oil
- 1/4 cup palm shortening or other vegetable shortening
- 3/4 cup cassava flour
- 2 Tablespoons coconut flour
- 2 Tablespoons tapioca flour
- 1 Tablespoon arrowroot flour
- 1 teaspoon cinnamon
- 2 teaspoons granulated sweetener or honey
- 1/2 teaspoon salt
- 1 egg (use 1/4 cup applesauce for vegan)
- 2 Tablespoons water
OR
- 1 batch of coconut flour crust for keto
OR
- 1 batch of your favorite pie crust recipe (you only need a single pie crust worth of dough)
Apple Pie Filling Ingredients:
- 4 cups sliced apples (peel removed)
- 2 Tablespoons granulated sweetener or honey
- 2 teaspoons arrowroot flour
- 1/2 Tablespoon cinnamon
- 1/2 teaspoon lemon juice
Instructions
- Preheat the oven to 350 degrees.
- Prepare a 9×9 baking dish with parchment paper or grease it well with extra butter or shortening.
- Use a mixer or food processor to combine all of the dough ingredients.
- Spread the dough into an even layer on the bottom of the prepared dish.
- Bake the crust in the oven for 10 minutes. Remove the crust and set dish aside while the filling is being prepared.
- Mix all of the apple pie bar filling ingredients together in a bowl.
- Evenly layer the filling on top of the crust.
- Bake the apple pie bars for 10 minutes uncovered. Then cover the pan with foil and finish baking for 20-30 minutes. Use a fork to gently pierce the bars to check the apples for your desired level of softness.
- Let the bars cool for at least 10 minutes before serving.
- Enjoy warm, topped with homemade vanilla ice cream!
Notes
Storage: Since these bars aren’t made with real sugar, it’s best to only keep them out on the counter for about a day, otherwise they should be kept in the fridge for up to 4 days (good luck keeping them that long – ours is normally gone in two days!). But this does mean that if you are making them for Thanksgiving or a family get together, you can make them the day before and leave them out on the counter overnight. I just recommend giving them a little reheat before serving that way they are warm to eat!
Freezing: Freezing apple pie bars is a great choice if you don’t want to eat them all immediately. Apple pie bars will stay fresh in the freezer for up to 6 months. See above for directions on how to freeze either the whole pan of bars or individual bars!
- Prep Time: 30 minutes
- Cook Time: 40 minutes
Nicole Kauffman
December 8, 2020 at 2:26 pmI’m excited about this crust recipe! I am so intimidated by pie crusts, but this one looks so good and love that I can replace the butter!
Monster Cookie • Post Author •
December 8, 2020 at 2:44 pmThis recipe has come out great for me every time and is our family favorite crust for bars! If you run into any problems, let me know!
D
December 9, 2020 at 7:30 amI love apple pie, especially with vanilla ice cream so I will for sure love these. I’ve never thought about making bars which is a really cool idea as they can be eaten on the go. And your tip for freezing them is pure genius!
Monster Cookie • Post Author •
December 9, 2020 at 3:40 pmYes! Turning apple pie into bars has been life changing for our family! lol 🙂
Sarah Althouse
December 9, 2020 at 2:20 pmMy husband loves apple pie so I bet he would love these too!
Monster Cookie • Post Author •
December 9, 2020 at 3:40 pmThey are definitely a hit with my whole family! I hope you guys like them!
Cassie
December 9, 2020 at 5:40 pmMy fiancé just bought a huge bag of apples, and I’ve been wondering what I’m going to do with all of them! I’m so happy I landed on your post. These sound so delicious and are the perfect solution to my apple surplus! 😅✨
Also totally love that you can freeze them!
Monster Cookie • Post Author •
December 10, 2020 at 7:10 amI’m so glad this recipe can help you out! You should also check out my recipe for homemade apple butter if you have a lot of apples!!
Linda
December 11, 2020 at 10:40 amMy child is an apple pie fiend! These look so good and an easy and quick alternative to doing the whole apple pie thing! Yum!
Monster Cookie • Post Author •
December 11, 2020 at 4:40 pmMy daughter loves these! And yes, much quicker than making a whole double crust pie! I hope you like them!