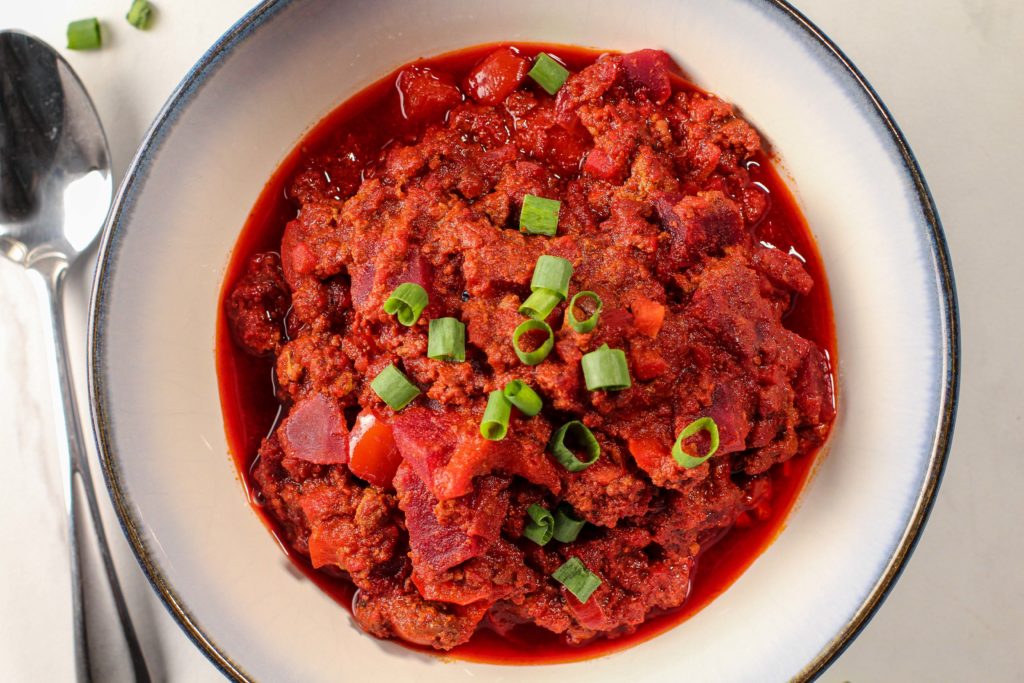
If you are looking for a dish packed with some of the most nutrient-dense superfoods, look no further than this superfood chili!
What hidden gems are in this superfood chili?
Before I tell you, there is something you have to know.
You probably don’t like one or more of these superfoods.
BUT WAIT!
The good news is that ALL of them are optional!
That’s right – you can make this superfood chili with whatever combination of superfoods you want, or rather don’t want.
And with how I have written the recipe, you could even choose to make this chili without ANY of the superfoods.
Okay?
So don’t worry – this is a great recipe for EVERY family!
There are still lots of great vegetables and flavor in this dish, and this chili will still be very nutrient-dense WITHOUT the superfoods!
So if you want plain chili with some extra veggie goodness, just make the recipe without any of the superfood ingredients!
Now, what are the superfood chili choices you ask?
Liver, mushrooms, beets, and bone broth!
Wait, did that say liver?!
Yes it did, but remember, it’s totally OPTIONAL!
But maybe you have never tried some of these superfoods before, so you don’t know if you like them or not.
I say, take a chance and try something NEW!
Let’s chat about why you should CONSIDER using some of these superfoods.
What Makes These Foods Superfoods?
I’m going to try to keep this short and sweet and include links to lengthier articles if you want to read more about a certain superfood.
But all of these superfood options pack great micro-nutrients to help the body function.
So let’s jump in!
Liver
Okay, let’s knock this one out first.
Most people immediately tuned out when I said the word liver, and that’s totally fine.
It is an organ meat, which weirds most people out, and people tend to think it is full of harmful stuff since the liver removes toxins from the body.
What most people don’t realize is that the liver doesn’t STORE any of the toxins.
The liver flushes those toxins out ASAP, so when you eat liver, you aren’t getting a side of toxins.
So now that we’ve cleared up the first big misconception of liver, let’s talk about what liver has to offer.
Liver might be one of the most nutrient dense foods in the world, as just 2 ounces of liver contains your entire daily value of vitamin A, B12, riboflavin (B2), and copper.
Liver is also a great source of folate, iron, and choline.
Please note that I have provided tips below on how to mellow out the flavor of the liver.
You could also just put a half pound of liver in this recipe instead of the whole pound.
If you want to use a half pound, grind up the whole pound of liver at once (saves on cleanup time!), and then set aside half to use now and freeze the other half for later!
Check out some of these great articles for more information on liver as a superfood!
- Liver: Nature’s Most Potent Superfood by Chris Kresser
- Why Liver is a Nutrient-Dense Superfood by Healthline
- Hate liver? Eat it anyways with these tips by Laura Schoenfeld
Mushrooms
Every type of mushroom packs different health benefits with it, so the nutrients you get from the mushrooms will depend on what type you choose for this recipe.
In general though, mushrooms are packed with minerals, vitamins, antioxidants, and fiber.
Mushrooms have been shown to boost the immune system, reduce oxidative stress, fight cancer, and could help prevent Parkinson’s disease and Alzheimer’s disease!
One note about mushrooms is that since they are porous, they will readily absorb pesticides, so finding a good, quality source is important!
For anyone interested in growing your own mushrooms, check out How to Grow Mushrooms at Home – Grow Your Own Mushrooms Easily!
For more great information on mushrooms check out one of these articles!
- Mushrooms Have Stunning Powers to Heal People and the Planet by Food Revolution Network
- The humble mushroom is the newest superfood by CNN
- Are Mushrooms Good for You? by Healthline
Beets
Beets are a lesser known superfood that our family (even our toddler) loves to eat!
Benefits of beets include lowering blood pressure, reducing inflammation, helping the body detox, supporting brain health, and aiding the digestive system.
As for nutrients, beets are high in folate, vitamin C, potassium, magnesium, and iron.
Check out these articles for more information on beets as a superfood!
- Why Beets are a Superfood You Should Eat More Often by Readers Digest Best Health
- Trend alert! Why beets are the hot new ‘superfood’ by the L.A. Times
- 9 Impressive Health Benefits of Beets by Healthline
Bone Broth
What is bone broth?
It is a broth made from simmering bones for long periods of time.
Why would you want to cook with bones?
Because when you simmer the bones for long periods of time, they release amino acids, collagen, gelatin, and trace minerals into the broth!
Benefits of drinking bone broth include improving hair, skin, nail, and joint health, reducing inflammation, boosting the immune system, and it can also help heal a leaky gut.
You can read more about the benefits of bone broth from one of these sites!
- 10 Benefits of Bone Broth + Gut-Healing Recipe by Dr. Amy Myers
- Bone Broth Benefits for Health by Wellness Mama
- Bone Broth Benefits for Digestion, Arthritis and Cellulite by Dr. Josh Axe
NOTE: You will want to use an organic bone broth or homemade bone broth made with organic meat bones so that your broth isn’t laden with toxins.
There are tons of great recipes out there on how to make your own.
I also use these pre-made brands which use organically raised, grass-fed bones with organic vegetables. Both brands can be bought on Amazon or at a local grocery store!
Secret Tip for Preparing Liver
Liver can pack a strong flavor, but soaking liver in lemon juice (or milk) before cooking it can help tone down it’s flavor.
To do this, first place the liver in a bowl and add enough water until it is covered.
Then squeeze in the juice of one lemon, or about 2 Tablespoons of lemon juice, into the bowl.
Allow the liver to soak for a few hours, and then drain off the water and pat the liver dry with paper towel.
Proceed with the recipe once the liver is prepared.
I personally haven’t followed this procedure for the recipe since the chili flavors seem to hide the liver taste well enough for my palate.
But if this is your first time eating liver, you might want to try using this method!
Step-by-Step Directions with Pictures to Make Superfood Chili
Preparing the Liver (if using)
As mentioned above, you can start by soaking the liver in a bowl of water with the juice of one lemon for several hours to mellow out the flavor of the liver.
After the liver has soaked (or start with this step if you didn’t soak the liver), attach a meat grinder attachment to a Kitchen-Aid mixer (pictured below).
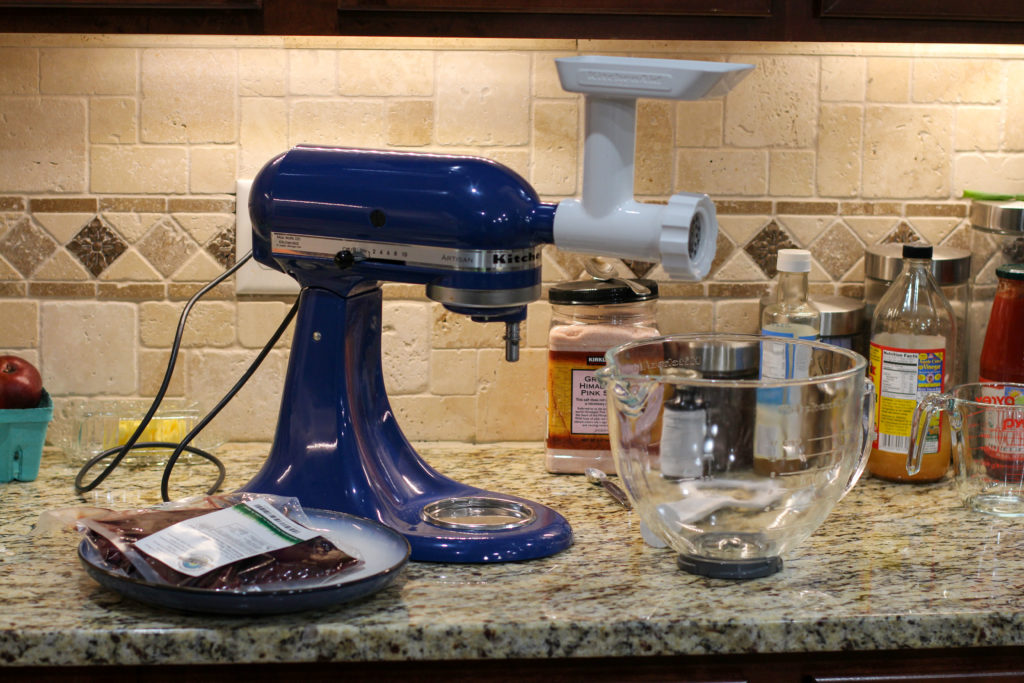
Next, cut the liver into a few large chunks, place a large bowl under the end of the grinder (as pictured above), turn on the mixer, and feed the liver into the opening on the top.
Use the food pusher or other utensil to work the last of the meat through the grinder and then set aside.
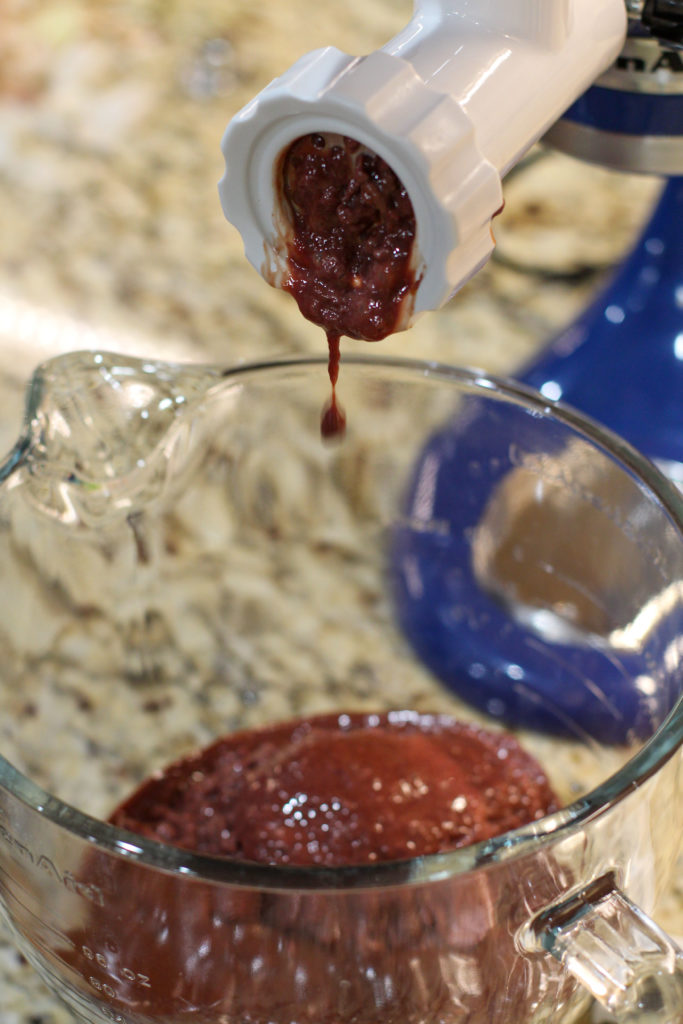
If you don’t have a meat grinder, you can also use a food processor to grind up the liver. You can find food processor directions here.
Also, you don’t have to use the whole pound of liver in this recipe if this is the first time you are trying liver!
If you want to just use a half pound, grind up the whole pound of liver at once (saves on cleanup time!), and then set aside half to use now and freeze the other half for later!
Preparing the Vegetables
Besides preparing the liver, there are lots of vegetables to chop up for this recipe!
Start by crushing and mincing the garlic so that it can sit out for a while to build up anti-cancer compounds!
Next, dice up the onion, mushrooms (if using), and bell pepper.
If you are using beets, use a vegetable peeler to remove the thick skin and then slice and dice them into chunks.
If using a head of cauliflower, use a food processor to rice the cauliflower OR you can just cut it into florets if you don’t mind larger chunks of cauliflower in the chili.
To cut down on the time it takes to prepare the vegetables, you could also use these short cuts:
- Use onion and garlic powder instead of preparing fresh onion and garlic
- Buy riced cauliflower instead of a head of cauliflower
Now that all of the vegetables are prepped, it’s time to get this chili cooking!
Cooking the Superfood Chili
Grab the largest pot in your kitchen (if you don’t have a large pot, consider making a half batch).
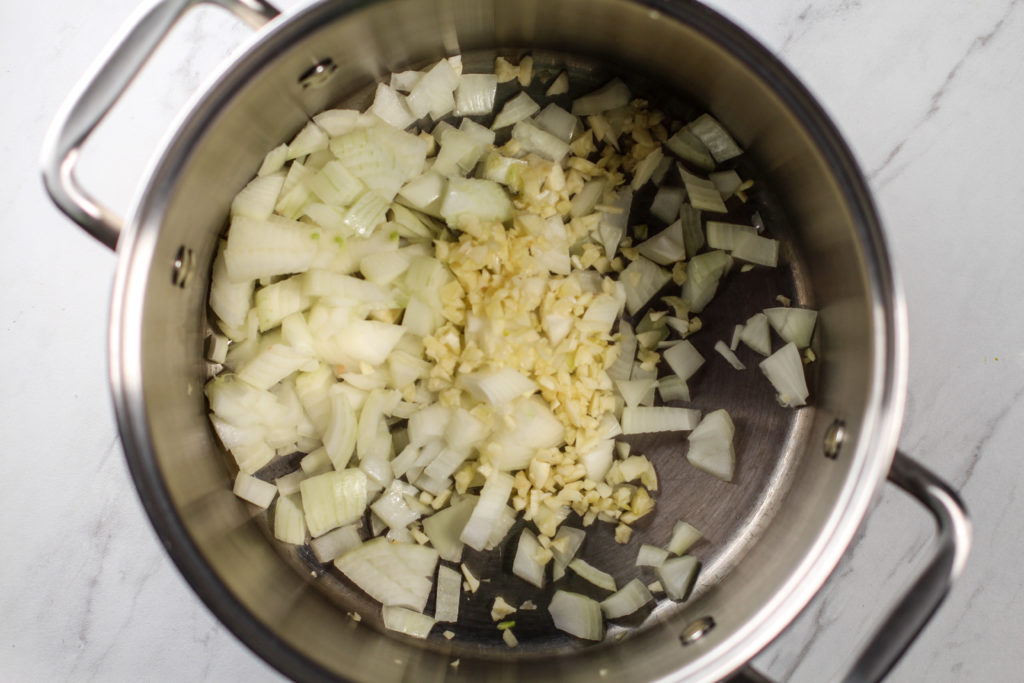
First, add the onion and garlic to the pan.
Sauté for 5 minutes, or until fragrant and soft.
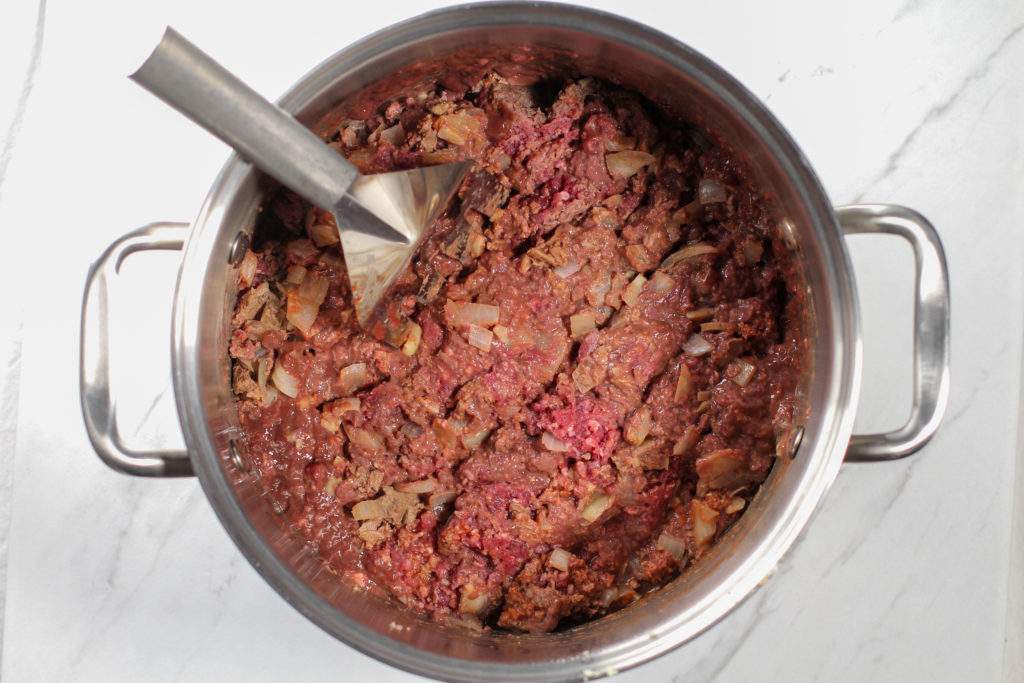
Next, add the beef and liver and cook until browned, using a spatula to break it up into small pieces.
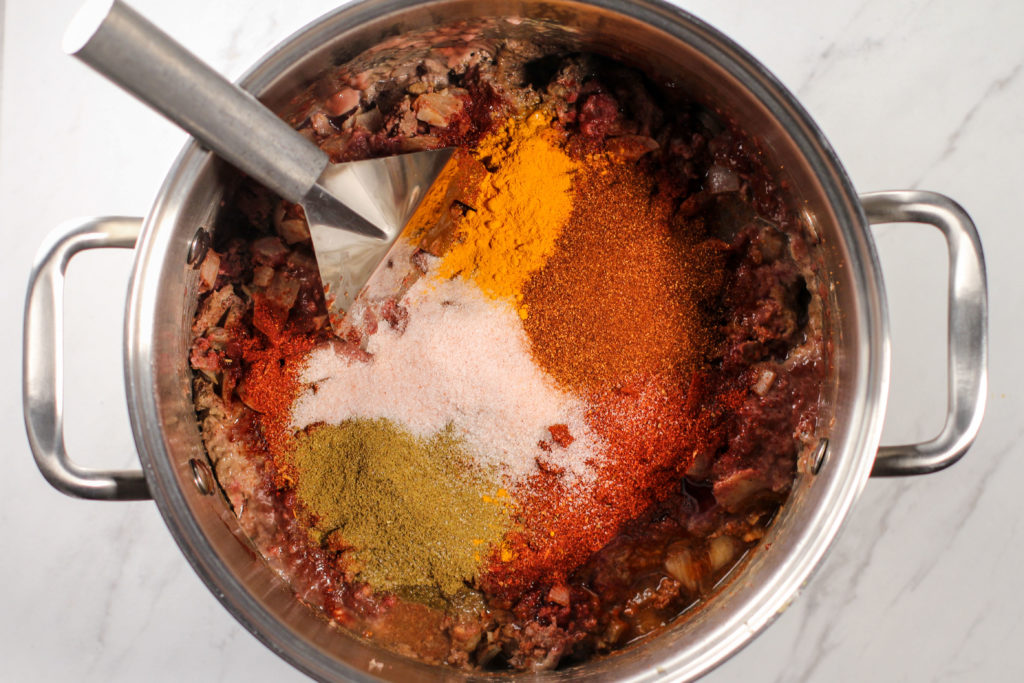
Before the meat has completely cooked, add the spices to the meat.
The reason I like to add my spices while the meat is still cooking is because it seems to flavor the meat better.
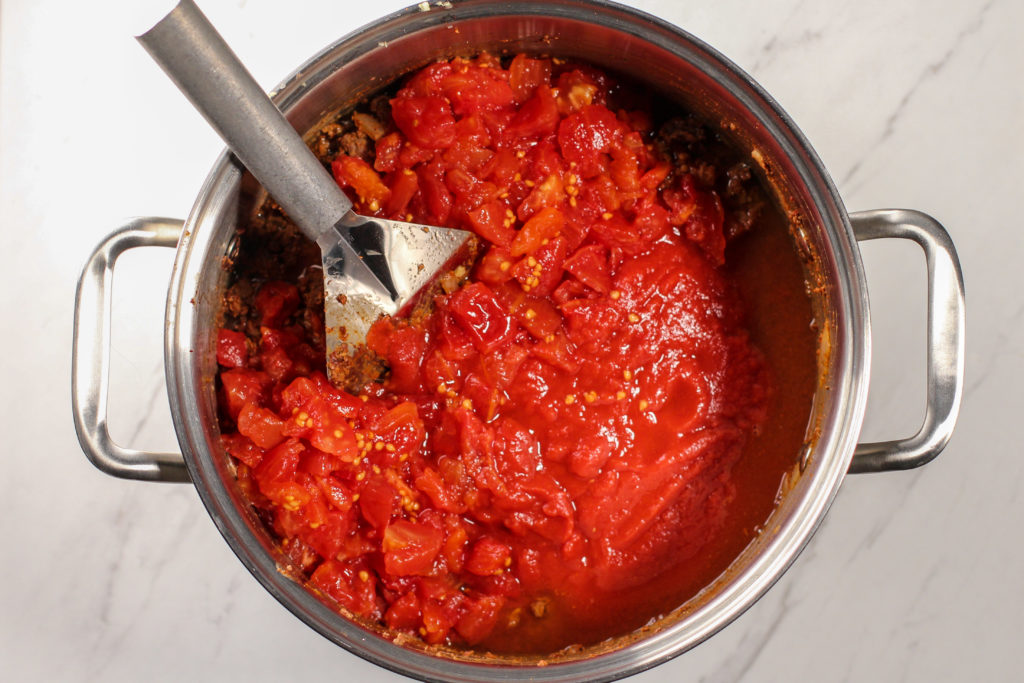
After that, add the tomato paste and stir it in. Then add the diced tomatoes and the tomato sauce, stirring everything together.
Next, add the cauli-rice and mushrooms (if using) and stir until well mixed.
If you used frozen cauli-rice like I did, wait to move on to the next step until the cauli-rice has thawed enough that you can break it apart into small chunks and incorporate it into the chili.
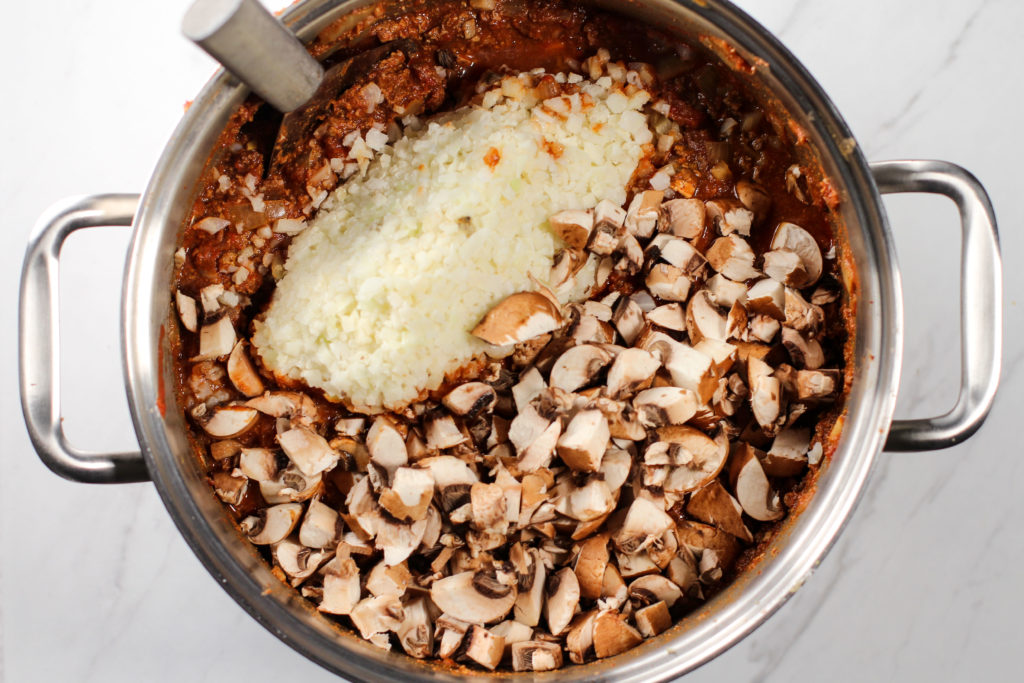
After that, add the bell pepper and the beets (if using).
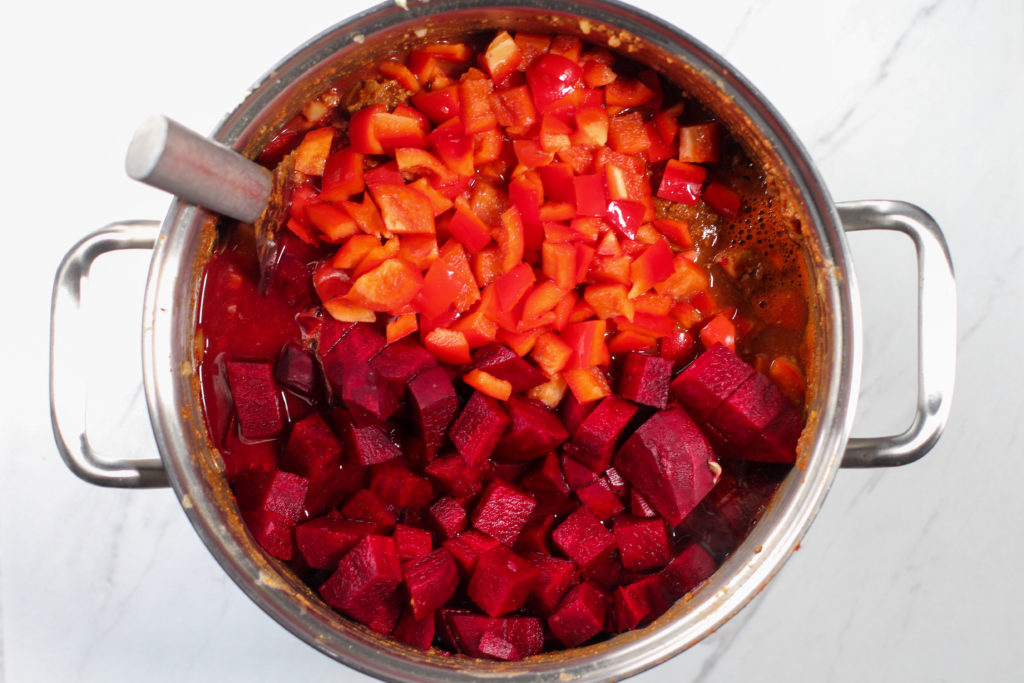
Finally, add the bone broth (if using).
Carefully stir everything together.
If you did not add the bone broth and the chili seems really thick, add store-bought or homemade vegetable broth, beef stock, tomato juice, or water to thin out the chili.
Simmer the chili for 2 hours. Stir every 20-30 minutes and add more liquid if needed.
Most importantly, no matter what liquid you are using, don’t let the chili get too thick or else you risk it burning to the bottom of the pan.
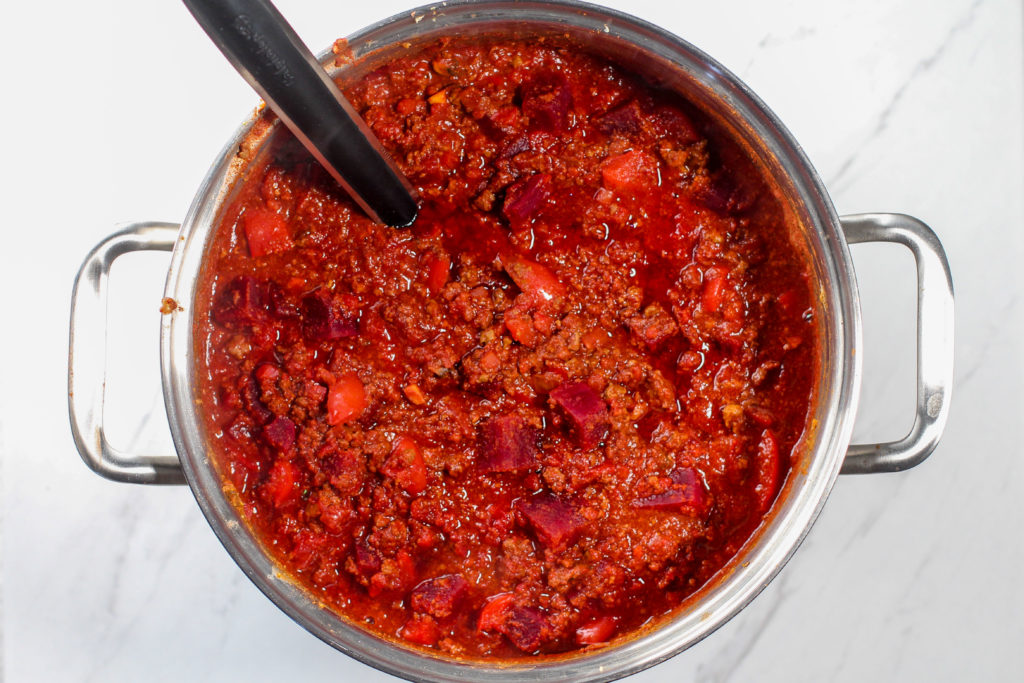
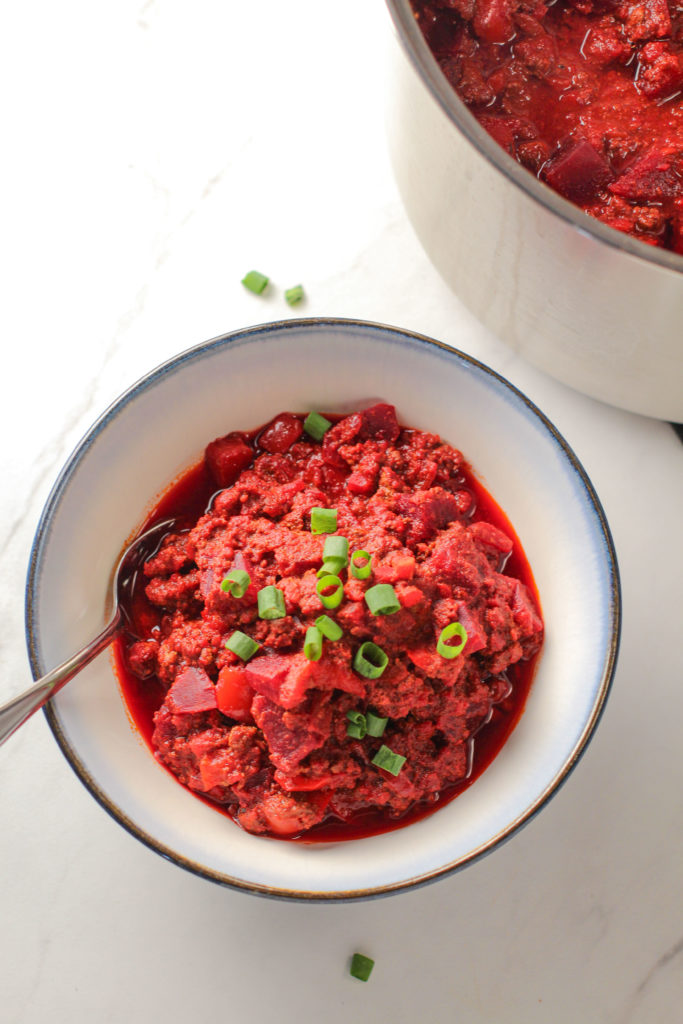
Once the chili is done cooking, serve your superfood chili with desired toppings and enjoy!
What Other Vegetables Could Be Used In This Superfood Chili?
The great thing about this chili is that it can hide a lot of vegetables in it!
Extra vegetables could be added in addition to the what’s listed in the recipe or used to replace some of the other vegetables!
Additional Vegetable Options:
- Zucchini
- Green Beans
- Carrots
- Celery
- Butternut squash (or try my butternut squash chili!)
What Other Meats Could Be Used In This Superfood Chili?
You can completely change the flavor of this dish by changing up the meat used!
If you still want to use liver, try chicken livers with ground chicken.
And again, you can leave out the liver altogether and just use ground beef, ground chicken, ground turkey, or even ground bison!
Just substitute in 2-3 pounds of ground meat!
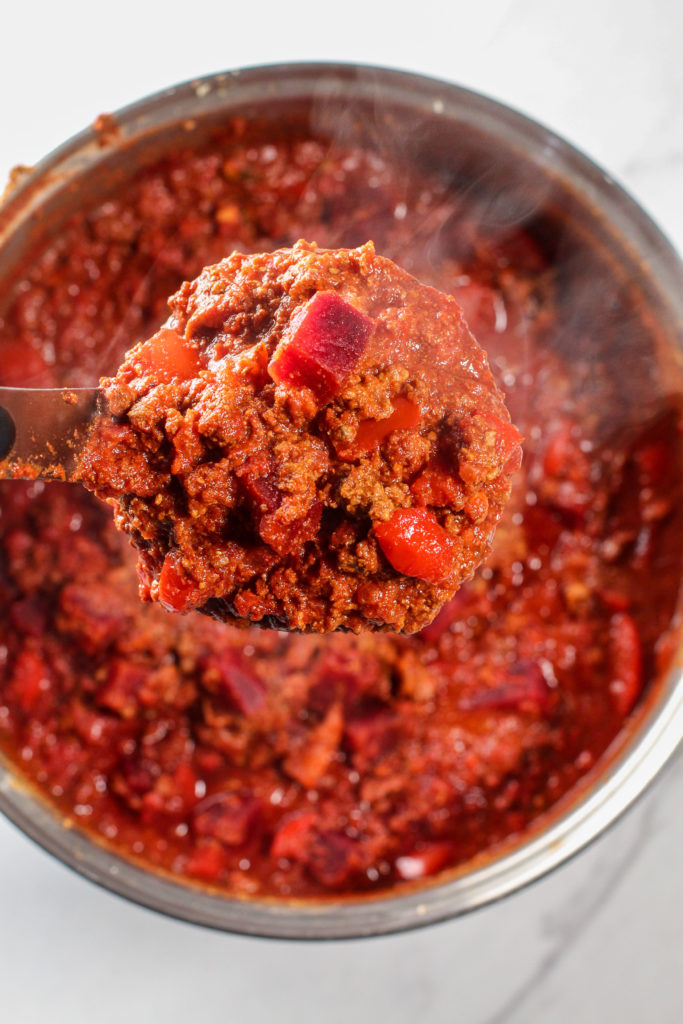
What Toppings Can You Put on Superfood Chili?
Try any of these toppings on your superfood chili, or any chili recipe for that matter!
Superfood Chili Toppings:
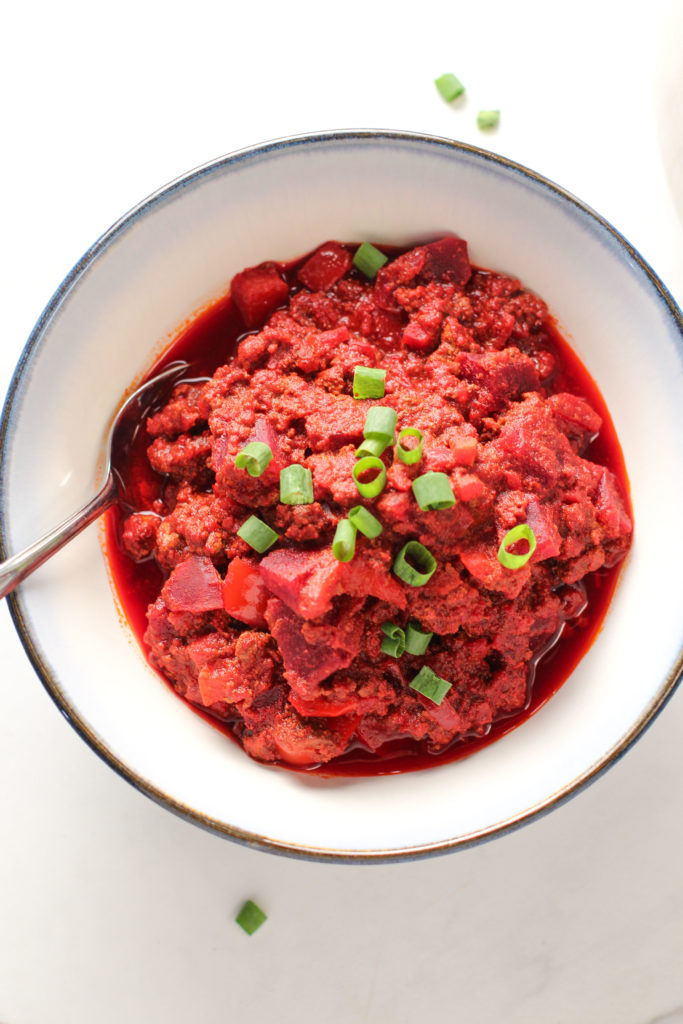
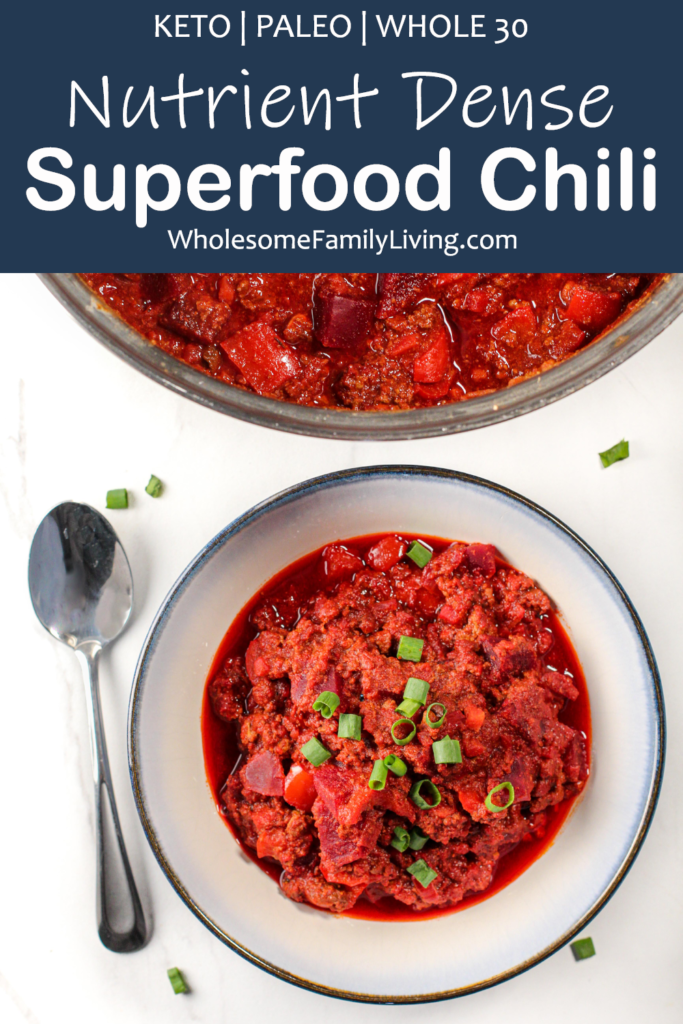
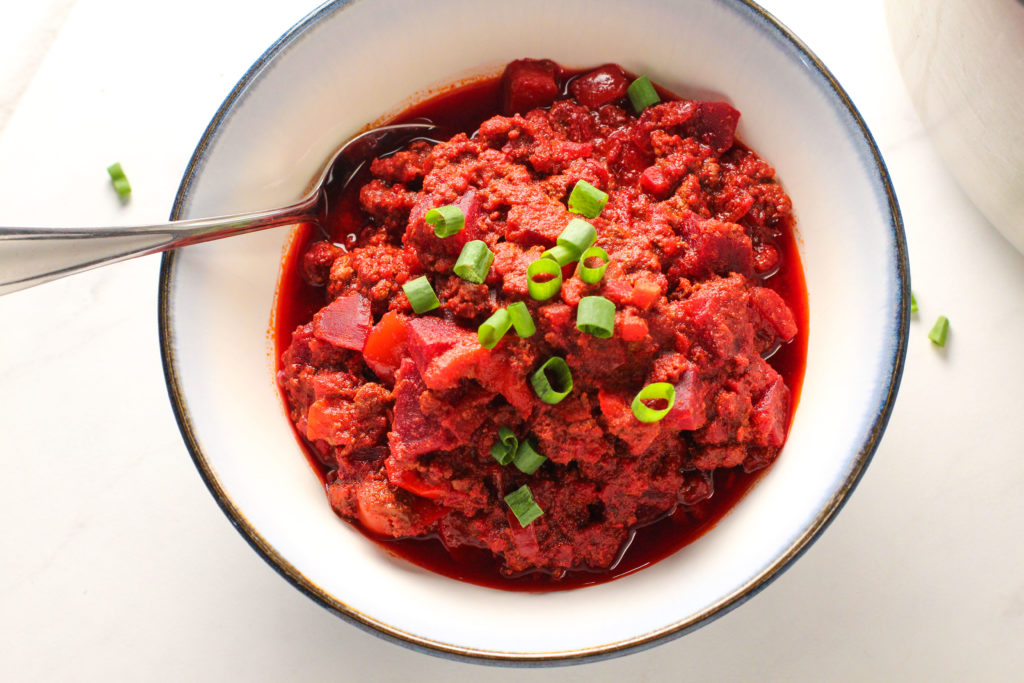
- Green Onion (as pictured)
- Sour Cream
- Shredded Cheese
- Nutritional Yeast (click here for B-vitamin fortified or here for unfortified)
- Crackers
- Crushed Chips
- And a new one for our family, Nut-Butter!
I know nut-butter might seem a little odd, but let me explain.
Have you ever heard of a peanut butter burger?
If not, you totally have to try it!!
But in college, we had a local restaurant that would sell peanut butter burgers and they ROCKED!
So recently, my husband and I tried chili and peanut butter together and I LOVED it! (my husband was less sure, but I think it’s great!)
What other toppings do you like on your chili?
Did I miss any?
Share in the comments below!

Superfood Chili {keto, paleo, whole30}
- Total Time: 3 hours
- Yield: 12 servings 1x
Description
This chili is PACKED with tons of vegetables and is still a nutritional powerhouse without any of the optional superfoods. If you are looking to add increased nutrients, mix and match whichever optional superfoods you want into the recipe!
Ingredients
- 8 cloves of garlic, minced (or 2 teaspoons of garlic powder)
- 1 large onion, diced (or 2 teaspoons of onion powder)
- 2 pounds ground beef
- 1/4 cup chili powder
- 2 Tablespoons cumin
- 3 teaspoons salt
- 2 teaspoons paprika
- 2 teaspoons oregano
- Optional: 1/2 teaspoon cayenne pepper or more for some heat!
- 2, 6-ounce cans or jars of tomato paste
- 2, 16-ounce cans or jars of diced tomatoes (use fire roasted for added flavor) – DO NOT DRAIN
- 1, 16-ounce can of tomato sauce (or 1 more 6 ounce can of tomato paste with 1 cup of water or broth)
- 1 pound of frozen cauli-rice (or one small head of cauliflower, riced)
- 2 red bell peppers, diced
- Superfood Option 1: 1/2 pound to 1 pound beef, lamb, or chicken liver (see my secret liver tip above)
- Superfood Option 2: 8 ounces of mushrooms, diced (any type of mushroom is fine!)
- Superfood Option 3: 2 large beets, peeled and diced
- Superfood Option 4: 2 cups beef bone broth (or add until desired chili consistency is reached)
- Note: If not using bone broth, use vegetable broth, beef stock, tomato juice or water to thin the chili to the desired consistency
Instructions
- If using, grind up the liver using a Kitchen-Aid mixer with a meat grinder attachment or a food processor. If you are using the meat grinder, place a large glass bowl under the end to catch the ground liver. Set aside.
- Grab the largest pot in your kitchen (you need this to be big, otherwise consider making a half batch).
- Add the onion and garlic to the pan. Sauté for 5 minutes, or until fragrant and soft.
- Add the beef and liver and cook until browned, using a spatula to break it up into small pieces.
- Stir in the tomato paste, then add the diced tomatoes, tomato sauce, and the spices, continuing to stir everything together.
- Lastly, add the cauli-rice, bell pepper, mushrooms and beets and stir until well mixed. If the chili is really thick, add some broth or water so that the chili doesn’t burn to the bottom of the pan.
- Simmer the chili for 2 hours, or until the beets are soft. Stir every 20-30 minutes and add more liquid if needed.
- Serve with desired toppings (see above) and enjoy!
Notes
Storage: Store leftover chili in an airtight container for 3-4 days in the fridge (honest moment – I have eaten chili up to a week later without issues).
Freezing: Alternatively, you can store chili in the freezer for up to 6 months (for best freshness, but it’s safe to eat indefinitely in the freezer). I store chili in a large glass bowl, glass pan, or even glass jars for individual servings (just make sure the glass containers are freezer safe!).
Thawing: Thaw containers of frozen chili in the fridge for 1-2 days depending on the size of the container.
Reheating: Reheat leftovers on the stove by bringing the chili back to a simmer for 5 or so minutes. Stir the chili while it’s simmering to make sure the chili is evenly heated.
- Prep Time: 1 hour (if including ALL superfoods)
- Cook Time: 2 hours


Dan
October 29, 2022 at 5:15 pmnot having liver in chili. YUK!
Monster Cookie • Post Author •
October 29, 2022 at 8:45 pmHi Dan! No worries – you can make this chili without the liver! That’s why it’s an optional ingredient! 🙂