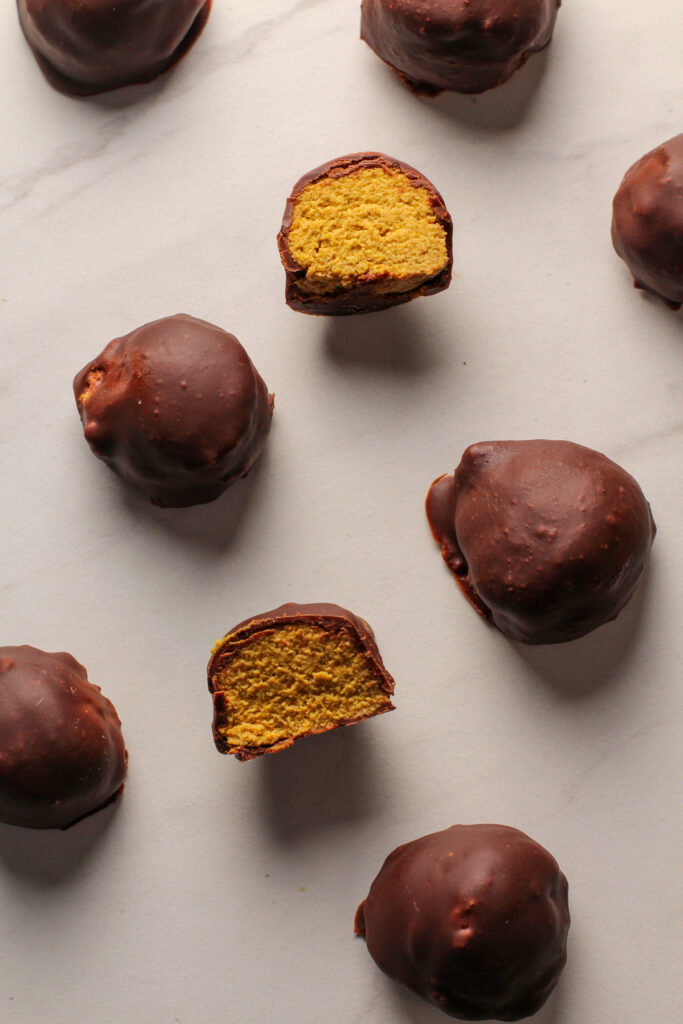
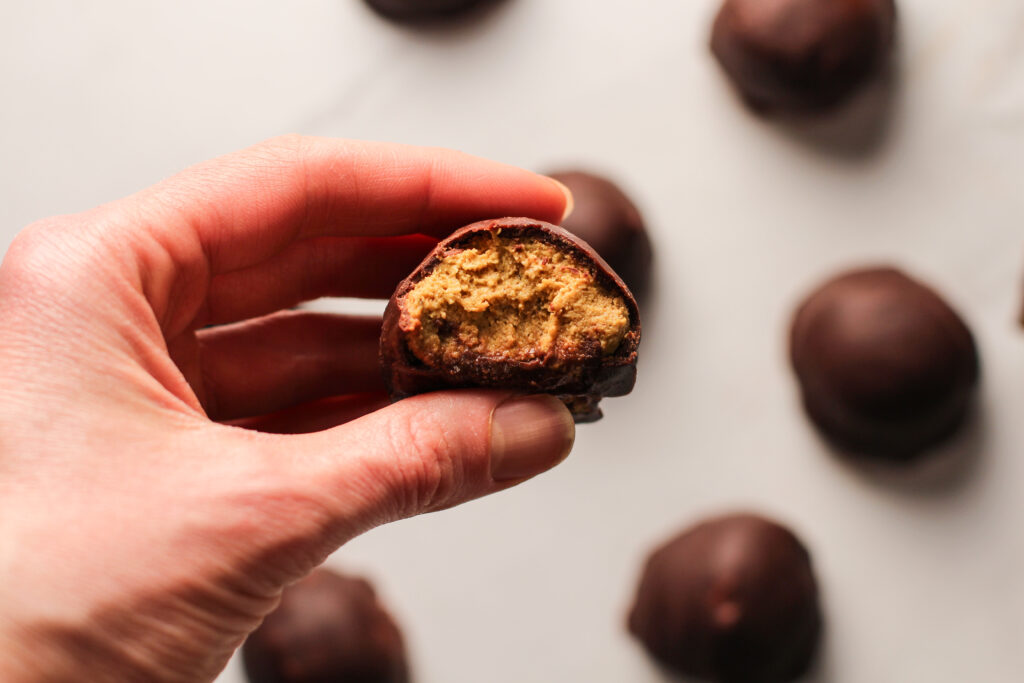
Pumpkin pie truffles are the perfect fall appetizer, snack, or dessert.
I don’t know how the weather is where you live, but today we had our first day of cool, crisp weather – hello fall!
What a refreshing relief from the heat and humidity we have been experiencing lately.
There’s no better start to crisp fall weather than with some pumpkin treats!
And these are great for early autumn because you don’t have to run the oven to enjoy the pumpkin pie flavors!
So grab you food processor (or blender!) and let’s make these pumpkin pie truffles!
How to Make Pumpkin Pie Truffles (It’s Easy!)
I’m going to let you in on a little secret – the word truffle sounds fancy and complicated, but these pumpkin pie truffles are really easy to make!
Making the Pumpkin Pie Batter
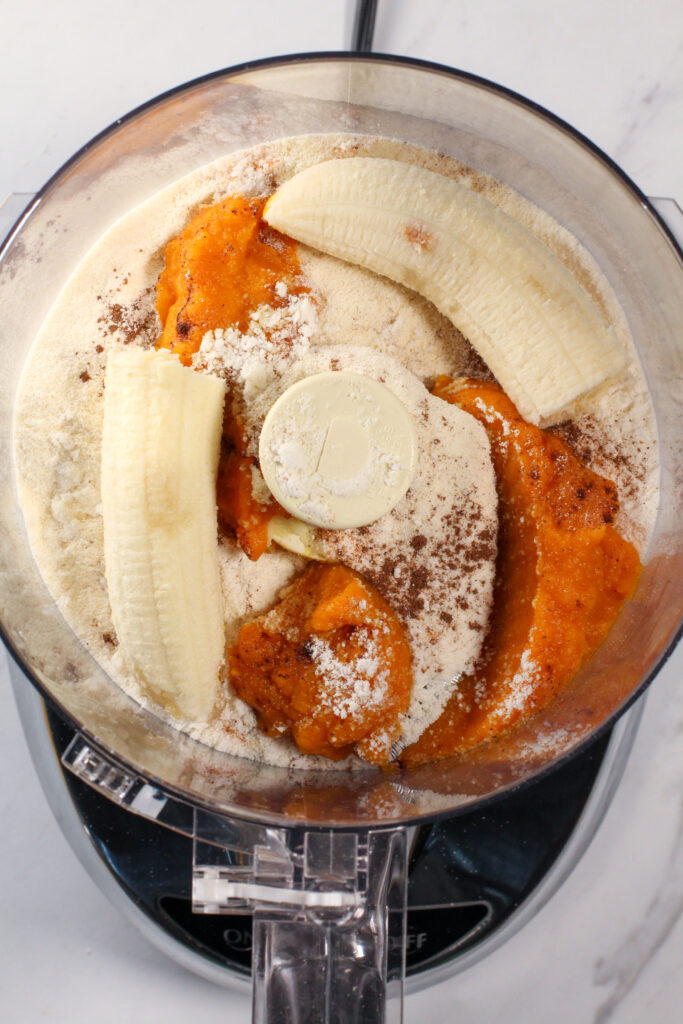
Measure out all of the ingredients, besides the shredded coconut, into a food processor or blender.
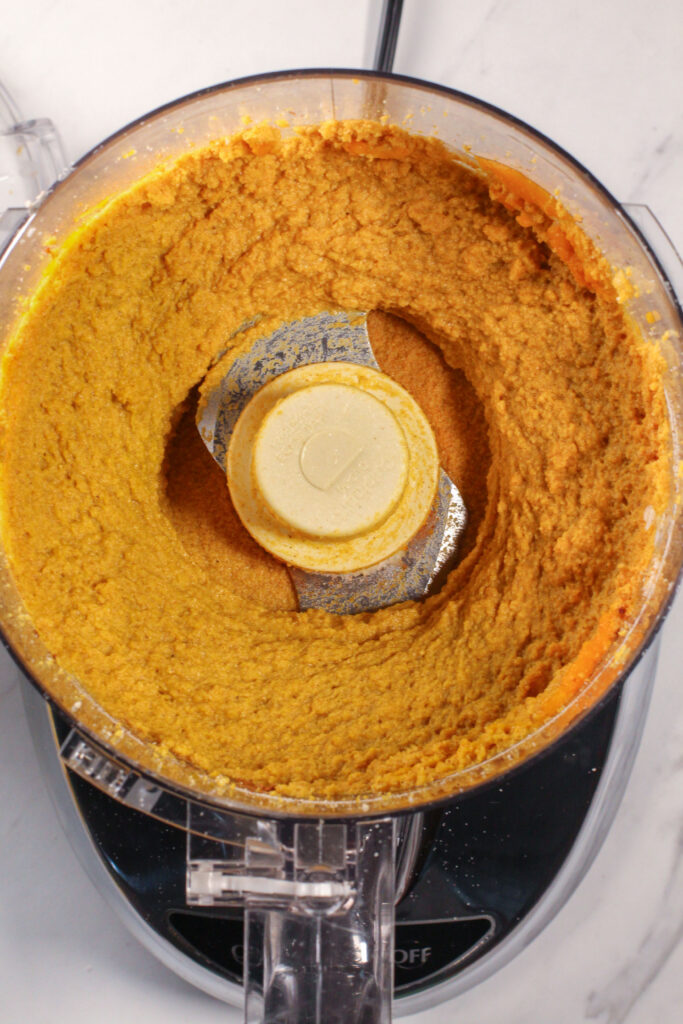
Blend the ingredients together until the mixture is smooth.
If you are using the shredded coconut, combine the pumpkin mixture and the shredded coconut in a separate bowl.
Wondering why you would add shredded coconut?
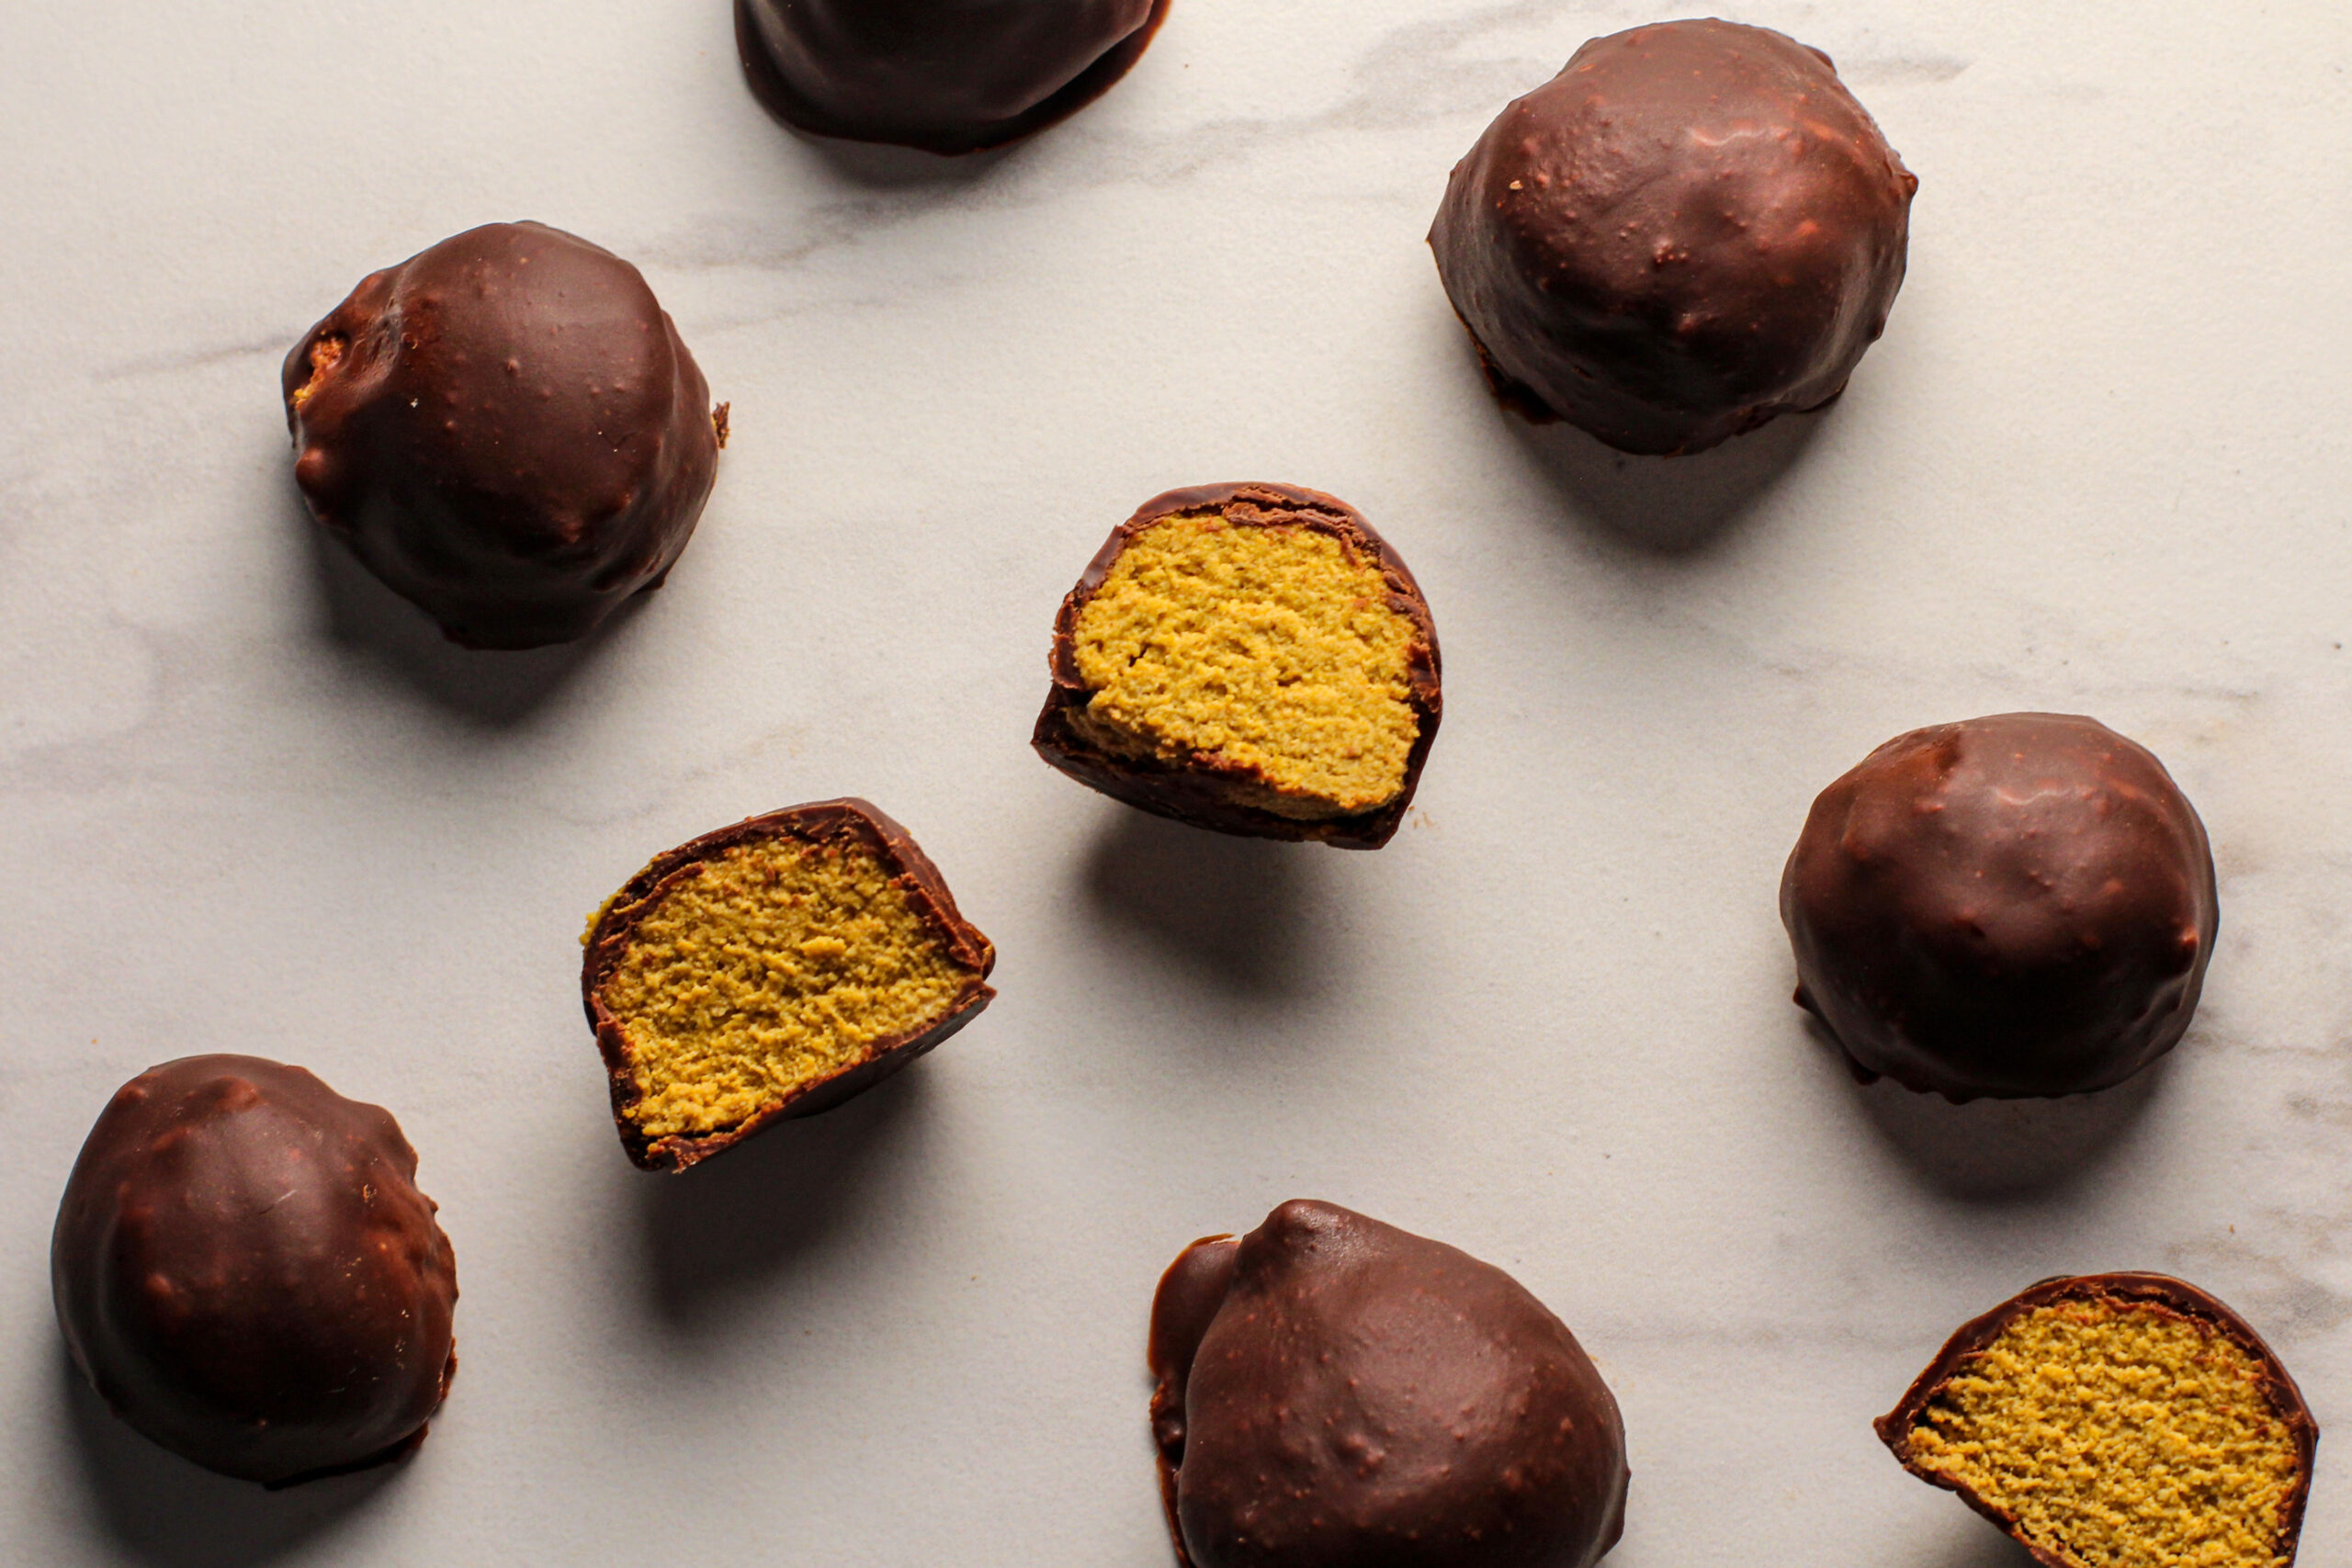
Mostly for extra texture in the middle, and it will add a little more of the classic crust flavor of a pumpkin pie.
It is totally optional though, so if you want a smooth truffle in the middle, skip the shredded coconut!
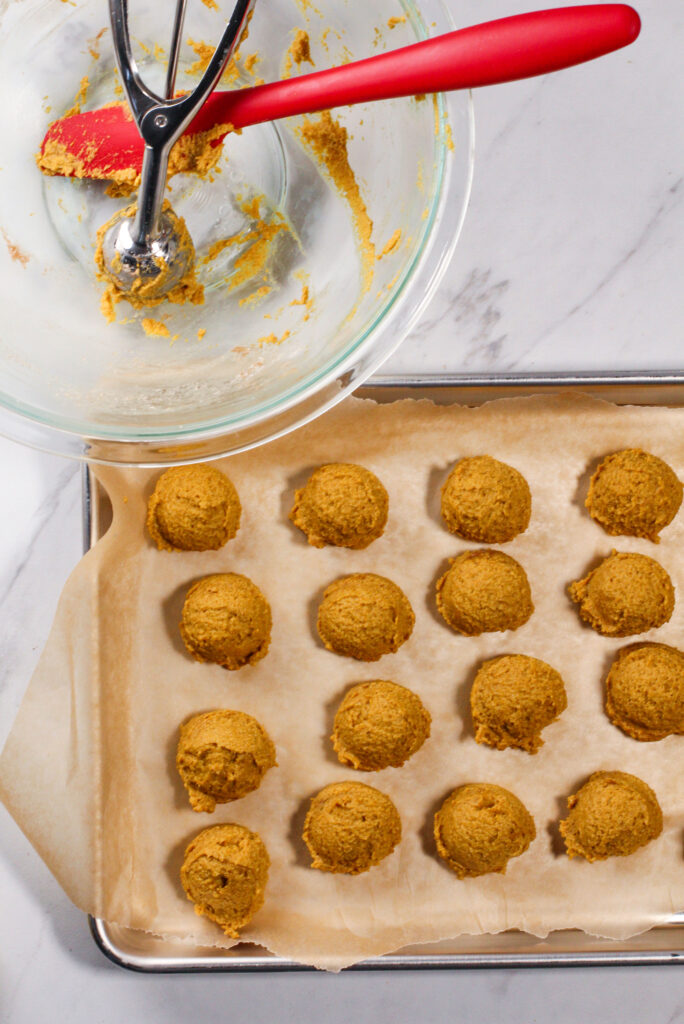
Prepare a baking sheet with parchment paper (to keep the balls from freezing to the tray).
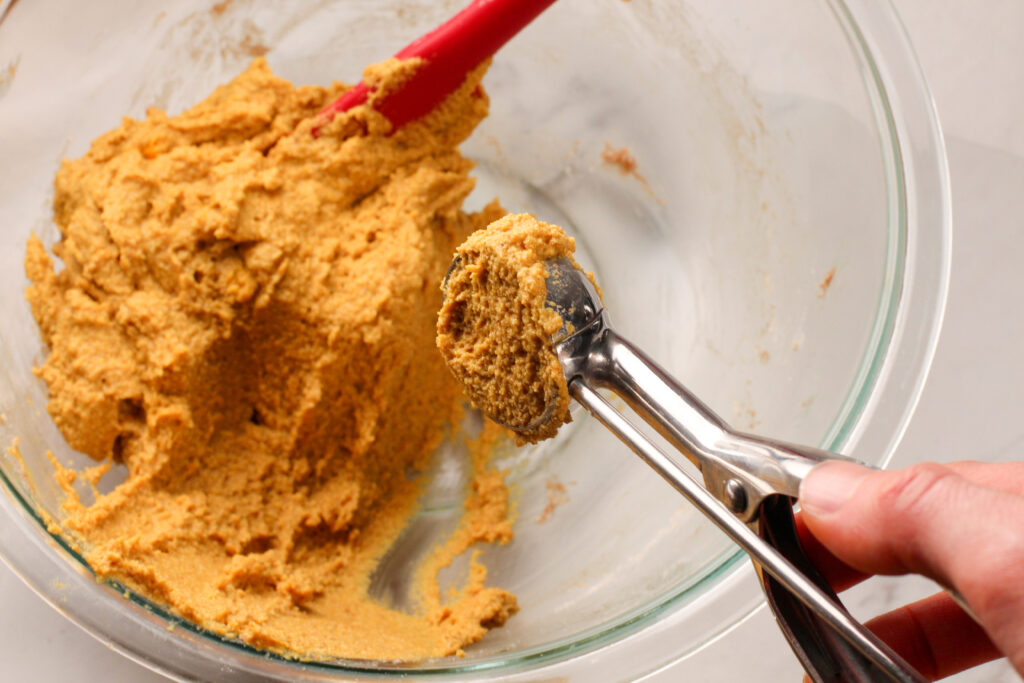
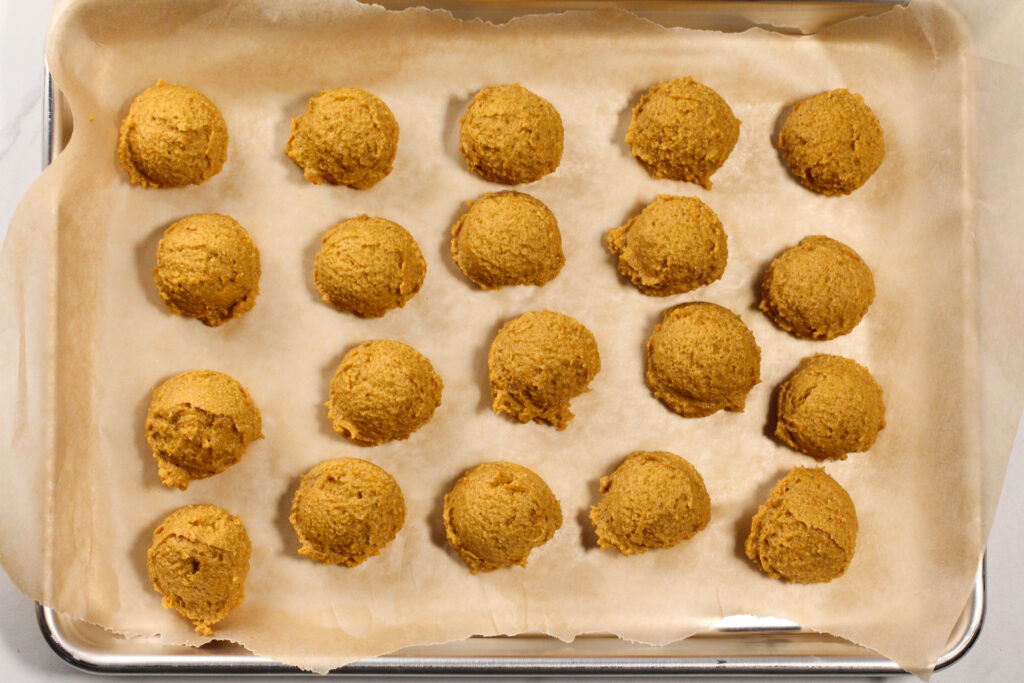
Use a cookie scoop to make even balls of dough.
If you want ball shaped truffles, use your hands to roll the dough into balls.
Otherwise, if you are lazy like me, feel free to leave the bottoms flat.
Place the baking sheet in the freezer for 1-2 hours.
Preparing the Chocolate Sauce
Before pulling the baking sheet from the freezer, prepare the chocolate sauce first.
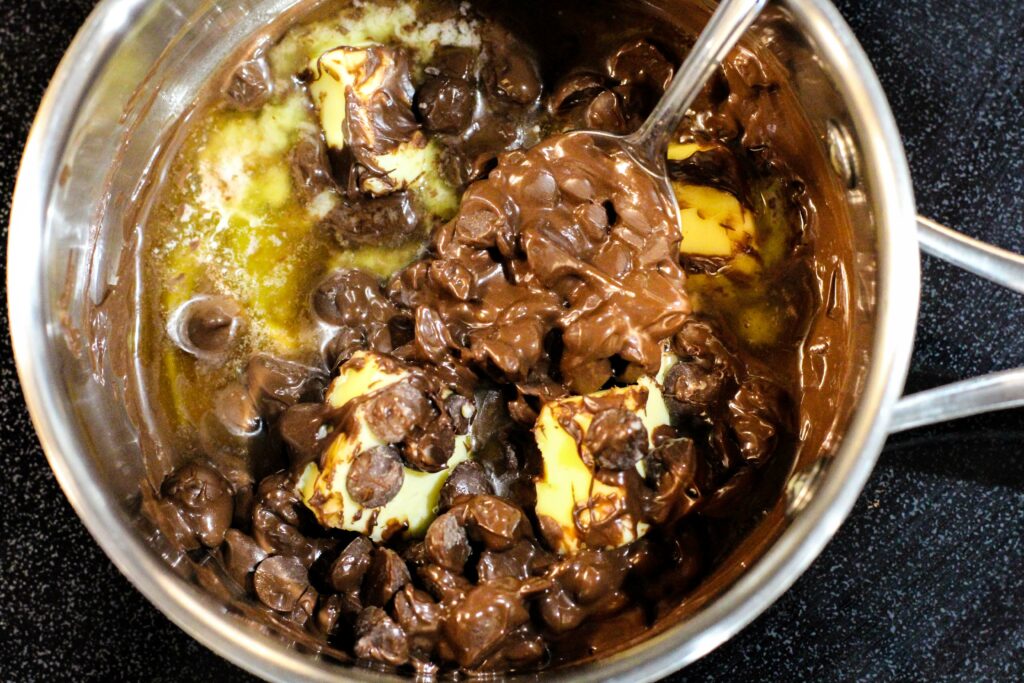
To make the chocolate sauce, melt the chocolate chips and the butter (or coconut oil) in a saucepan over low heat.
I occasionally run into problems with getting too busy in the kitchen and overcooking the chocolate sauce.
This is basically where the chocolate sauce gets too dry and is crumbly.
If that happens, remove it from the heat and slowly add more butter or coconut oil, stirring until it comes back together.
But hopefully you won’t even get to that point since I’m warning you now!
My tip is to stir the mixture constantly and heat it just until the last of the chocolate chips have melted.
This will give you a smooth and creamy chocolate sauce.
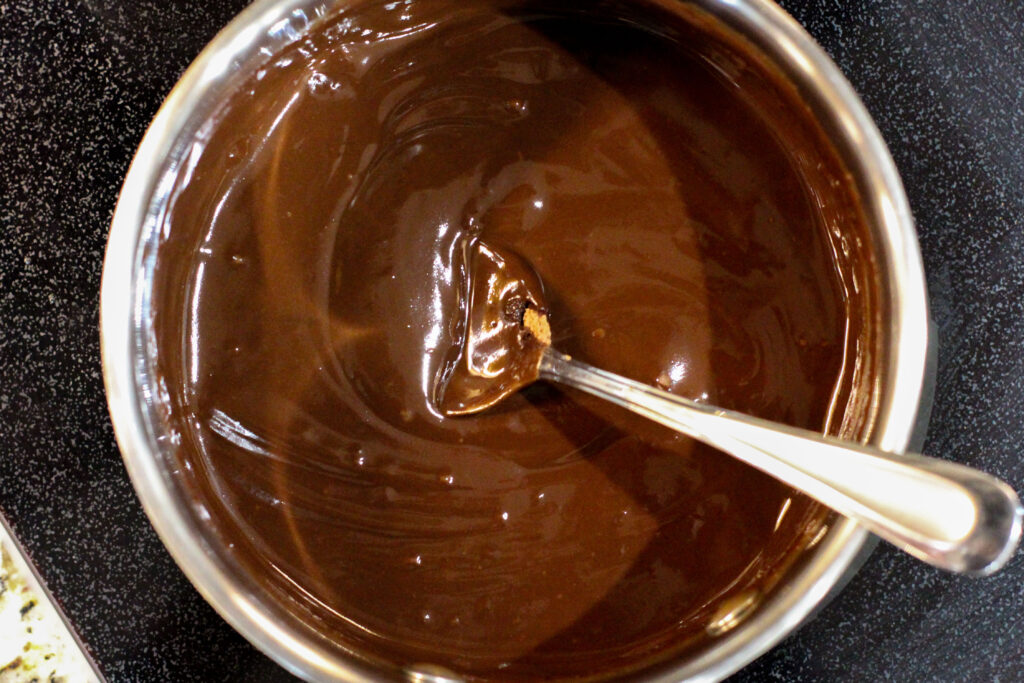
Remove the sauce from the heat.
Now I like to prepare a second baking sheet with more parchment paper.
You can try to put the truffles back on the original sheet, but it’s cleaner for me to just move them to a whole new sheet.
Putting it All Together
Now grab the pumpkin pie truffle baking sheet out of the freezer.
Using a spoon or a toothpick, drop each pumpkin ball in the chocolate sauce.
Roll the pumpkin ball around in the sauce or use the spoon to fully coat the pumpkin ball in the chocolate sauce.
Place them back on a baking sheet.
Once all of the truffles are coated, place them back in the freezer for about 30 minutes or until the chocolate has hardened.
Now if you are like me, some stray chocolate sauce may have oozed around the truffle edges.
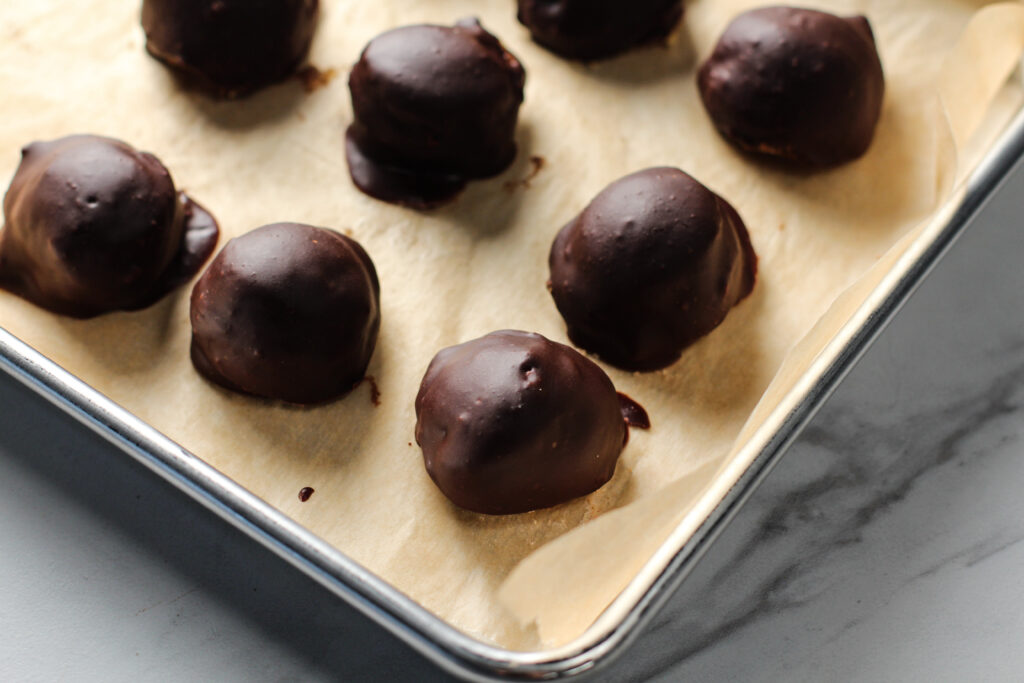
The nice thing is that it is very easy to use a knife to cut off the chocolate trails to give you perfect looking truffles!
To do this, use a sharp knife to trace around the bottom edge of the truffle.
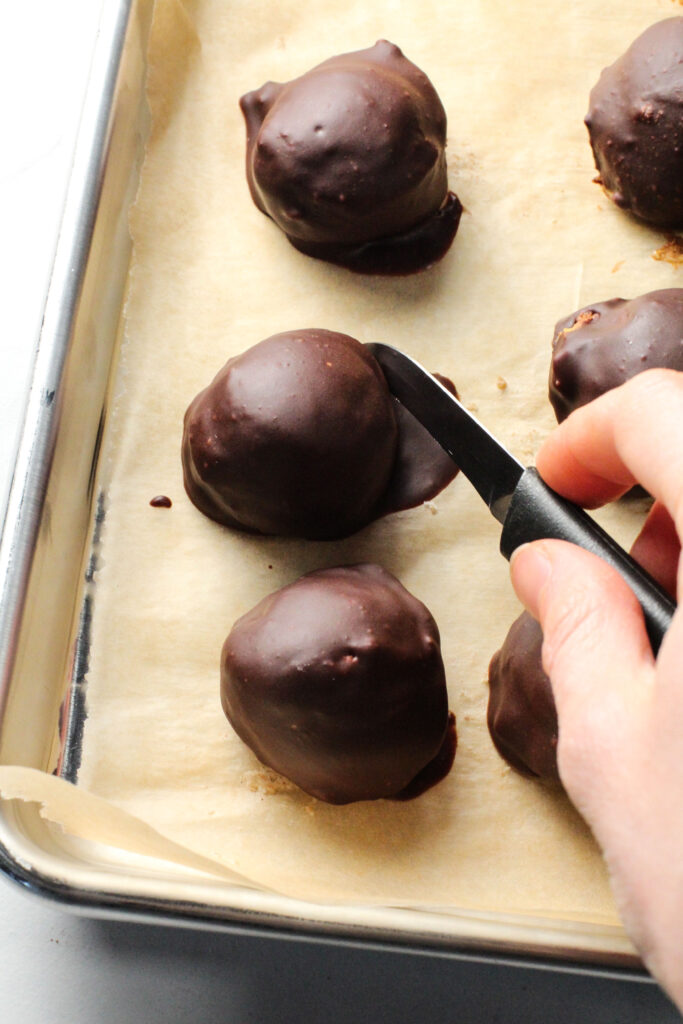
See how the edge is smooth now?
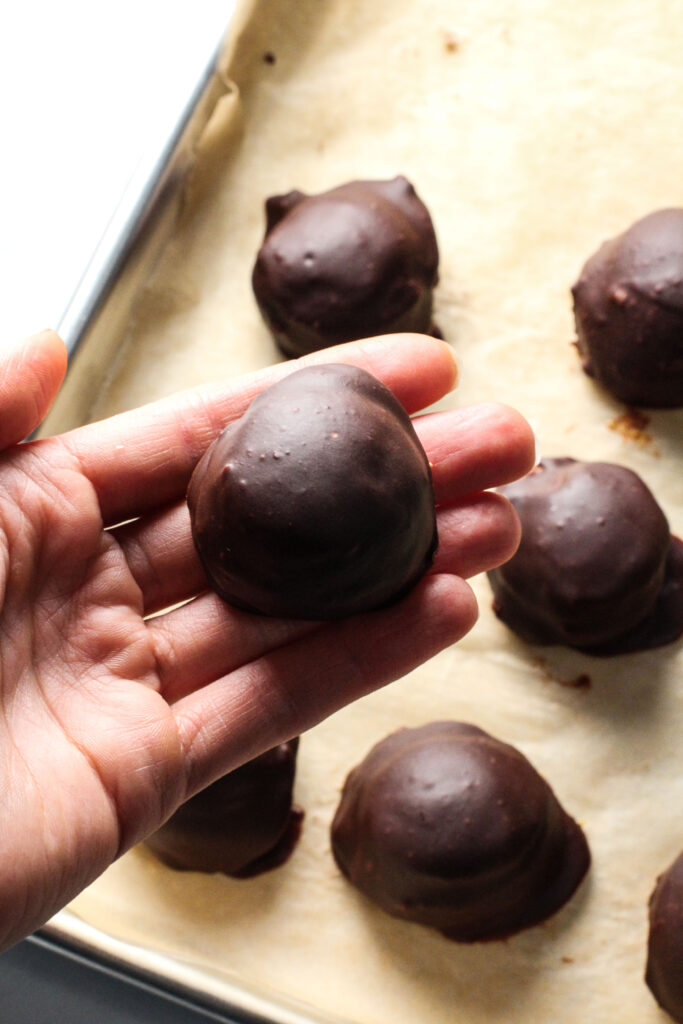
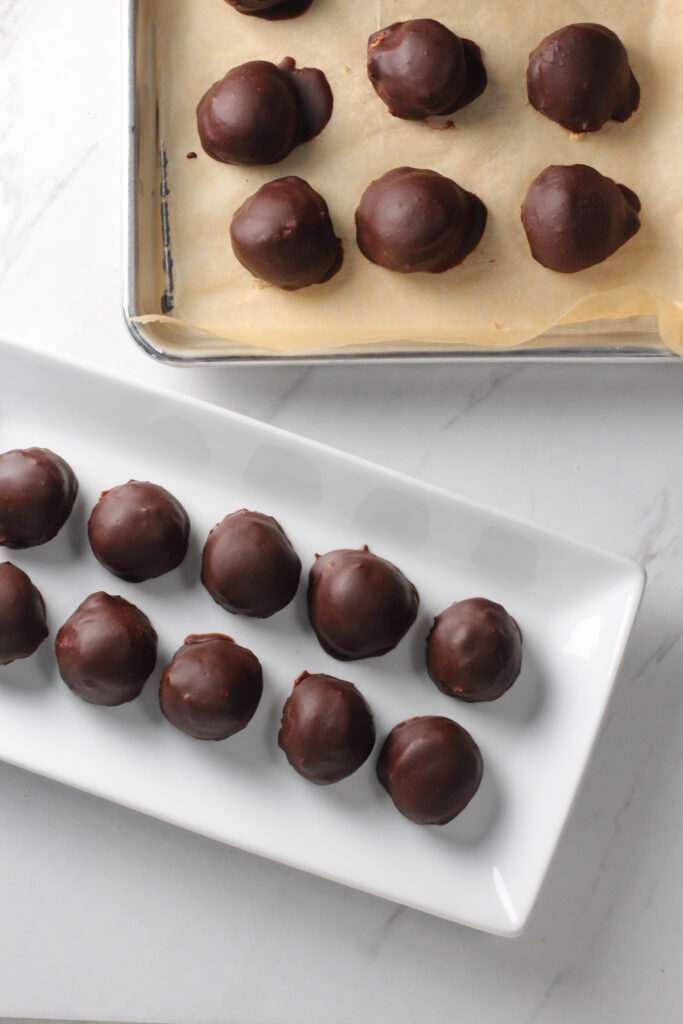
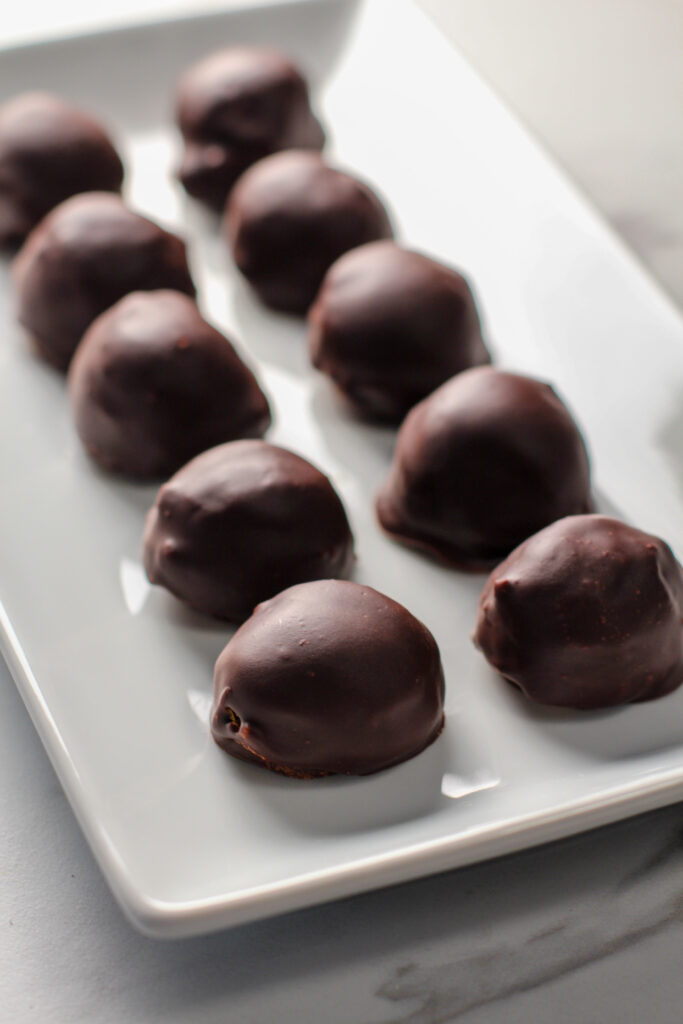
Place the pumpkin pie truffles on a serving platter if you are serving them soon.
Otherwise, place them in a rigid, airtight container and store in the fridge for up to a week.
These truffles are also very freezer friendly, so feel free to make them way ahead of time and pull them out as you want to eat them!
You probably just want to give them about 15-30 minutes to warm up on the counter before serving.
If you are thinking what I’m thinking, this makes them a cute dessert addition to a dessert buffet for a party or Thanksgiving!
And pumpkin pie truffles travel really well too if you aren’t the one hosting but want to bring a treat to share!
What Protein Powder Should I Use to Make Pumpkin Pie Truffles?
My best recommendation is to just use whatever protein powder your family usually uses.
Since these truffles will not be baked, you don’t have to worry about achieving a certain consistency.
Any protein powder will work!
Our family favorites are Tera’s Whey and CERTIFIED truly grass-fed Garden of Life sport protein powder.
However, if you are looking for a diet specific protein powder, I have some other recommendations!
I have talked about protein powders in quite a few posts, so I will just give a quick run down here.
- Paleo Diet: use an egg white protein powder or PaleoPro protein powder, which is a beef and egg protein.
- Vegan diet: Orgain organic plant based protein with the vanilla bean flavor.
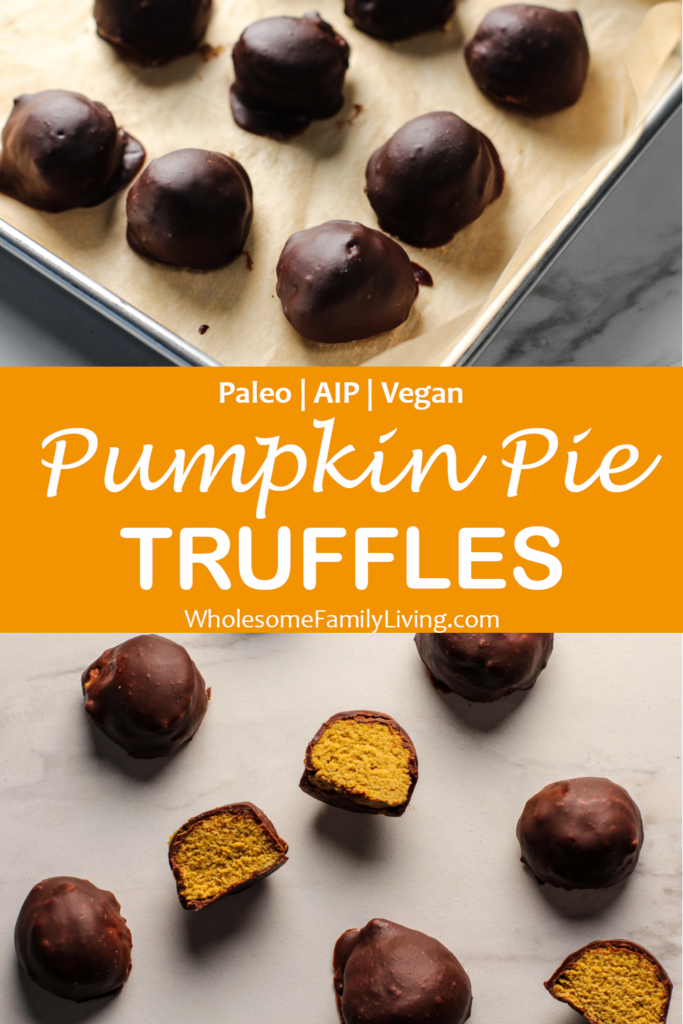
- AIP diet: please see below for all of the recipe modifications required to make these AIP friendly
For more detailed information on all of the different protein powder choices listed above, check out my post for Banana Bread Protein Bites.
How to Make AIP Approved Pumpkin Pie Truffles
While this recipe is very easy to make AIP friendly, the recipe does need a few modifications.
Ingredients that are not approved for the AIP diet in this recipe are nutmeg, whey protein powder, and chocolate for the chocolate sauce.
Luckily, the modifications for those ingredients are easy!
Start by either omitting the nutmeg or switching it out for ground ginger.
See? An easy switch!
For the protein powder, use an unflavored collagen or gelatin powder. I prefer the Great Lakes collagen. Since this recipe calls for a vanilla flavored protein powder, just add a 1/4 teaspoon of vanilla powder to add that vanilla flavor back in! NOTE: it is NOT AIP recommended to use vanilla extract since this will not be baked (which would cook off the alcohol).
And the final modification is for the chocolate sauce coating.
You can either switch to an entirely different coating like rolling the truffles in carob powder or shredded coconut, or I have a simple AIP friendly carob coating recipe that you can make!
Carob Coating Ingredients and Directions
To make a carob coating, take a small saucepan and melt together 1/4 cup coconut butter and 1/4 cup coconut oil until melted. Stir in 2-4 Tablespoons of carob powder (depending on how “chocolate-y” you want it to be). If desired, add 2 Tablespoons of a sweetener of your choice (like raw, unpasteurized local honey or maple syrup) or more until you like the flavor of the carob sauce.
Other Pumpkin Pie Truffle Coating Options
I think it’s really decorative when truffles have a variety of coatings on a serving tray.
If this is the look you are going for, try splitting the pumpkin pie truffles into 3-4 sections and coat each section differently!
So what coatings could you use for pumpkin pie truffles besides a chocolate sauce?
Try any of these!
Additional Coating Options:
- Cocoa, cacao, or carob powder – roll the pumpkin pie truffles in the powder to give them a dusty coating (these are my favorite cacao and carob powder)
- Shredded coconut – you could use plain or toasted to roll the pumpkin pie truffles in (I prefer to use finely shredded coconut)
- White chocolate – you can either use a white chocolate drizzle to further decorate the coated truffles, or you could switch to a white chocolate coating. Melt white chocolate chips with a little coconut oil until smooth and then coat them as described above for the regular chocolate coating.
- Nuts – finely chop or crush nuts into your desired size and then roll the frozen pumpkin pie truffles in the crushed nuts. Walnuts are probably the most common nut paired with pumpkin pie, but you could also try pecans or almonds.
- Cinnamon “sugar” – mix together cinnamon and a granular sweetener (we like the Lakanto brand granular sweetener) in approximately a 1:4 ratio depending on how many truffles you are wanting to coat (for example, use 1 teaspoon of cinnamon with 1.5 Tablespoons of granular sweetener for a small batch or for a larger batch, use 1 Tablespoon of cinnamon with 1/4 cup of granular sweetener)
- Powdered “sugar” – roll the pumpkin truffles in a powdered sweetener (again our favorite is the Lakanto powdered sugar)
- Crushed butter cookie or gingersnaps – crush the cookies into smaller pieces or even into a powder to coat the truffles
- Espresso powder – for a real pick me up, try rolling the pumpkin pie truffles in an espresso powder
- Protein powder – use vanilla or chocolate protein powder to roll these in for a “powdery” look with an extra protein punch!
Hopefully that gives you some ideas on additional ways to decorate your truffles for any party!
Pumpkin Pie Truffles
- Total Time: 2 hours (with freeze time)
- Yield: 10 servings (2 truffles per serving) 1x
Description
These pumpkin pie truffles are a great way to start the fall since you don’t have to run the oven to enjoy the pumpkin pie flavors! So grab your food processor and let’s whip these pumpkin pie truffles up!
Ingredients
Pumpkin Ball Ingredients:
- 1/3 cup coconut flour
- 2 Tablespoons vanilla protein powder (or collagen powder and vanilla powder for AIP)
- 2 teaspoons cinnamon
- 1/8 teaspoon nutmeg (omit or replace with ground ginger for AIP)
- 1/8 teaspoon ground cloves
- 2 ripe bananas
- 1 cup pumpkin puree
- 1/4 cup coconut butter, melted
- Optional: 1/4 cup shredded coconut
Chocolate Coating Ingredients (see above for AIP substitution):
- 1 cup chocolate chips
- 2 Tablespoons butter or coconut oil (for paleo and vegan)
Instructions
- Add all of the pumpkin ball ingredients, except the shredded coconut, to a food processor or blender. Process until smooth and everything is well incorporated.
- If using the shredded coconut, add the pumpkin ball ingredients to a bowl and stir in the shredded coconut. The mixture will be soft.
- Using a cookie scoop, scoop into balls on a baking sheet covered with parchment paper. You should get about 20 truffles.
- Freeze for two hours or until the balls are frozen solid.
- Before removing from the freezer, prepare the chocolate sauce. Melt the chocolate chips and the butter in a small saucepan over low heat.
- Remove the chocolate sauce from the heat and pull the pumpkin balls from the freezer.
- Use a spoon to roll each pumpkin ball in the chocolate sauce. Once completely covered, put back on the parchment paper.
- Once all of the pumpkin balls are dipped, put them in the fridge for 30 minutes or until the chocolate sauce is set.
- Enjoy right away or store in an airtight container. For a firmer center, leave in the freezer until about 30 minutes before you want to eat them, otherwise the middle will be soft (which is how I like them!)
Notes
Storage: Store truffles in an airtight container in the fridge for up to a week.
Freezing: Truffles are very freezer friendly! Freeze on a baking sheet covered with parchment paper for 2 hours. Transfer to an airtight container or storage bag that is freezer safe. Consume within 3 months for best freshness (although they will be safe to eat indefinitely). To thaw the truffles, place them in the fridge for a few hours before eating or set on the counter for about 30 minutes.
- Prep Time: 20 minutes
Tabatha
September 13, 2020 at 12:08 pmThese look delicious! I’ve been looking for a new pumpkin recipe to try! Thank you for sharing =)
Monster Cookie • Post Author •
September 24, 2020 at 9:49 amThanks Tabatha! I hope your family enjoys them!
Su
December 4, 2020 at 1:37 amWhat can I use to replace the bananas?
Monster Cookie • Post Author •
December 4, 2020 at 2:34 pmAre you able to eat dairy? If so, you could use 4 ounces of softened cream cheese instead. Otherwise, you could leave out the bananas, add liquid stevia to taste (since the bananas would have added a little sweetness), use the optional shredded coconut, and then thicken the batter with extra coconut flour until it is scoopable. It shouldn’t take too much more coconut flour and it might not need any extra at all! I hope that helps! Please let me know if you have any additional questions!
Andrea
October 23, 2021 at 9:34 pmI am allergic to coconut–could I use canola oil instead of coconut butter?
Monster Cookie • Post Author •
October 23, 2021 at 9:55 pmHi Andrea! I’m sorry to hear you are allergic to coconut! I myself have a lot of food allergies so I know how difficult it can be to find recipes to fit your needs! That being said, coconut butter is a thick ingredient that would be solid at room temperature (similar to a nut-butter), so you would not want to use canola oil as a 1-for-1 replacement. Your goal is to get a “batter” that you can scoop, so you could try to add oil just until you reach that point, or some other substitutes for coconut butter are applesauce or more banana. Or you could try just using more pumpkin instead (although I have not tried these substitutions myself so you might have to make adjustments on the fly!). I hope that helps and please let me know if you have any other questions!!