Nothing says fall to me more than apples, and in my family, that also means making homemade applesauce!
Growing up, every September my family would travel to a local orchard where we could climb high up in the trees and pick the apples ourselves.
Oh the fun we had seeing who could climb the highest! We usually forgot that our actual duty was to pick apples!
So bushels upon bushels of apples later, we would head home to make homemade applesauce and would also keep apples on hand to make apple pie throughout the Christmas season (yes, apples will keep that long in the fridge!).
To make our applesauce, my mom would cook the apples on the stove, and then we would run them through a simple metal sieve to separate the peels from the apples.
We could never resist eating bowls of warm applesauce fresh pressed through the sieve.
YUMMY!!
What Varieties of Apples can be Used for Homemade Applesauce
Almost any type of apple can be used to make applesauce!
For me, the best variety of apple is the one that’s on sale 🙂
I know that there are a million charts out there showing you which apples are best for eating versus applesauce versus pies, but I have NEVER made a homemade applesauce that I didn’t like!
I do have some go-to varieties that I usually make applesauce out of which are:
- Golden Delicious
- Red Delicious
- Granny Smith
- Gala
- Fuji
- IdaRed (not as easy to find in a grocery store)
- Jonagold (not as easy to find in a grocery store)
- Jonathan (not as easy to find in a grocery store)
Most of these are easy to find at the grocery store, so it doesn’t matter if you can get to an orchard or not.
And my favorite thing to do is to mix different varieties of apples together!
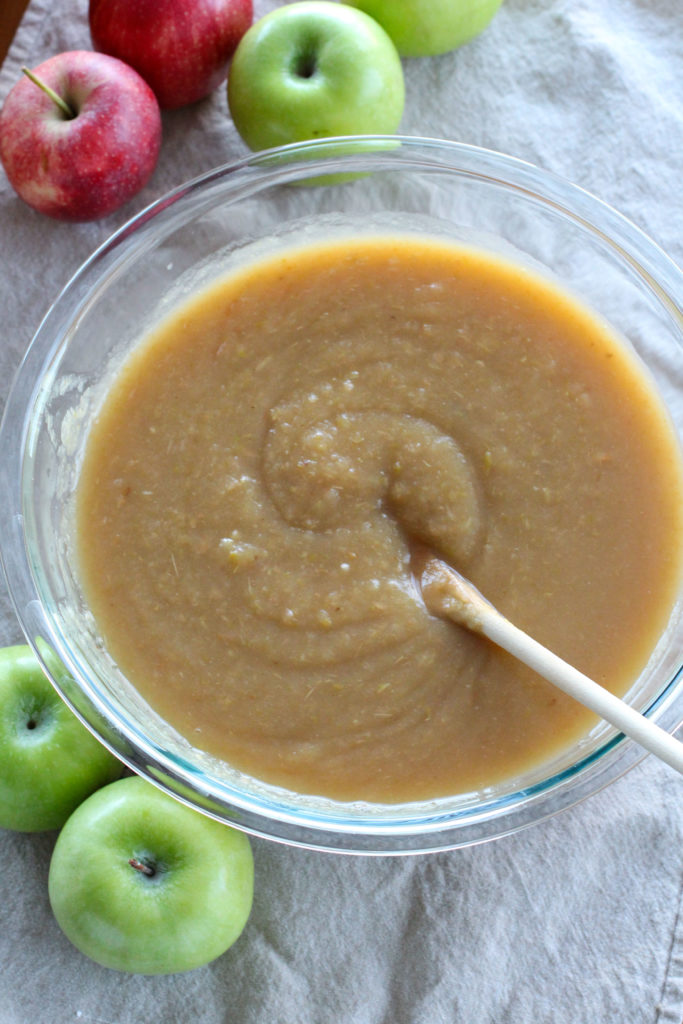
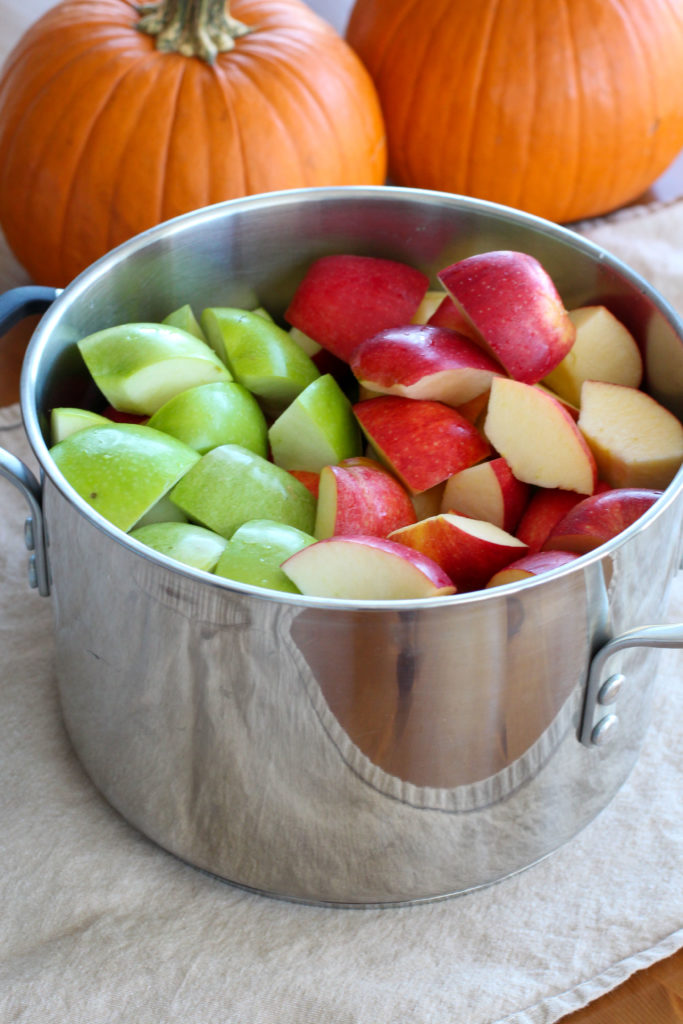
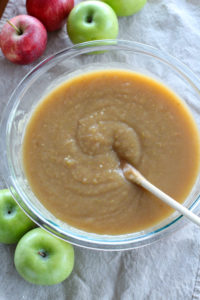
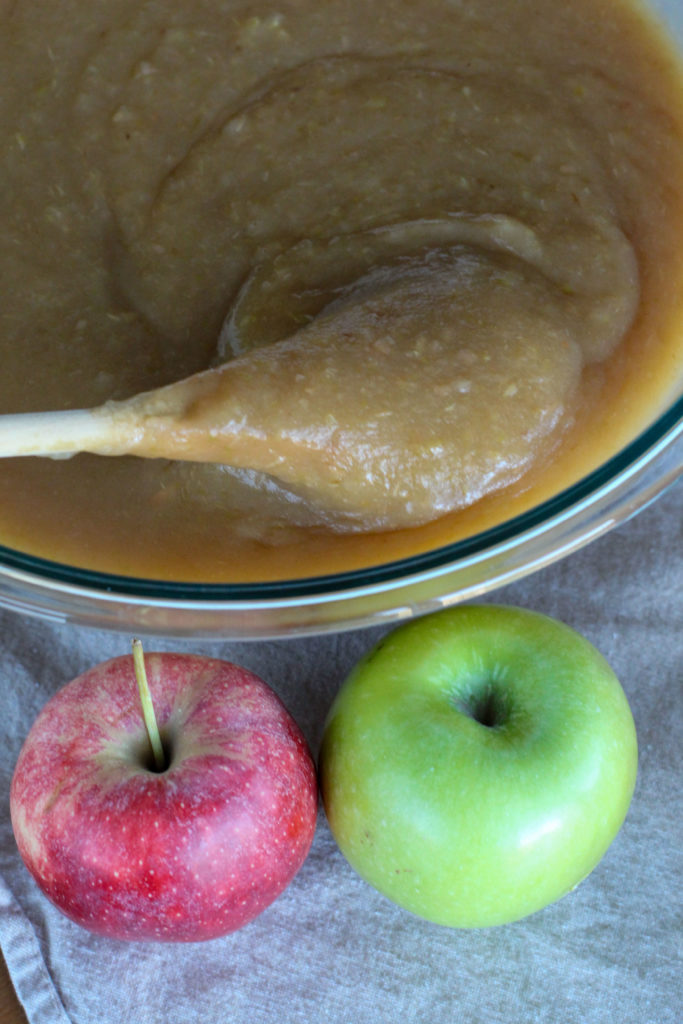
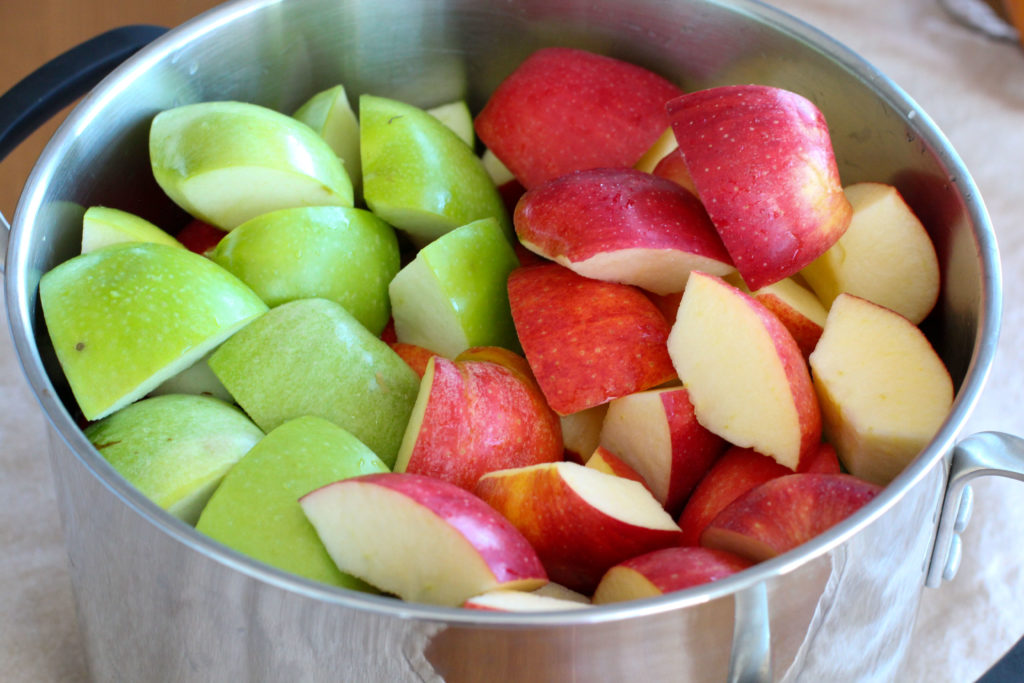
I really like gala and granny smith mixed together (that’s the blend I used for these pictures), as well as mixing golden and red delicious apples together.
Play around with it and find the flavors that your family likes best! And you might notice that some really red varieties like red delicious and Jonathan apple make a beautiful pink colored applesauce – my daughter LOVES requesting PINK applesauce.
Why You Should Eat the Apple Peel
Even though we would toss out the apple peels when I was growing up, secretly I like apple peels!
I have been known to even eat the apple peel remains from when I peel apples to make a pie or when we would run the cooked apples through the sieve to make applesauce!
Plus, apple peels are more nutritious than the pulp and boast of high antioxidants and even cancer fighting compounds!
Because apple peels are so good for you, I wanted to find a way to keep them in the applesauce!
Enter my immersion blender!
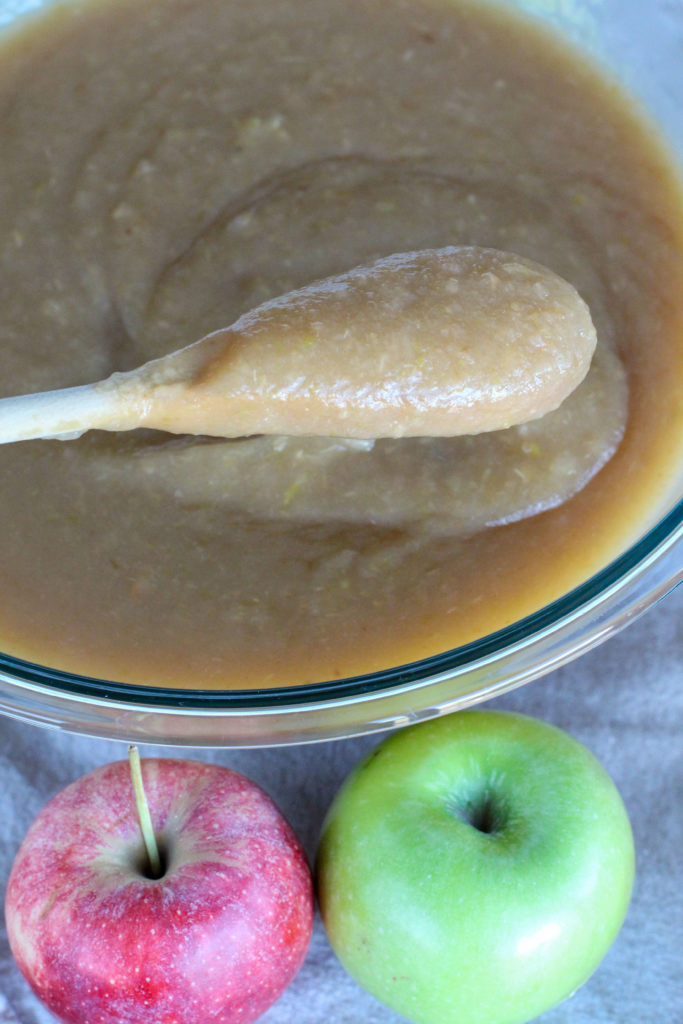
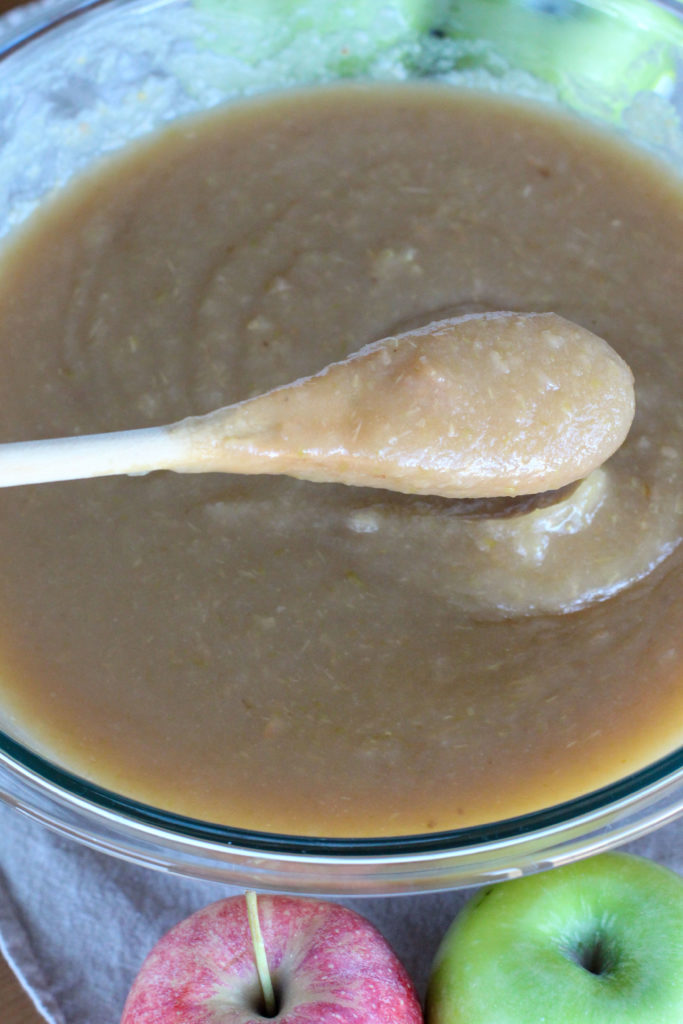
By using an immersion blender, I can puree up the apple peel into such small pieces that it’s hardly noticeable!
Yes, there are still small peel pieces even after blending it, but that doesn’t seem to bother us! My daughter can devour bowls full of this applesauce!
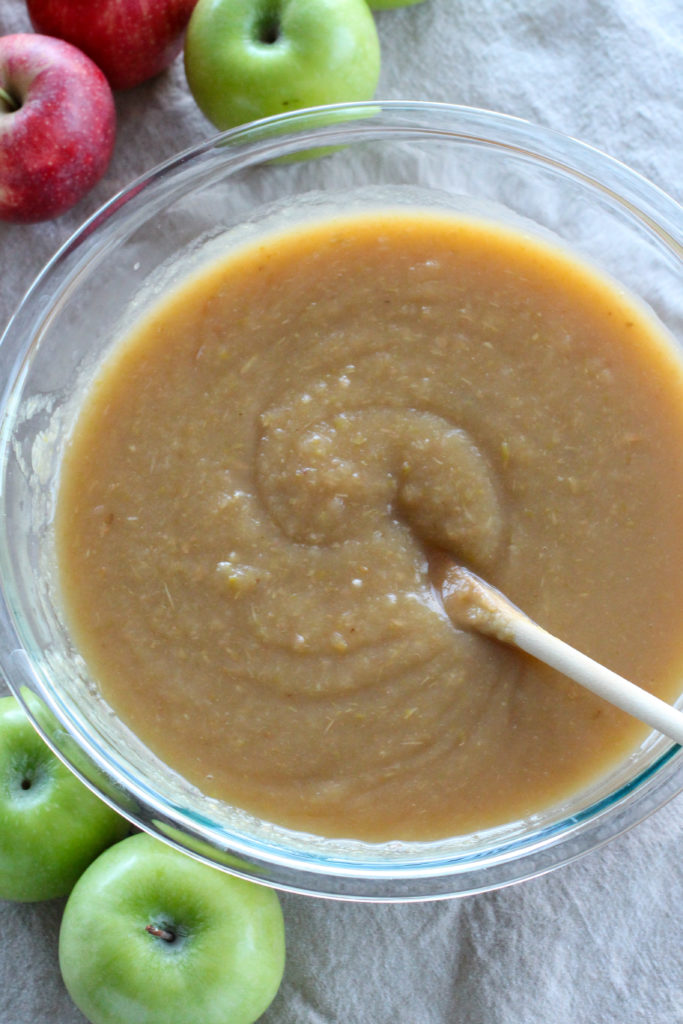
I mean, you can barely even see the peel pieces in this picture. Trust me, you will hardly notice it!
How to Make Easy Homemade Applesauce, Step-by Step with Pictures
- Decide how much applesauce you want to make. If you are planning on freezing or canning the applesauce, you will want to make a large batch. If you plan on eating it fresh, you might want a smaller batch. I have found that 12 large apples makes about 4 pints or 8 cups of applesauce.
- Wash the apples off with a brush. My favorite method to wash apples (and most produce for that matter) is to use 1/4 cup of baking soda in a gallon of water. Studies have shown that this removes up to 96% of the pesticides.
- Quarter the apples and remove the stems and cores. Cut into chunks and place in a large stockpot.

- Add 1 cup of water to the pot (or at least enough to cover the bottom of the pot about a 1/4 inch) and bring to a boil on the stove.
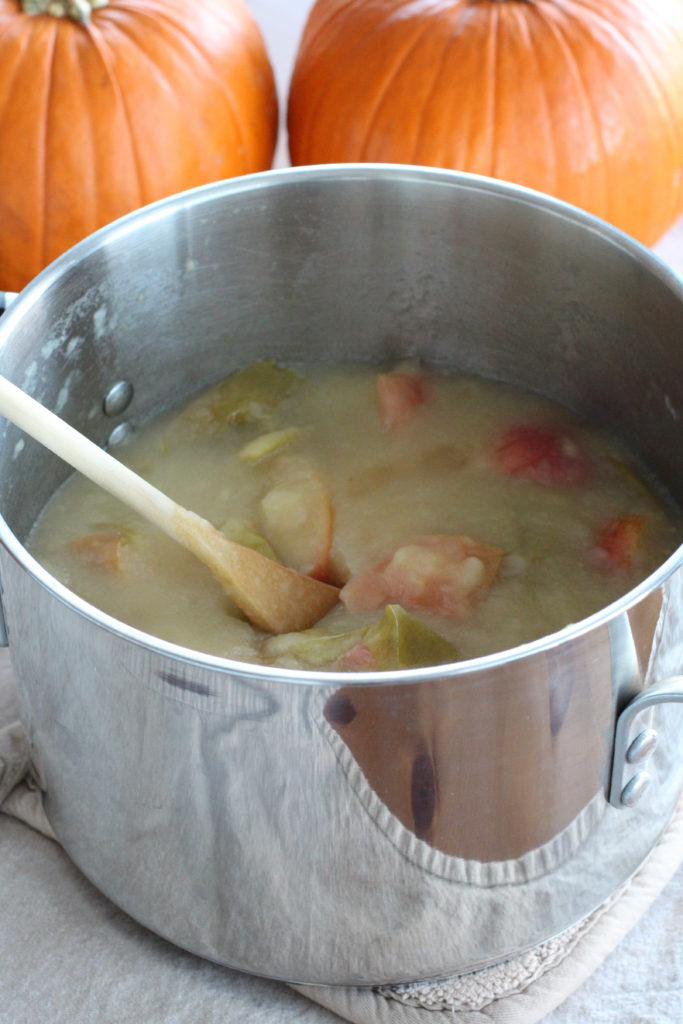
- Once the water is boiling, put on the lid and simmer over medium-low heat for 30-60 minutes, stirring occasionally to make sure the apples don’t burn to the bottom of the pan. If the water all boils off, add more water.
- Some apple varieties have more water than others, so it will just depend on the type of apples you are using.
- Older apples will also have less water content and might need additional water while cooking.
- Once the apples are really soft and have significantly cooked down, remove from heat and let cool for 10-15 minutes.

- Use an immersion blender (or other method listed below) to puree the apples into the desired consistency.
- Enjoy a warm bowl of homemade applesauce, use as a pancake topping, or use in a recipe such as this recipe for applesauce muffins!

Other Methods to Make Smooth Homemade Applesauce
No immersion blender? No problem!
You can still enjoy homemade applesauce that is EASY to make!
There are a couple of options depending on what equipment you have:
Option 1: Grab out a full sized blender (we have this one)! Let the apples cool a little before adding to your blender and then puree away! Depending on how large of a batch of apples you made, you might need to do multiple batches if you can’t fit all the apples in at once.
Option 2: Use a fruit strainer/food grinder attachment for a KitchenAid mixer. If you are using this tool, you do NOT have to remove the apple cores (unless you want to eat the peel remains). Make sure you have a large bowl ready to catch the applesauce underneath it! This is just like the simple metal sieves, but without all the turn by hand effort. It will remove the apple peel and result in a very smooth applesauce.
Option 3: Use a simple metal sieve like my family did when I was growing up! Place a large bowl under the sieve and use a ladle to add about two scoops at a time. Hand turn the wooden mallet in a circle to press the apple pump out the sides. Really press the apple peels at the bottom of the bowl. Then remove the peels and discard (or eat them like I do) and add two fresh scoops of the applesauce. Continue process until all of the apples have been pressed through the sieve. This will be a very smooth applesauce!
Option 4: Peel the apples before cooking and cook them until they have cooked down into applesauce (use a potato masher every so often to help speed up this process). You might have a few chunks, but if you use a variety like golden delicious or red delicious, you can basically cook them down into a smooth applesauce.
How to Make Homemade Chunky Applesauce
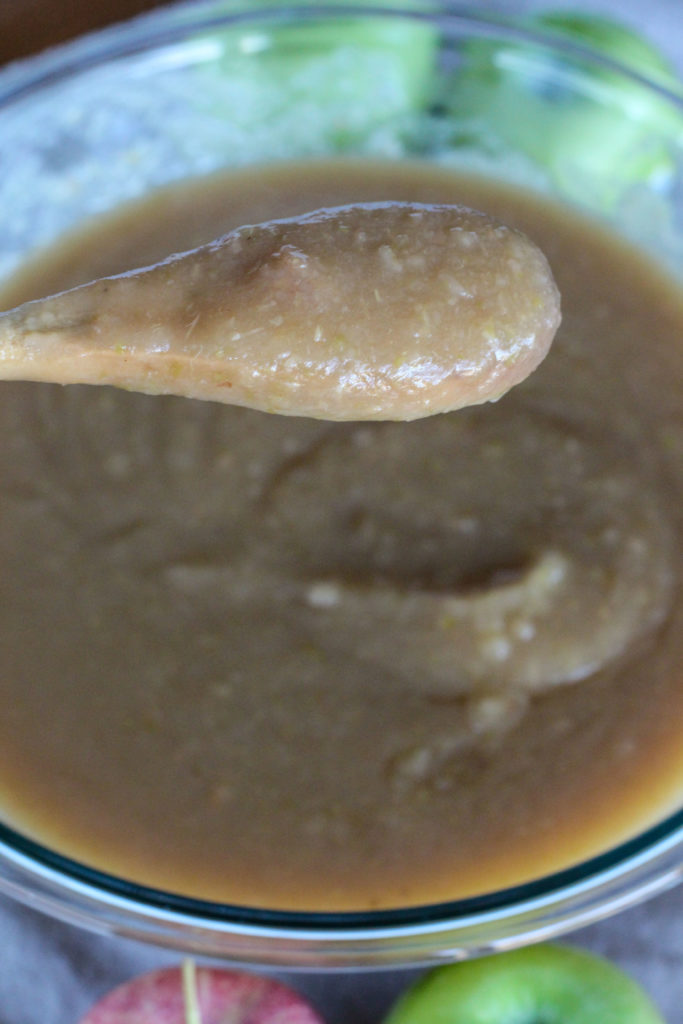
My family really likes smooth applesauce, but sometimes I enjoy a chunkier applesauce. The apple pieces just add a nice texture.
For this method, I recommend coring and peeling all of the apples before cooking.
The large apple chunks will mean larger pieces of skin which aren’t as appetizing to eat (see picture – that would be a little weird to chew through for an applesauce). Removing the apple peels before cooking is the best time since you won’t have a chance to remove the peel after cooking.
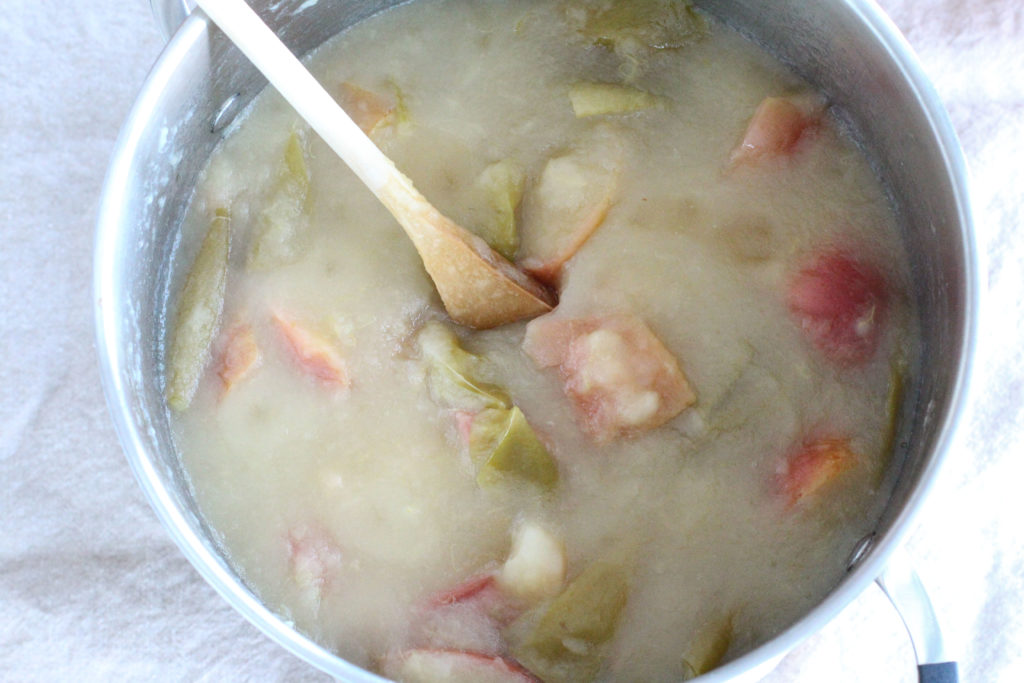
But that doesn’t mean you can’t eat the apple peels for the benefits listed above!
You can even make more of an apple pie filling type consistency by cooking the apples for just a short period of time (cook just until soft but the apples aren’t breaking down yet) and adding ceylon cinnamon and nutmeg. If you are using less sweet apples, like Granny Smith, you can add a little liquid stevia or powdered erythritol based sugar (my favorite is Lakanto sugar). I also enjoy adding a couple tablespoons of butter (or you could use coconut oil) for a little creaminess and some added fat.
What if I Don’t Live Near an Orchard?
Even though I don’t make it to an orchard each fall now, I still enjoy making homemade applesauce!
Don’t think that you have to live near an orchard to make applesauce! You are just going to want to watch grocery ads a little more closely come September and October!
I wait for organic apples to go on sale at the grocery store and then buy pounds and pounds of them.
Where I live, a good deal on organic apples is less than $1.50/pound. Ideally, I like to see them for $0.99/pound, but some varieties of organic apples don’t get quite that cheap.
Easy Homemade Applesauce Recipe
Difficulty Level: Easy
Servings: 12
Ingredients:
- 12 Large apples (see above for the varieties and combinations I have used before)
- 1 cup of water
- Apple Pie Flavor Variation: Add ceylon cinnamon (start with 1/2 Tablespoon), nutmeg (start with 1/4 teaspoon), and a couple drops of liquid stevia (or other low-carb sweetner like powdered Lakanto sugar). Adjust amounts to taste.
Directions:
- Wash the apples off with a brush. My favorite method to wash apples (and most produce for that matter) is to use 1/4 cup of baking soda in a gallon of water. Studies have shown that this removes up to 96% of the pesticides.
- Quarter the apples and remove the stems and cores. Cut into large chunks and place in a large stockpot.
- Add 1 cup of water to the pot (or at least enough to cover the bottom of the pot about a 1/4 inch) and bring to a boil on the stove.
- Once the water is boiling, put on the lid and simmer over medium-low heat for 30-60 minutes, stirring occasionally to make sure the apples don’t burn to the bottom of the pan. If the water all boils off, add more water.
- Some apple varieties have more water than others, so it will just depend on the type of apples you are using.
- Older apples will also have less water content and might need additional water while cooking.
- Once the apples are really soft and have significantly cooked down, remove from heat and let cool for 10-15 minutes.
- Use an immersion blender (or other method listed above) to puree the apples into the desired consistency.
- Add apple pie spices if using and stir to combine. Taste and adjust spice amounts accordingly.
- Enjoy a warm bowl of homemade applesauce, use as a pancake topping, or use in a recipe such as this recipe for applesauce muffins!
Storage:
Store in the fridge for up to a week, store in containers in the freezer for up to a year, or can in glass jars and store for up to 18 months!
