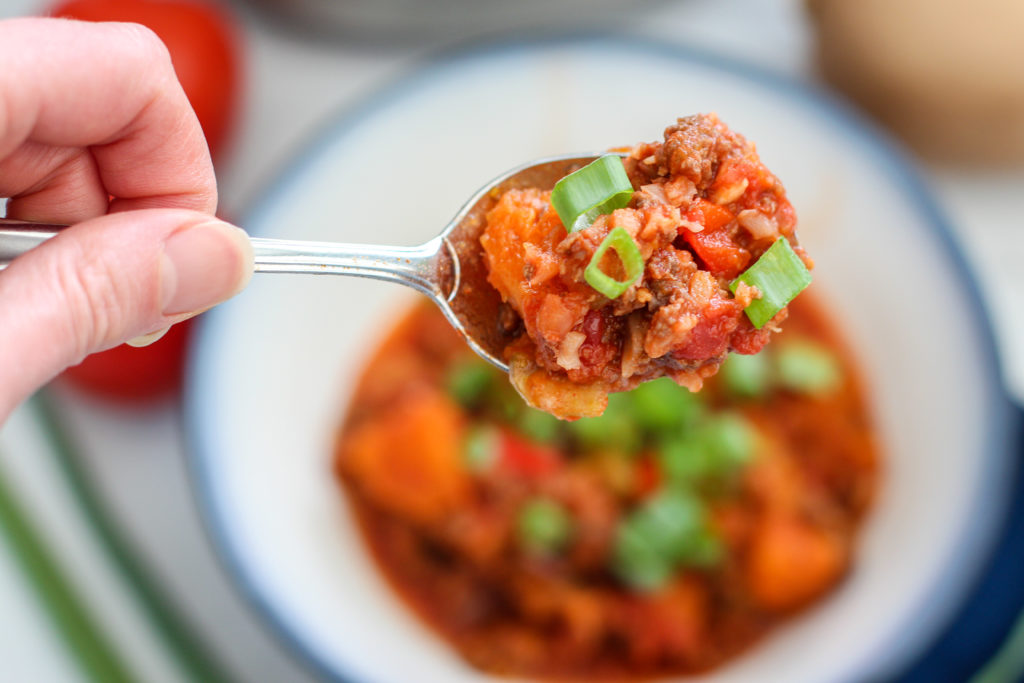
Butternut squash chili is the perfect use for all of the squash on sale in the fall and is sure to warm you from head to toe!
I love seeing signs in the fall for organic squash on sale for 99 cents a pound!!
I may or may not have wiped out an entire Whole Foods section of butternut squash one time…
My family just loves butternut squash! Mini Monster Cookie will stand with me at the counter while I’m cubing a soft oven roasted butternut squash and eat it plain.
The rich orange color and sweet flavor is just delightful!
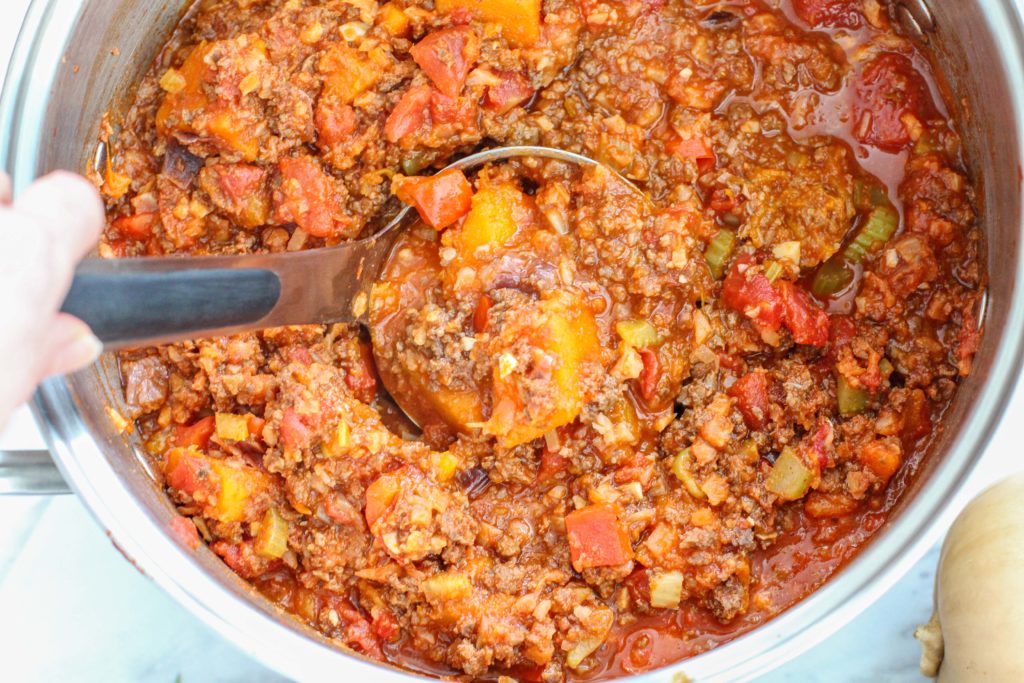
Growing up, my mom always put spaghetti noodles in her chili, but now we don’t eat gluten, and chili with just meat and tomatoes is just too boring for me.
So when I was looking for a noodle substitute, squash seemed like a good replacement!
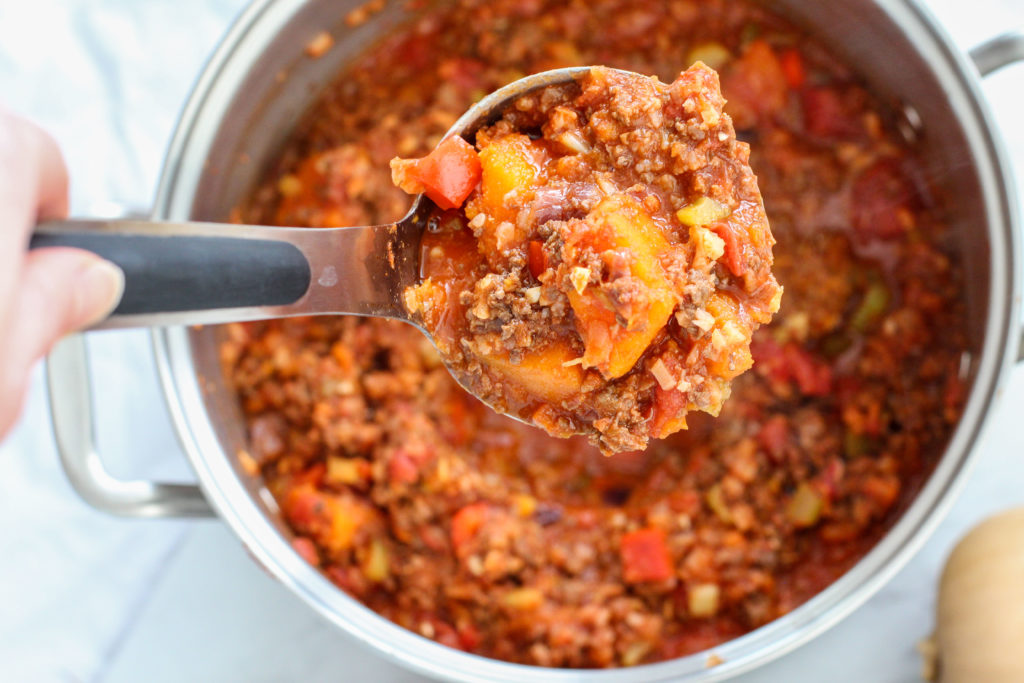
Butternut squash adds sweet chunks to the chili, and as it cooks, it also helps thicken the chili, making it thick and hearty!
Another common noodle replacement in gluten-free cooking is cauliflower or cauli-rice.
So I thought to myself, why not add both squash and cauliflower!
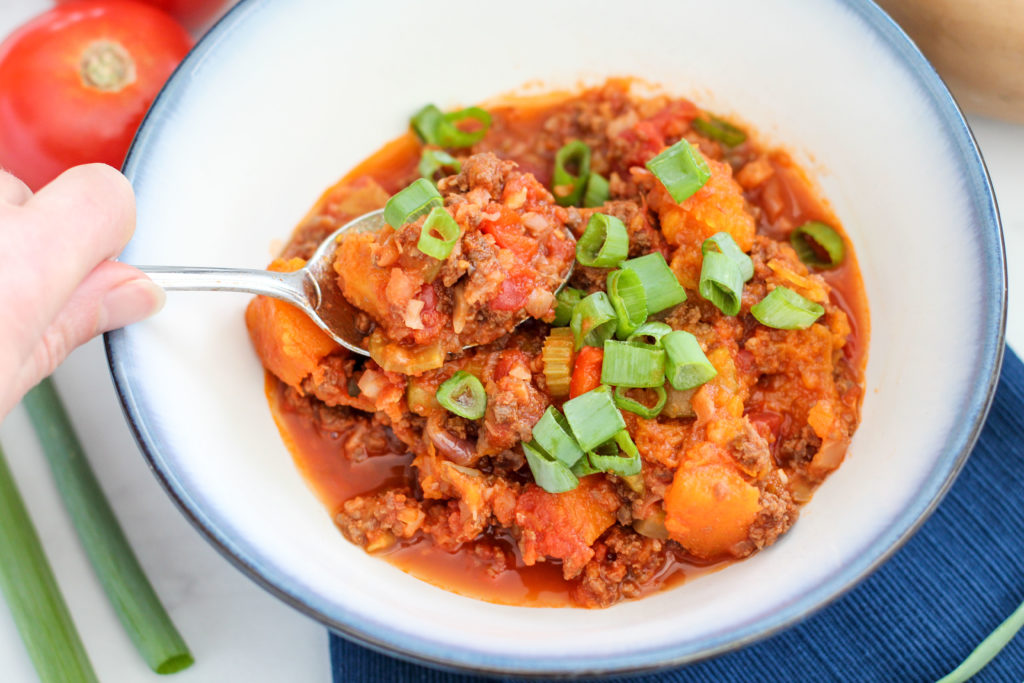
Do I Have to Use the Cauli-rice?
The cauli-rice is definitely not a required ingredient for this chili if you don’t like cauliflower, but chili flavors are so rich, and honestly overpowering, that I guarantee you will NOT taste the cauliflower in this recipe.
I’m always looking for more ways to get vegetables in our diet and this chili is a great way to sneak in some vegetables on your family!
Plus, cauliflower is a great ingredient to help fight cancer and keep your body running in top shape!
You might also notice that this recipe calls for celery and you may be wondering if you can leave that out too. As with the cauli-rice, I added it in there for another “hidden” vegetable, but it’s not necessary to make this chili. However, celery has such a mild flavor that I guarantee your family will not even notice it’s in there! Plus, check out all of the benefits of celery!
Can I Add Beans?
Sure! We don’t eat beans in our house because of a host of reasons such as the anti-nutrients they contain and the digestive problems they can cause, but that doesn’t mean that you can’t use them!
Because this makes a LARGE batch of chili already, I would recommend using just 2 pounds of beef and adding one or two cans of your choice of beans (black, pinto, or kidney are all common chili choices).
Do I Have to Use Beef?
Of course not!
Chili can be made with all sorts of different meats and combinations of meat!
Our family likes beef the best, but feel free to use ground turkey, ground pork, or ground chicken.
If you really want, you could use 3 different types of meat and add one pound of each!
You could also use shredded chicken, but that will require a bit more time to cook the chicken first, then shred it, and then add it to the pot.
Tailor this to what you have in the freezer or what your family likes to eat!
And if you don’t eat meat or want a meatless Monday option, this is still a great recipe to convert to a vegetarian butternut squash chili!
How to Make This a Vegetarian Butternut Squash Chili
This chili is so hearty from the butternut squash and already has so many vegetables in it, that you could honestly just leave the meat out and I don’t think anyone would even notice the difference!
Otherwise, you can replace the meat with beans, if desired. Use 2 to 3 cans of your choice of beans instead of the meat.
You could also add an extra pound of cauli-rice (so 2 pounds total) and make sure your butternut squash is on the large side (more like 3 to 4 pounds).
How To Select a Good Butternut Squash
When shopping for butternut squash, I always look for a squash that is blemish free.
You don’t want any holes or divets in the skin. Look for the skin to be as smooth as possible.
The other thing to look for is a butternut squash with a long “neck”.
The bulb part, or the round bottom, is where the seeds of the squash are located.
The entire rest of the squash is butternut squash!
So when you are paying by the pound, the best bang for your buck is a butternut squash that has a long and fat “neck” because that is all squash!
If you get a butternut squash that has a large round bottom but a small “neck”, you are mostly buying seeds – I would rather be buying squash!
And don’t throw the seeds out! If you like roasted pumpkin seeds, then you might also like roasted butternut squash seeds! You can roast them just like you would pumpkin seeds!
How To Easily Prepare Butternut Squash – 2 Ways
Squash in general can be a bear to cut up and get the skin off of, but there are 2 easy ways to handle preparing the butternut squash for this recipe!
The first method is to add the diced, uncooked squash to the chili at the start.
The easiest way to dice an uncooked butternut squash is use a vegetable peeler to remove the skin.
I know right?!
Who knew you could use a vegetable peeler on that squash skin? But it works like magic!
Just peel until the squash is a bright orange and all of the skin appears to be removed.
After peeling off the skin, carefully use a large knife to cut the squash into rings and then dice the rings into cube pieces. The pieces will get smaller as they cook, so make the cubes a little larger than the size you want to eat. Remove the seeds from the bulb part and either throw them away or roast them as you would pumpkin seeds!
Add the cubes to the chili as the very last ingredient. I add it last so that my pot is less full when I’m trying to get all the spices incorporated, because once you add the butternut squash, you are going to have a REALLY full pot!
So get everything else added to the pot, stir it really well, and THEN add the squash last. Give it a stir just to get the squash mixed in, and then put the lid on it to start it simmering for a couple of hours.
By the end of simmering for 2 hours, the squash will be nice and soft.
The second method is to oven roast the butternut squash first and then add it to the chili near the end of the cooking time.
To do this, wash and scrub the outside of the butternut squash while the oven preheats to 350 degrees.
Then put the whole squash in the oven with a baking sheet on the rack below to catch any drippings (keeps them from burning to the bottom of the oven and filling your kitchen with a burnt smell). No need to pierce the skin or anything before putting it in the oven.
Next, get the chili going while the squash bakes in the oven for 1 hour.
After an hour, try poking the squash with a knife. If the knife slides right in like butter, the squash has cooked long enough. If the squash is still hard to cut and pretty firm, try baking it for another half hour.
Once the squash has cooked in the oven until it is soft, remove from the oven and let it cool on a cooling rack, plate, or on the sheet that was under the squash in the oven.
You want to let the squash cool until you can handle it – I normally let mine sit out for 30 minutes before I cut it up.
Since the squash is soft, it should be easy to cut with a large serrated knife. Cut the squash into rings and then use the knife to cut around the edge to remove the skin. Then finish cutting the disk into cubes. Remove the seeds from the bulb part and either throw them away or roast them as you would pumpkin seeds!
When the chili has about a half hour left to simmer, add the butternut squash.
The advantage to this method is that there’s no force needed to cut the squash! The knife slides through the squash so easy!
The downside is that there will be some squash wasted trying to get the skin off and there are a few more dishes involved, and thus, a little more clean-up required.
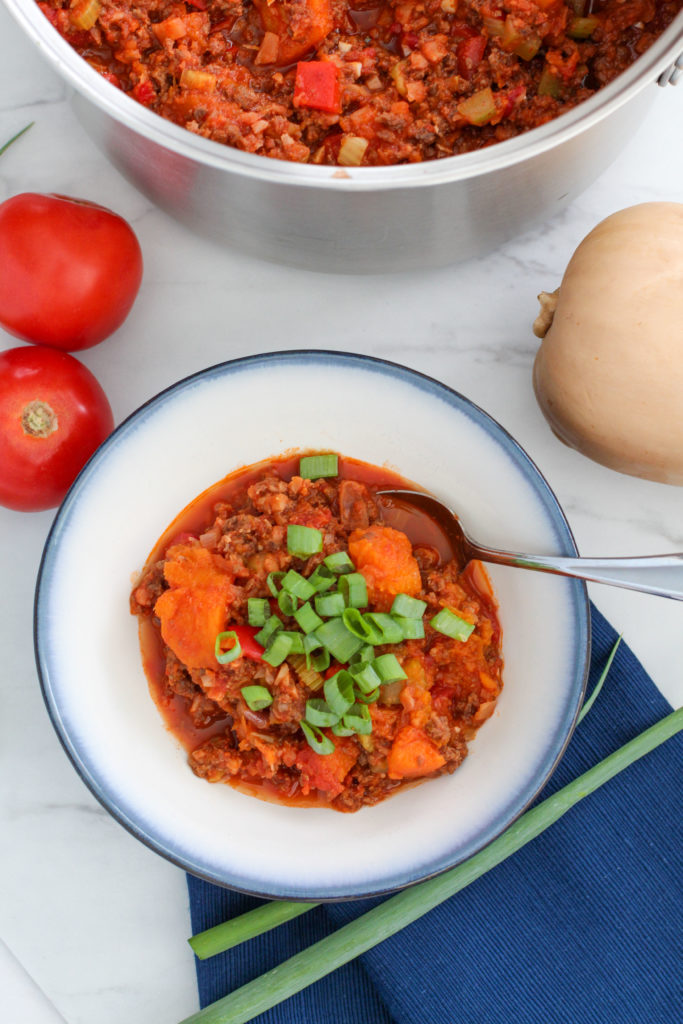
So Can I Make a Smaller Batch of Butternut Squash Chili?
Of course!
I understand that not everyone wants to eat chili for days upon days or needs to serve a large crowd.
This recipe is very easy to cut in half if you want!
Start with buying a smaller butternut squash or perhaps even use a bag of frozen butternut squash (our Kroger grocery store has decent sized bags of frozen butternut squash that would work for this).
To make it easy (so you aren’t trying to eyeball pouring in half a can of tomato sauce), instead of using half a can of tomato sauce, for your tomato products, just add one can of tomato paste and one can of diced tomatoes. Don’t worry about trying to add the tomato sauce.
For the meat, if you have a package that is 1-1/2 pounds, then great! Otherwise, I would add 2 pounds of meat if you want this more “meaty” or want a little more for leftovers, or I would use one pound of meat if you want a smaller batch or want it to be less “meaty”. The squash and vegetables will still make a hearty chili even without the extra pound of meat for a half batch.
Also, for some easy math, half of a 1/4 cup of chili powder is 2 Tablespoons 🙂
What’s with the Optional Beef Bone Broth, Vegetable Broth, or Water?
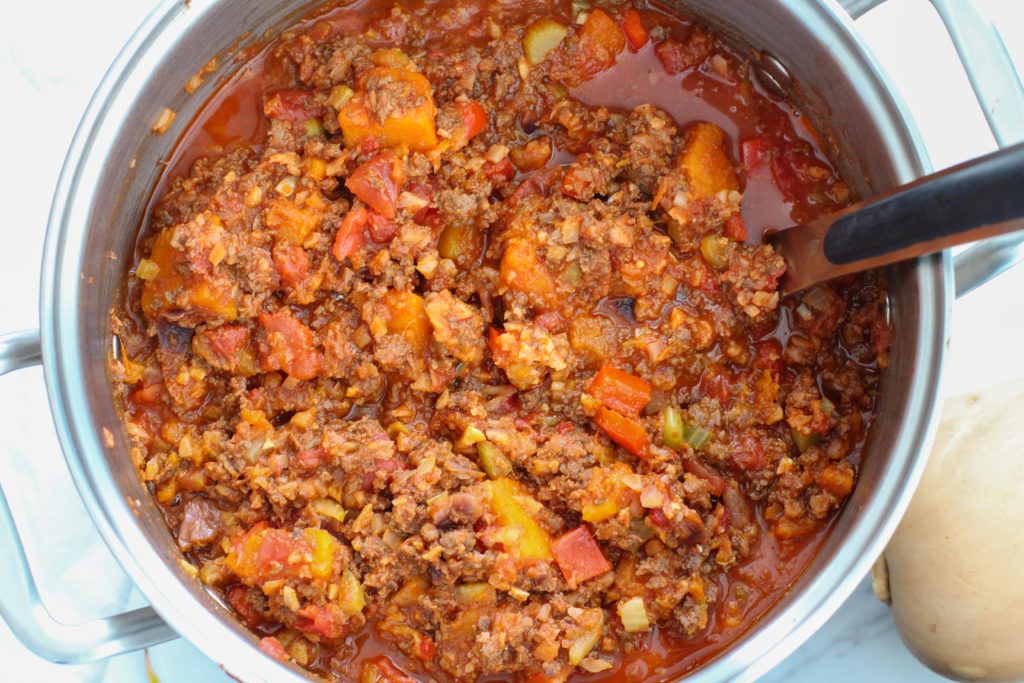
Our family loves THICK chili. Like no liquid, lots of particulates, chili.
So that’s what this recipe is, but not everyone likes their chili quite so “hearty” per say.
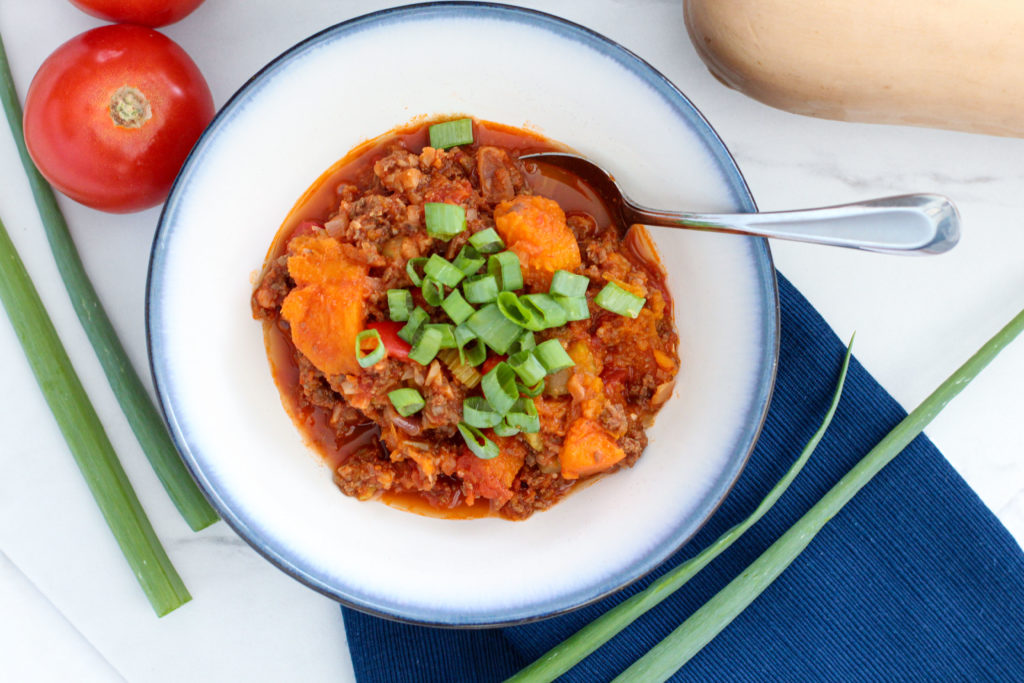
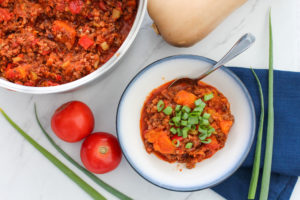
I mean take a look at this bowl full of chili, no extra liquid swimming around in this bowl:
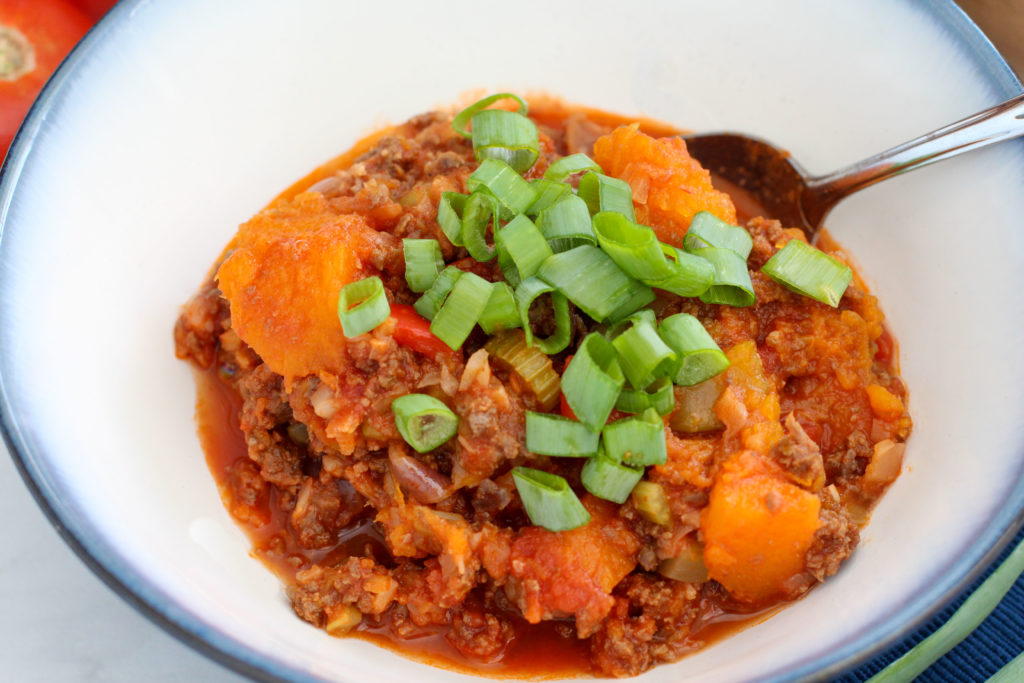
This chili is meaty and hearty, but I also understand that some people like their chili a bit more broth based.
That’s the beauty of this recipe – it’s written to be super thick, but you can add beef bone broth, homemade vegetable broth, or even just water to make the chili the right consistency for your family!
How to Make This Butternut Squash Chili More Keto Friendly
I say MORE keto friendly because this recipe is already well suited for keto, but there are some recipe changes that you can make to add more fat!
This chili could easily take on double (even triple) the amount of butter or coconut oil.
You can also add lots of avocado, cheese, sliced black olives, and sour cream on top!
Alternatively, I love cream cheese and chili together, so feel free to add one 8-ounce package of cream cheese.
Why You WANT Butternut Squash Chili Leftovers
I don’t know about you, but chili is quite possibly my favorite leftover to eat.
Sure, hot chili off the stove is good, especially after you have been smelling it for like 2 hours simmering on the stove.
But chili flavors are even BETTER the next day, the next day, and the next day!
In my opinion, the longer chili sits, the better it tastes (although you want to consume it within 5 days!).
So make this large batch of chili and enjoy it for several days!
Can You Freeze Butternut Squash Chili?
You absolutely can freeze butternut squash chili, but you do need to be aware that the butternut squash pieces will get kind of mealy and a lot of them will fall apart upon thawing.
For our family, that doesn’t make a big difference.
However, if I KNOW I’m making the chili to freeze, I will sometimes leave out the butternut squash pieces and add them later once I thaw the chili.
This recipe calls for you to cook the butternut squash in with the chili, but if you want to leave it out and add it later, you can either add canned butternut squash or fresh, oven roasted butternut squash.
My preferred method of cooking butternut squash is actually in the oven, so sometimes I use that method anyway and add the squash for just the last 20-30 minutes of cooking the chili.
What Toppings to Serve with Butternut Squash Chili
There are so many great chili toppings!
Make it creamier, cheesier, or spicier!
If you are serving this at a party, you could even set up like a toppings “bar”.
Some suggested toppings would be:
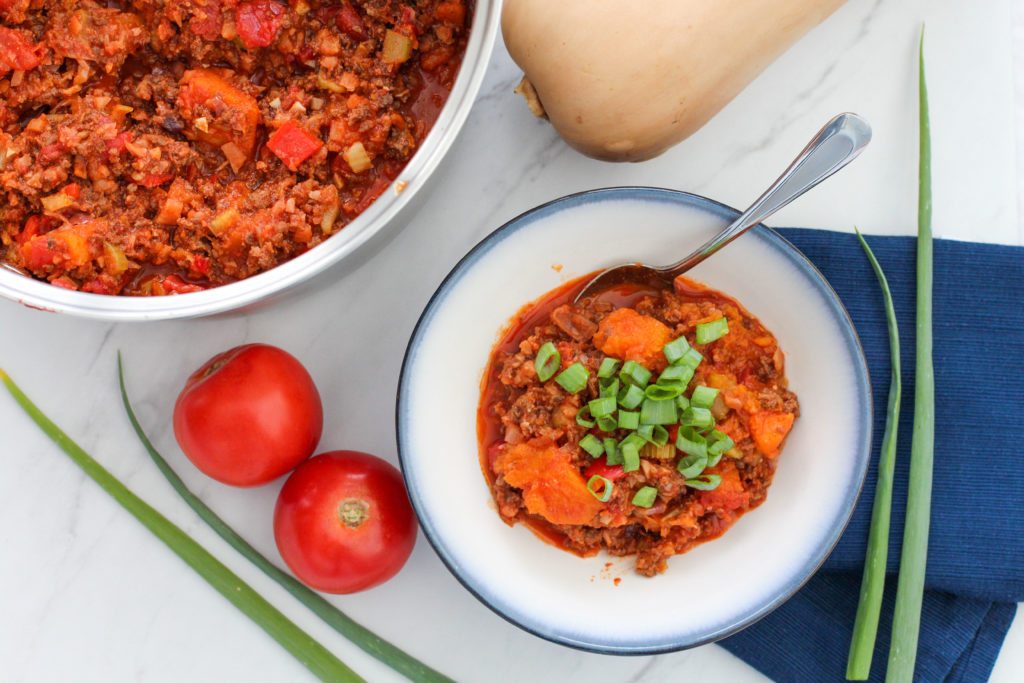
- Green Onion
- Chives
- Diced Onion (could be white or red onion)
- Sour Cream or Coconut Cream (for dairy free creaminess)
- Avocado Chunks
- Shredded Cheese
- Additional Diced Bell Pepper
- Corn Kernels
- Sliced Jalapeños
- Hot Sauce
- Fresh Cilantro
- Grain-free Chips
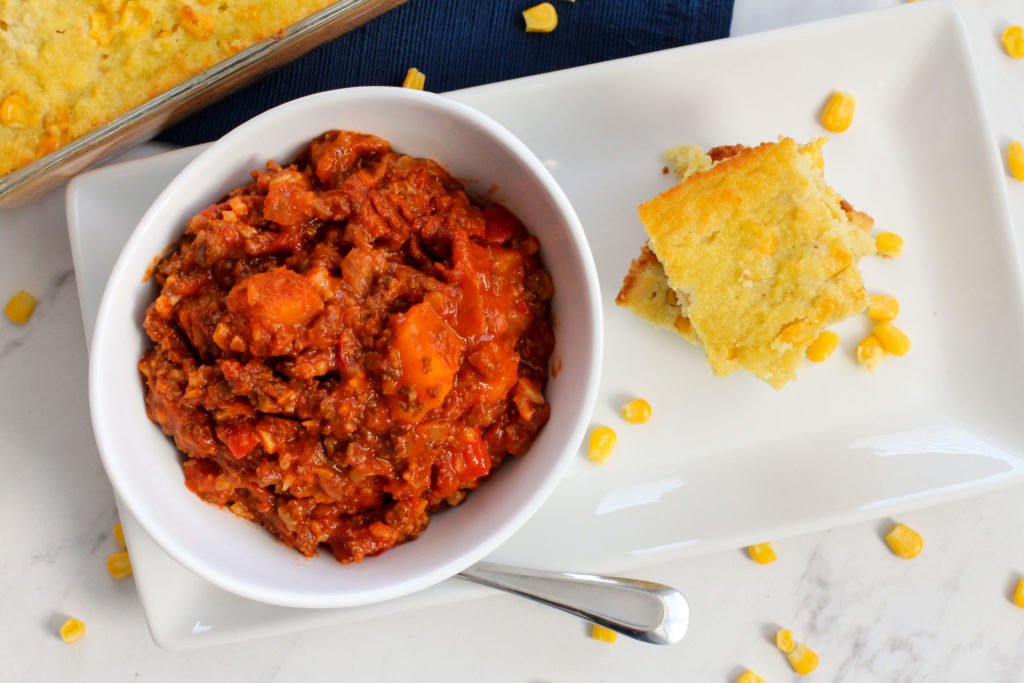
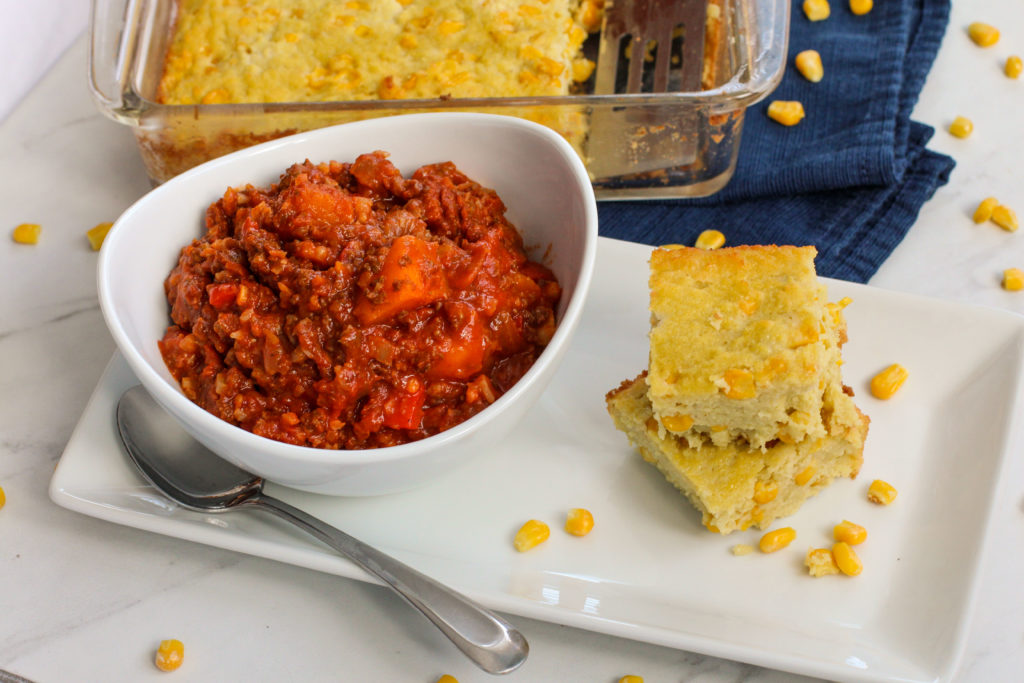
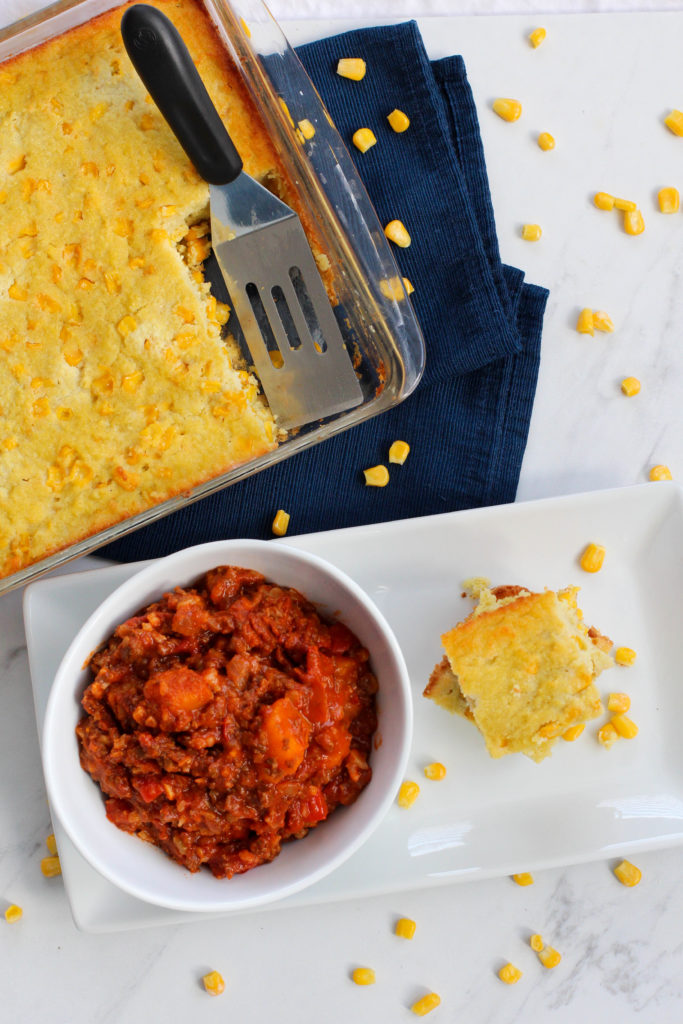
And let’s not forget about my all-time favorite, essential chili side: CORNBREAD!
Seriously, I don’t know how people eat chili without cornbread!!
And not just any cornbread, but fluffy, buttery cornbread with modifications for those doing paleo and keto!
Butternut Squash Chili
Difficulty Level: EASY!
Servings: 8
Ingredients:
- ¼ cup of butter, or coconut oil for paleo/vegetarian
- 8 cloves of garlic, minced (or 2 teaspoons of garlic powder)
- 1 large red onion, diced (or 2 teaspoons of onion powder)
- Optional: 4 stalks of celery, diced (for more hidden vegetables!)
- 3 pounds of beef
- 2 6-ounce cans of tomato paste
- 2 16-ounce cans of diced tomatoes (use fire roasted for added flavor) – DO NOT DRAIN
- 1 16-ounce can of tomato sauce (or 1 more 6 ounce can of tomato paste with 1 cup of water or broth)
- 1/4 cup chili powder
- 2 Tablespoons cumin
- 3 teaspoons of salt
- 2 teaspoons paprika
- 2 teaspoons oregano
- Optional: 1/2 teaspoon cayenne pepper
- 1 pound of frozen cauli-rice (or one small head of cauliflower, riced)
- 2 red bell peppers, diced
- One medium-sized (2 to 3 pounds) butternut squash, peeled and diced (or oven roasted – see alternative directions above)
- Optional: beef bone broth, vegetable broth, or water (add until desired chili consistency is reached)
Directions:
- Grab the largest pot in your kitchen (you need this to be big, otherwise consider making a half batch – recipe modification suggestions above).
- Add the butter and let it melt in the pot. Then add the onion, garlic, and celery (if using) and sauté for 5 minutes, or until fragrant and soft.
- Add the beef and cook until browned, using a spatula to break it up into small pieces. Add the tomato paste and stir it in. Then add the diced tomatoes, tomato sauce, and the spices, stirring everything together.
- Lastly, add the cauli-rice, bell pepper, and the cubed butternut squash, and stir until well mixed. If the chili is really thick, add some broth or water so that the chili doesn’t burn to the pan.
- Simmer the chili for 1.5-2 hours, or until the butternut squash is soft. Stir every 20-30 minutes and add more liquid if needed to keep the chili from burning to the bottom of the pan.
- Serve with desired toppings (see above for options) and enjoy!
Storage:
Store butternut squash chili in an airtight container for 3-4 days in the fridge (honest moment – I have eaten chili up to a week later without issues).
Alternatively you can store chili in the freezer for up to 6 months. I store chili in a large glass bowl, glass pan, or even glass jars for individual servings (just make sure the glass containers are freezer safe!).
Thaw containers of frozen chili in the fridge for 1-2 days depending on the size of the container.
Reheat leftovers on the stove by bringing the chili back to a simmer for 5 or so minutes. Stir the chili while it’s simmering to make sure the chili is evenly heated.
Alyssa Hixenbaugh
November 18, 2020 at 5:47 amThis recipe sounds great! I love butternut squash and your combo of flavors. Looks like a healthy new recipe to try! 🙂
Monster Cookie • Post Author •
November 18, 2020 at 2:07 pmThanks Alyssa! If you try it, let me know if you liked it!
Donna
November 20, 2020 at 1:33 pmI really appreciate how you gave different suggestions on how to use this recipe. I’m def going to try it with the cauli rice!
Monster Cookie • Post Author •
November 21, 2020 at 6:38 amThanks Donna! I know every person and family is unique, so I always try to offer suggestions on how to make recipes work for you! I hope you like it!
Stephanie
November 22, 2020 at 4:43 pmYou can ask my husband: I have been talking about my craving for chili NONSTOP recently. It’s almost pathetic. I keep talking about it… and not making it. My own fault entirely. I need to prioritize making it soon because this post literally had me drooling!!!
Monster Cookie • Post Author •
November 25, 2020 at 7:12 amRight Stephanie?! Cold weather has me all in chili mode! If you end up making this recipe, let me know if you liked it!